

🍁 The leaves are falling, pumpkin spice is back, and my leggings are officially working overtime. You guessed it—it’s Stamp It Group Blog Hop time! This month we’re diving headfirst into all the cozy, crunchy, pumpkin-everything vibes of Autumn. I’ve got a project that’s serving up serious fall fabulousness, and you’ll want to hop along to see all the other gorgeous (and totally pin-worthy) ideas too.
✨ Here’s what you’ll find below:
- A quick tutorial with step-by-step basic instructions
- A downloadable PDF supply list (because we love easy)
- Details and links to all the amazing creators in this hop—you won’t want to miss what they’re making!
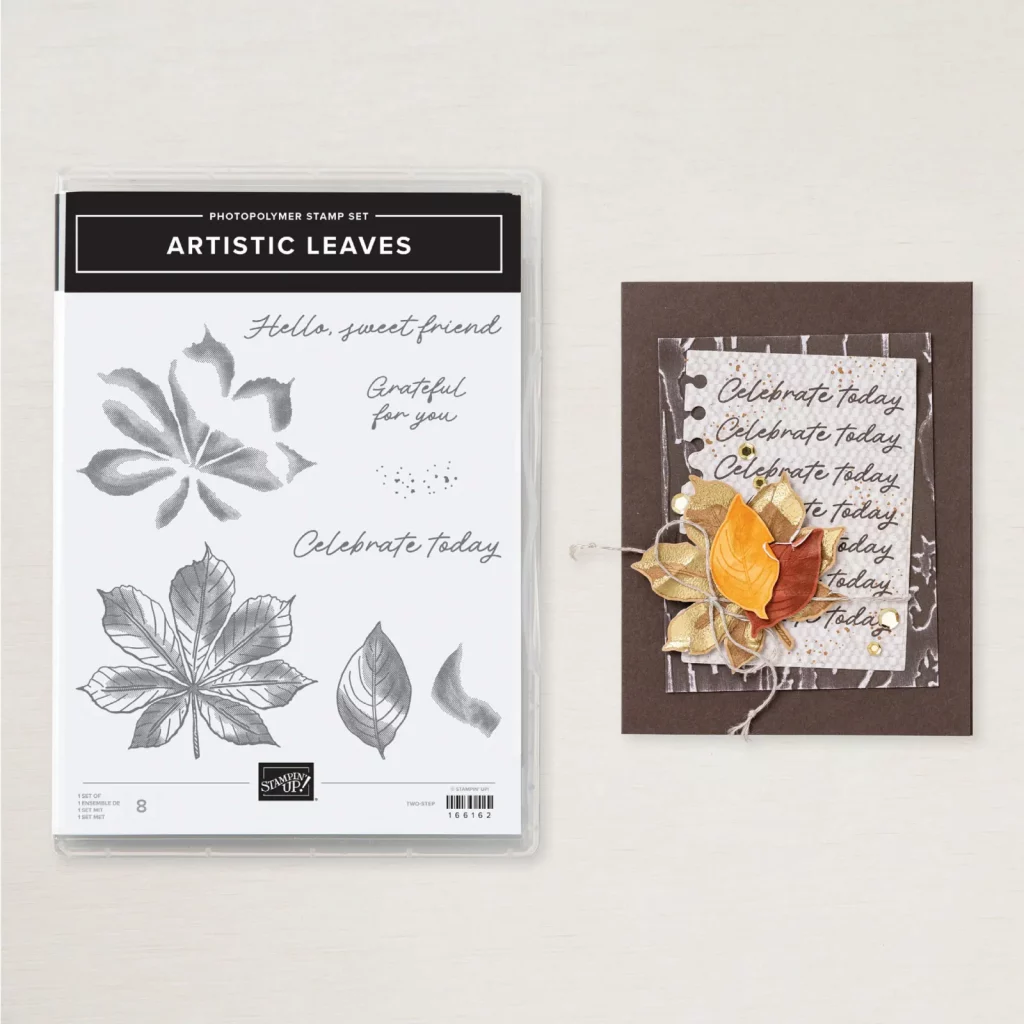
Tonight I will be using Stampin’ Up! Artistic Leaves Stamp Set which can be found at the store in the Online Exclusives!
🍂If you’re ready for some crisp and cool inspiration, My name is Mikki Winebrenner and I’m so glad you stopped by.
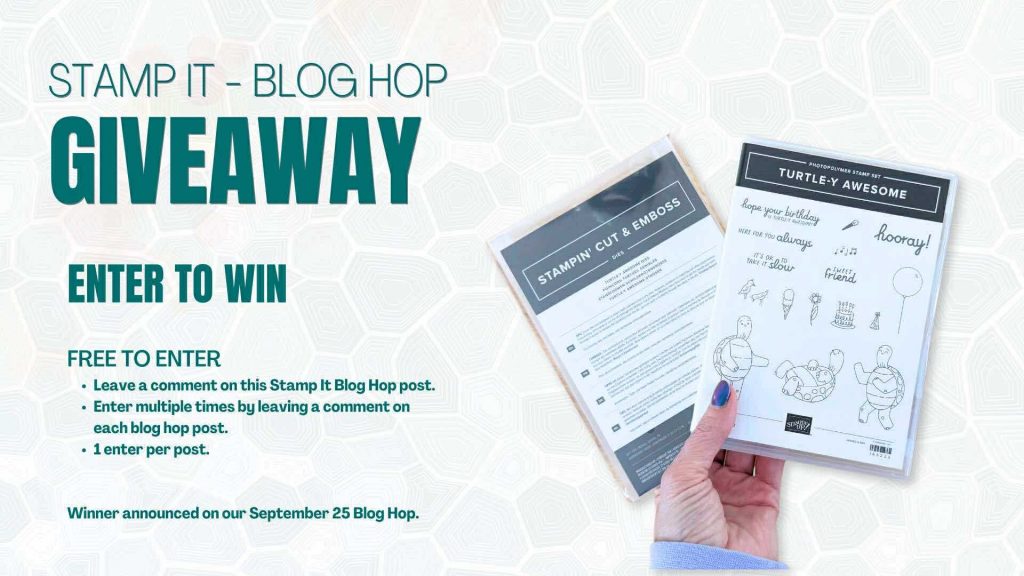
Be sure to drop a comment below for a chance to win a Stampin’ Up!©️ Tutle-y Awesome Bundle
Let’s get our warm hoodies on and begin with the paper measurements!
- Old Olive 8-1/2” x 11” Cardstock: 5-1/2” x 8-1/2”
- Cajun Craze 8-1/2” x 11” Cardstock: 3” x 5-1/2”
- Basic White 8-1/2” x 11” Cardstock: 3” x 5-1/2”
- Timeless Plaid 6” x 6” DSP: 3” x 5-1/2”
Ink used in this crisp design:
- Cajun Craze Classic Stampin’ Pad
- Pecan Pie Classic Stampin’ Pad
- Old Olive Classic Stampin’ Pad
- Mossy Meadow Classic Stampin’ Pad
- Darling Duckling Classic Stampin’ Pad
Additionally I used the following items:
- Sunflower 3D Embossing Folder
- Low Profile Dots
- Blender Pen
THERE IS A FULL LIST OF PRODUCTS BELOW WITH LINKS AND PRODUCT NUMBERS.
Ready to Make Something Super Simple with Autumn Vibes and Adorable?!

Card Queens, Assemble! Let’s create awesomeness!
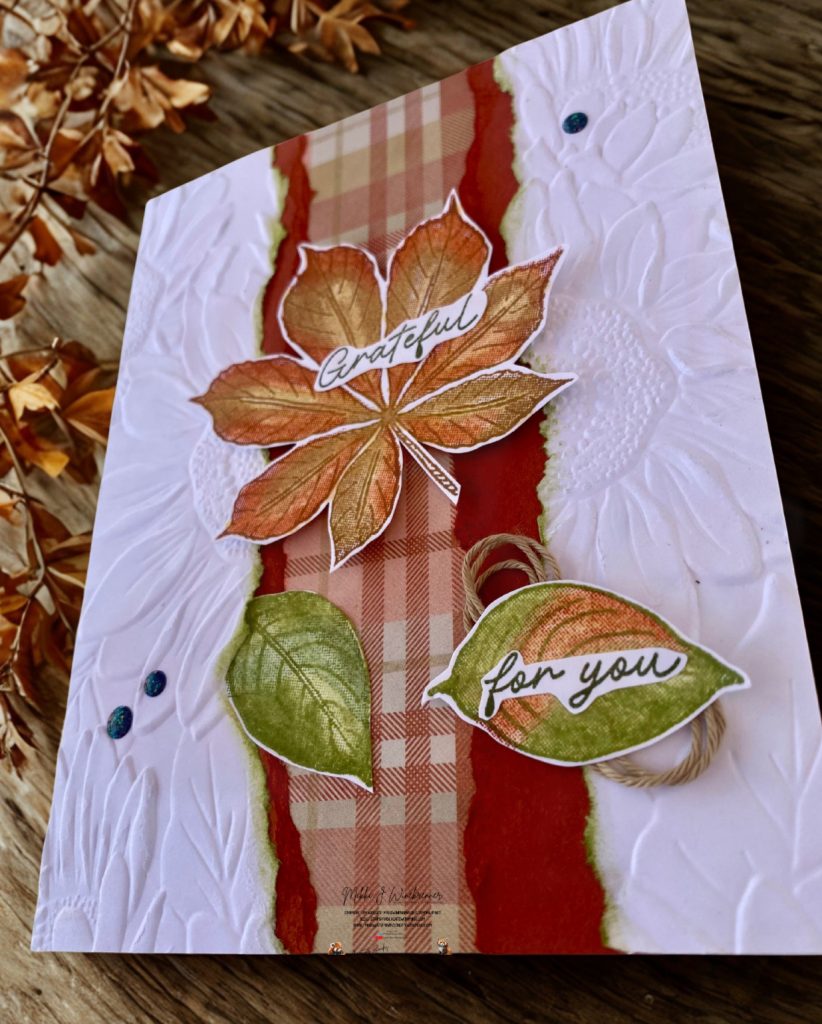
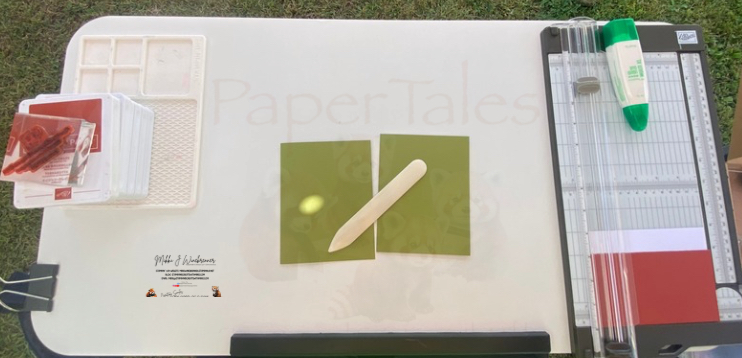
- To begin, cut a piece of Old Olive to a standard card base. Grab a piece of Basic White cardstock and run it through the Stampin’ Cut & Emboss Machine with the Sunflower 3D Embossing folder.
- Creating this fault line card is pretty simple. After cutting my embossed Basic White and Cajun Craze to 3” x 5-1/2”, I tore the pieces in half and then adjusted the size I wanted by trimming the smooth sides down. Leave the DSP at 3” as this is the solid layer of the line.
- On the Cajun Craze I added a little bit of color to the edges with a blending brush and Cajun Craze ink to give it a pop. I also added a little Old Olive ink to the Basic White torn side for added color.
- Attach the DSP to the center of the Old Olive base. Build your fault line up by adding the Cajun Craze and then embossed Basic White. If you want more depth to the layers, you can attach them with dimensionals instead of glue.
- Attach a piece of 4” x 5*1/2” Basic White cardstock to the inside of the card and set the card base aside.
- To create the leaves stamp the large leave outline with Pecan Pie, stamp the textured large leaf with Cajun Craze. Stamp the small leaves with Old Olive. One of mine, the texture is stamped with Cajun Craze.
- If you look closely at the leaves, they all of a bit of yellow in them. I did this by dipping my blender pen in my Darling Duck stamp pad and brushed it through the entire leaf. I really like how it smoothed the look down on the leaf in the end.
- The sentiment is stamped in Mossy Meadow. Fussy cut out the sentiment and the leaf. Attach the word “Grateful” to the large leaf. Attach “for you” to a small leaf. Attach the large leaf to the center of the card with dimensionals. Attach the small leaf with the sentiment to the lower right corner also with dimensionals and a little bit of Linen Thread behind it. Attach the remaining leaf to the card front with liquid glue.
- Stamp a leaf on the inside for a bit of decoration and on the envelope as well. Add a little bit bling around the leafs and your all done.

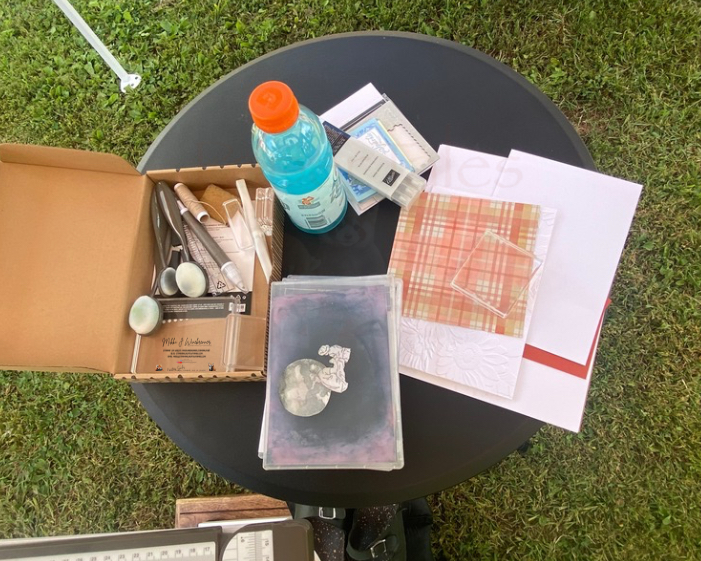
🍂Here is a quick bit of fun for you all! This card and post actually, were created outside! Yup, you can most certainly create out doors on these rare picture perfect days! 👇🏻

PDF IS AVAILABLE BELOW!🫶🏻
And there you have it—proof that fall crafting pairs perfectly with cozy sweaters, stretchy pants, and maybe a slice of pumpkin pie on the side. 😉 Don’t forget to hop along and check out the other Stamp It Group projects—you’ll be falling for all the inspiration (pun totally intended). 🍂✨
Please make sure you leave a comment to be entered to win a Stampin’ Up!©️ Turtle-y Awesome Bundle!
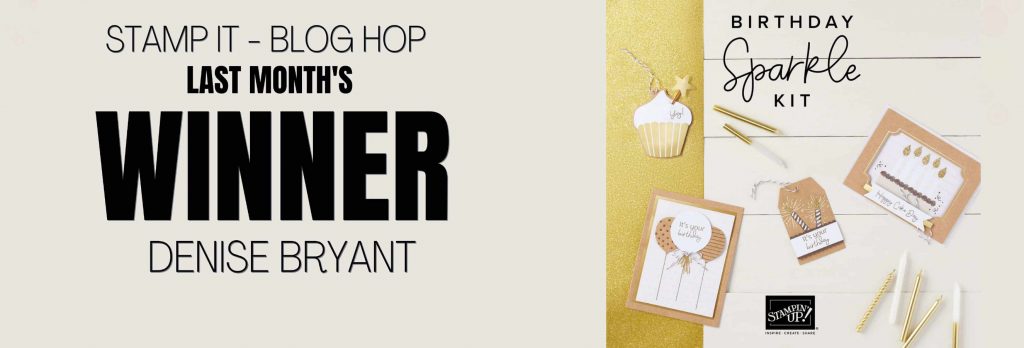
Congratulations to last month’s winner!!
Happy Stamping and Happy Hopping!!
Product List![Basic White 8 1/2" X 11" Cardstock [ 166780 ]](https://assets1.tamsnetwork.com/images/EC042017NF/166780s.jpg "Basic White 8 1/2\" X 11\" Cardstock [ 166780 ]")
![Clear Block Bundle [ 165674 ]](https://assets1.tamsnetwork.com/images/EC042017NF/165674s.jpg "Clear Block Bundle [ 165674 ]")
![Pecan Pie Classic Stampin' Pad [ 161665 ]](https://assets1.tamsnetwork.com/images/EC042017NF/161665s.jpg "Pecan Pie Classic Stampin' Pad [ 161665 ]")
![Darling Duckling Classic Stampin' Pad [ 165277 ]](https://assets1.tamsnetwork.com/images/EC042017NF/165277s.jpg "Darling Duckling Classic Stampin' Pad [ 165277 ]")
![Sunflower 3 D Embossing Folder [ 166145 ]](https://assets1.tamsnetwork.com/images/EC042017NF/166145s.jpg "Sunflower 3 D Embossing Folder [ 166145 ]")
![Stampin' Cut & Emboss Machine [ 149653 ]](https://assets1.tamsnetwork.com/images/EC042017NF/149653s.jpg "Stampin' Cut & Emboss Machine [ 149653 ]")
![Low Profile Sparkle Dots [ 166157 ]](https://assets1.tamsnetwork.com/images/EC042017NF/166157s.jpg "Low Profile Sparkle Dots [ 166157 ]")
![Artistic Leaves Photopolymer Stamp Set (English) [ 166162 ]](https://assets1.tamsnetwork.com/images/EC042017NF/166162s.jpg "Artistic Leaves Photopolymer Stamp Set (English) [ 166162 ]")
![Timeless Plaid 6" X 6" (15.2 X 15.2 Cm) Designer Series Paper [ 164678 ]](https://assets1.tamsnetwork.com/images/EC042017NF/164678s.jpg "Timeless Plaid 6\" X 6\" (15.2 X 15.2 Cm) Designer Series Paper [ 164678 ]")
Ink Card Stock Tools & Adhesive Ribbon & Trim
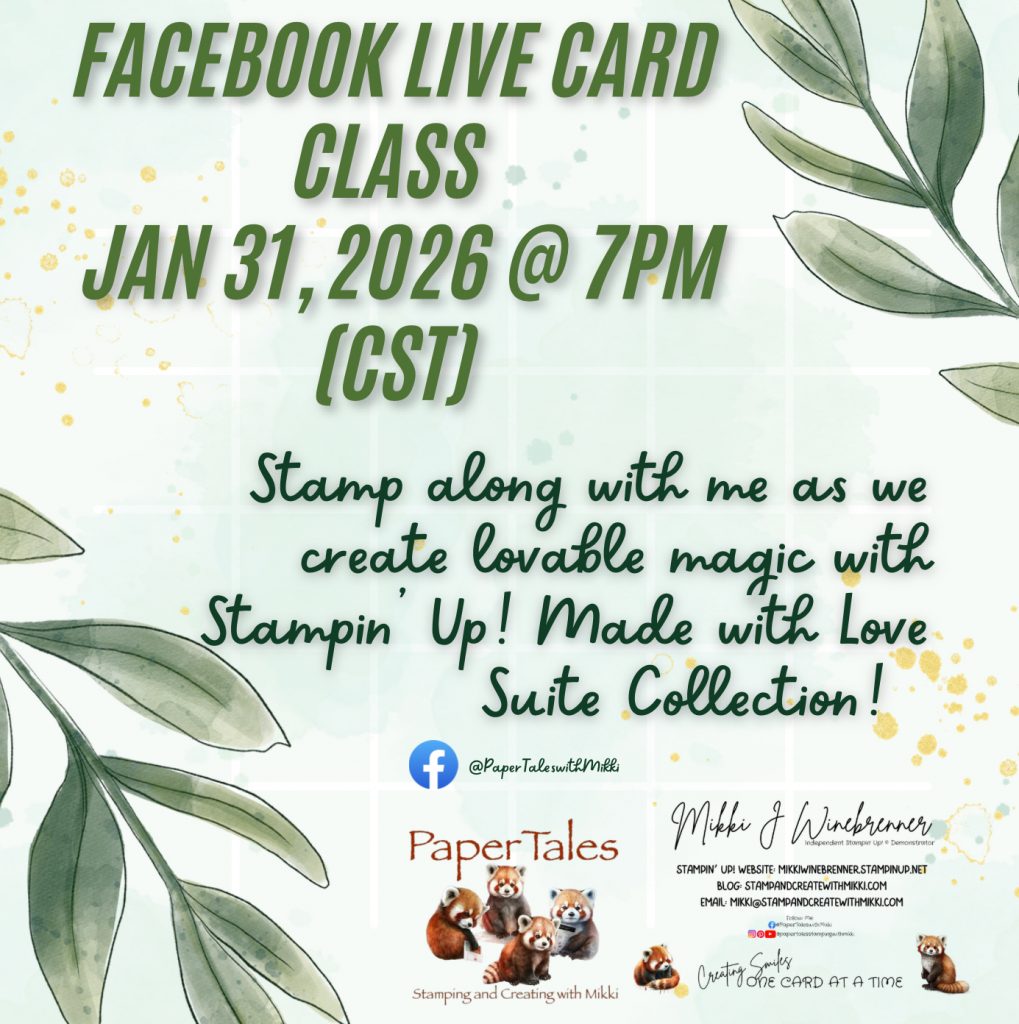
We are doing new and fun things over on Facebook!
I’ve taken a leap into the Live Stream world with a monthly card class. I will have video recordings uploaded to YouTube and will have them linked in here as well.
Just a few little details about these classes.
- First and foremost, they are FREE!!
- I will provide the measurements and products I use during the classes but the creativity is limitless and you can choose whatever products you would like. There is no right or wrong.
- These classes are really just to bring us all together once a month and have some crafty time and relax. The class will be the last Saturday of the Month at 7pm CST and last about an hour.
With that said, I’m always open to suggestions and anything you all might be interested in or a theme you would like to see! Just give me a shout over on my social media pages and let me know!
If you have any questions please reach out to me!
Happy Stamping!

My Favorite Stampin Tools
| 1.Take Your Pick | |
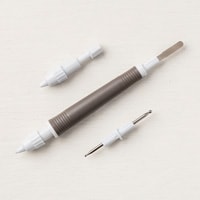 |
So many uses and attachments for this little tool that makes crafting so much easier! I have 3 currently in my tools drawer! |
| 2.Stampin’ Glass Mat Studio (Imperial) | |
 |
This glass mat is amazing! I love that you can write on it, stamp on it and use it to line up paper. Easy to use and super easy to clean up when you’re all done! |
| 3.Simply Scored | |
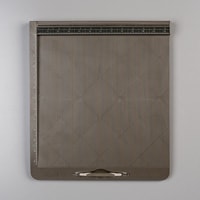 |
The Simply Scored is in my top 5 because it make scoring easy when you’re doing a bunch of scoring at once or intricate score marks for a fold. Also saves you from cutting when wanting to score! The diagonal board is also super helpful when doing scores for envelopes and boxes. |
| 4.Blending Brushes | |
 |
Oh my blending brushes. These little fellows are a blessing when it comes to adding color and making scenes! I could write an entire book on why you should have these in your tool bag! |
| 5.Soft Pastels Assortment | |
 |
These are a sentimental favorite. I have been using soft pastels in art work since high school. They are a unique color tool that believe it or not has a lot of different uses and color techniques. If you want to explore coloring then grab a set of these! |
")
")
")
")


15 responses to “Stamp It Group Autumn Blog Hop”
Wow — this is a beautiful card and it screams Fall. Love how you put the fault line vertically in the center of the card. Perfect all around!!
Beautiful card! Love the added textures with the torn paper and embossing folder.
Cute card. Love this stamp set
love the fall and thi card hits the spot! thanks for sharing with all of us
Love fall cards with leaves.
I love this card
Beautiful fall card!
Such a great card! I love the look of the torn paper.
Nice card.
I love your card with the leaves I love this set and like getting more ideas on how to use it!
Stunning card!
Lovely Fault llne card!
Love this card ! I always look for new ideas with leaves.
I liked all of the fall cards, especially using the just a note bundle!
Love the embossing folder