

It may be July, but we’re bringing the merry early with this year’s Christmas in July Blog Hop where Feathered Fun meets Quadruple Z Fold! If you’ve ever wished holiday prep could feel more fun and less frantic, you’re in the right place.
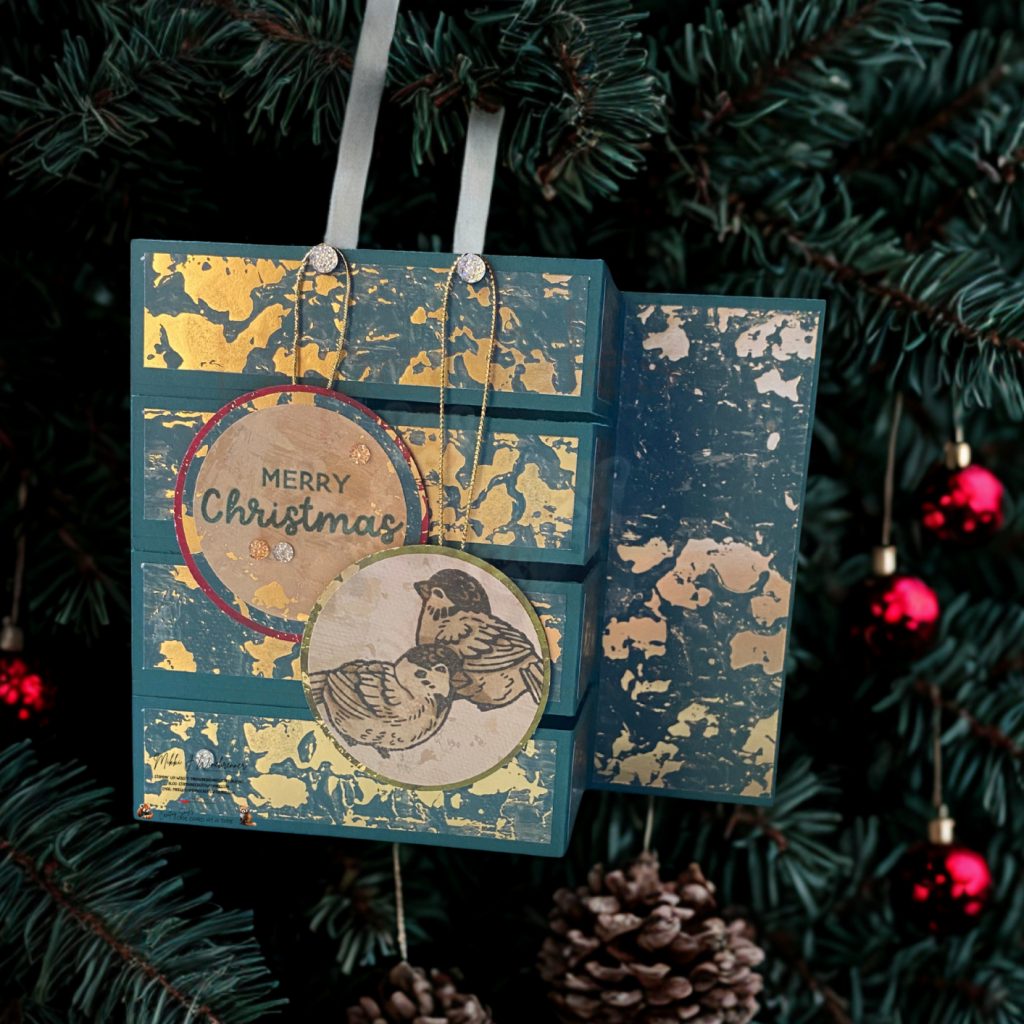
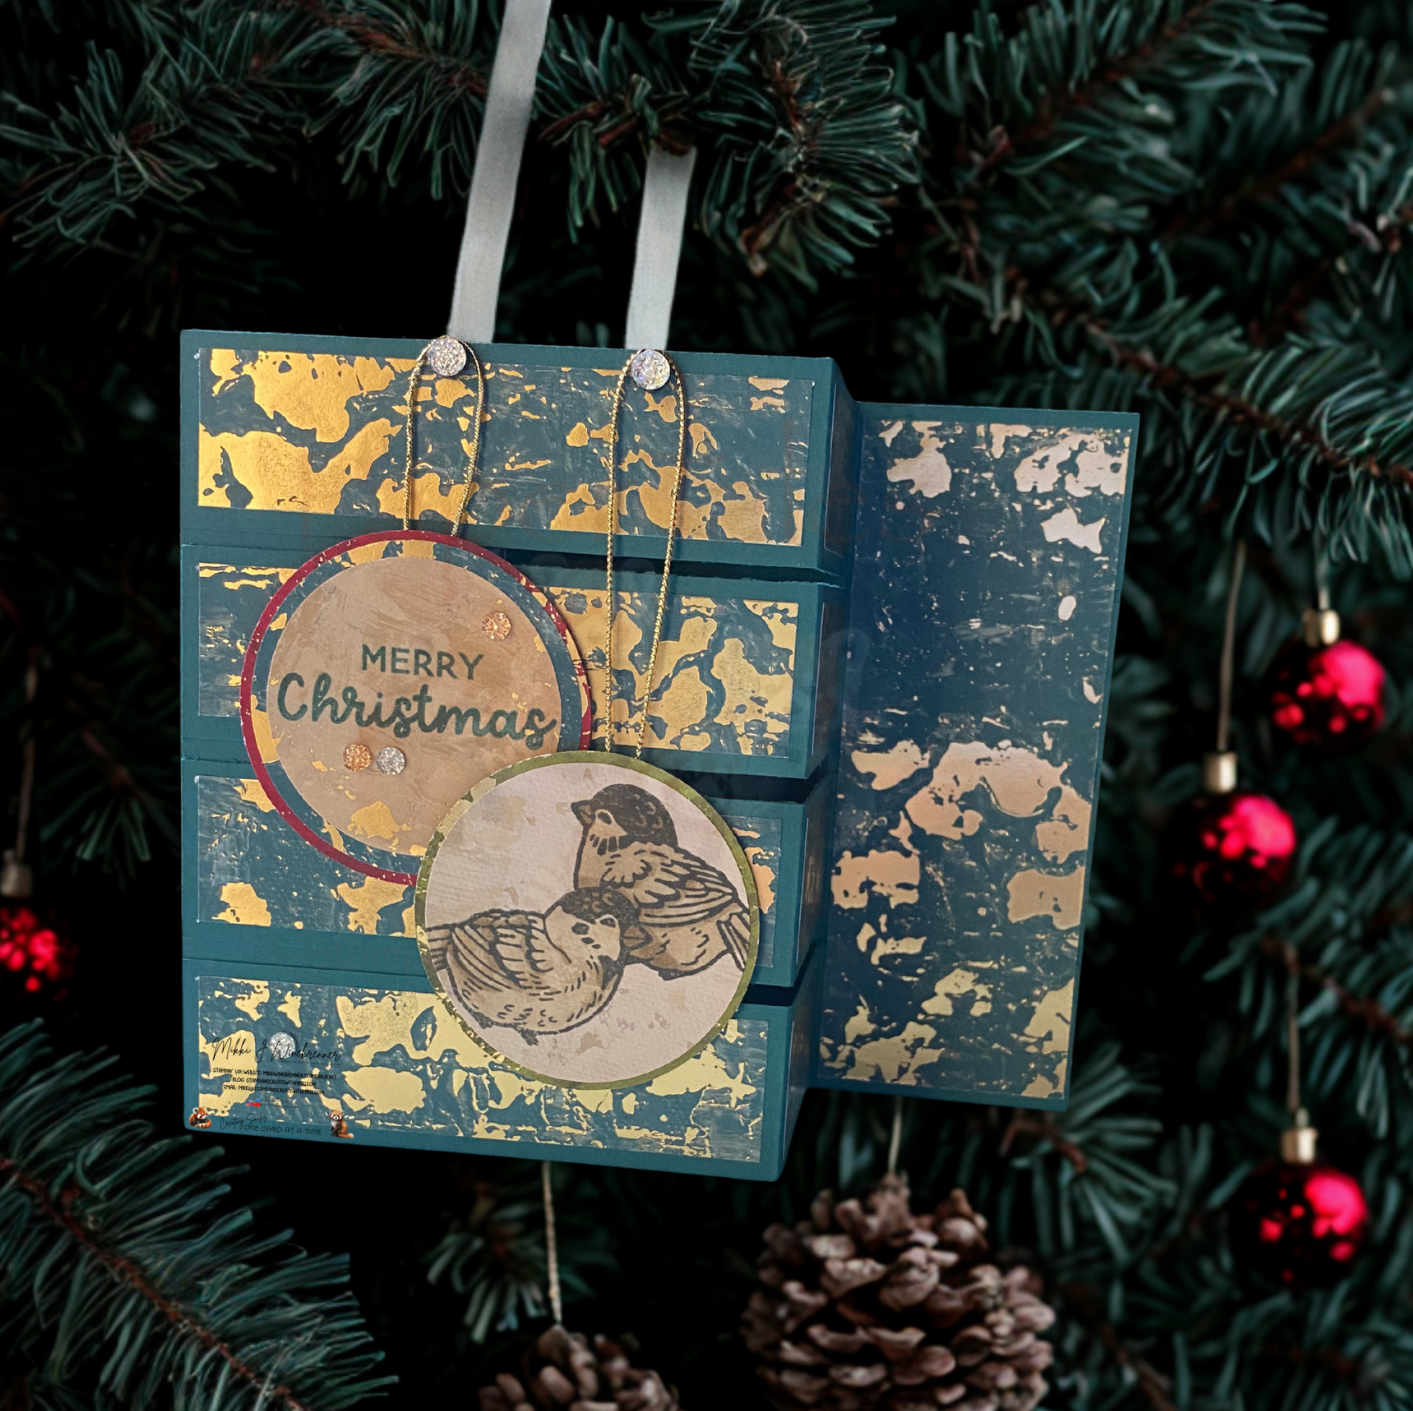
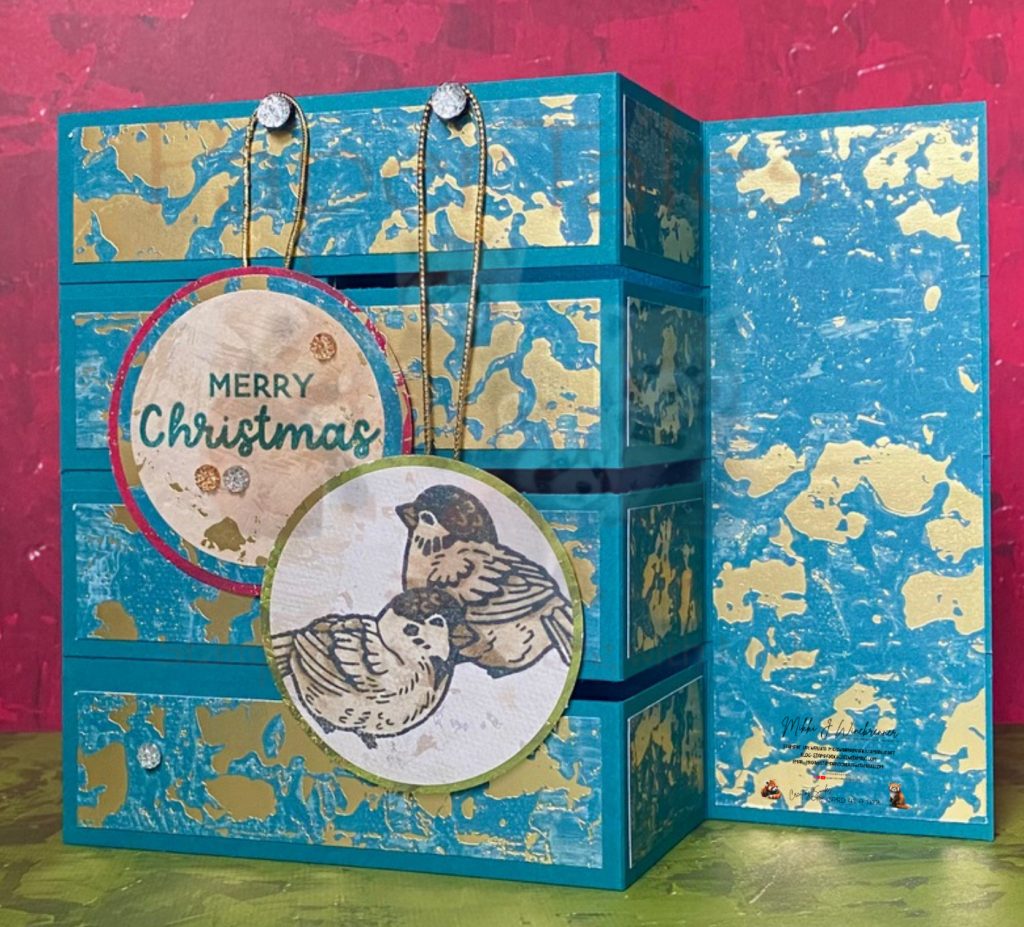
For my project, I decided to give Christmas crafting a playful twist using the Stampin’ Up Feathered Fun stamp set—and oh yes, we’re going bold with a Quadruple Z Fold Fun Fold Card. Because why stop at one Z when you can have four?!
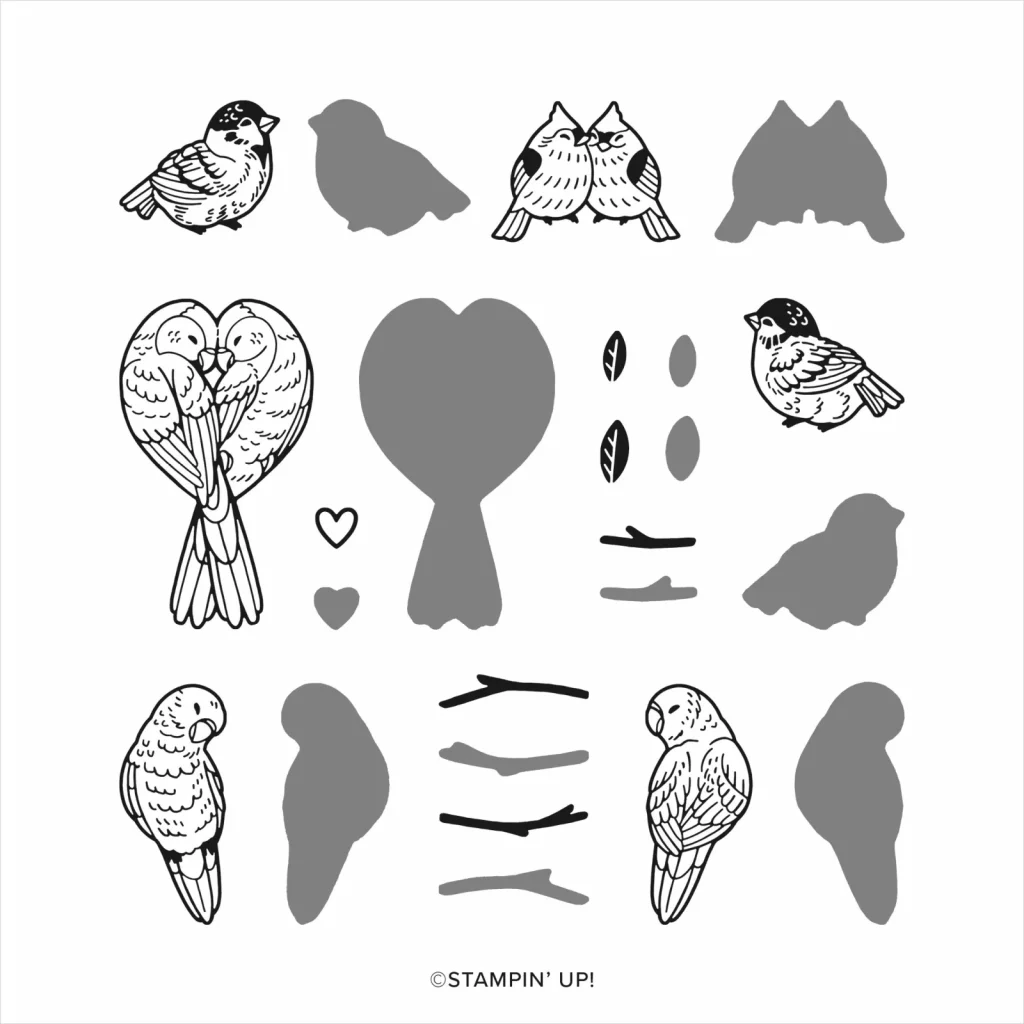
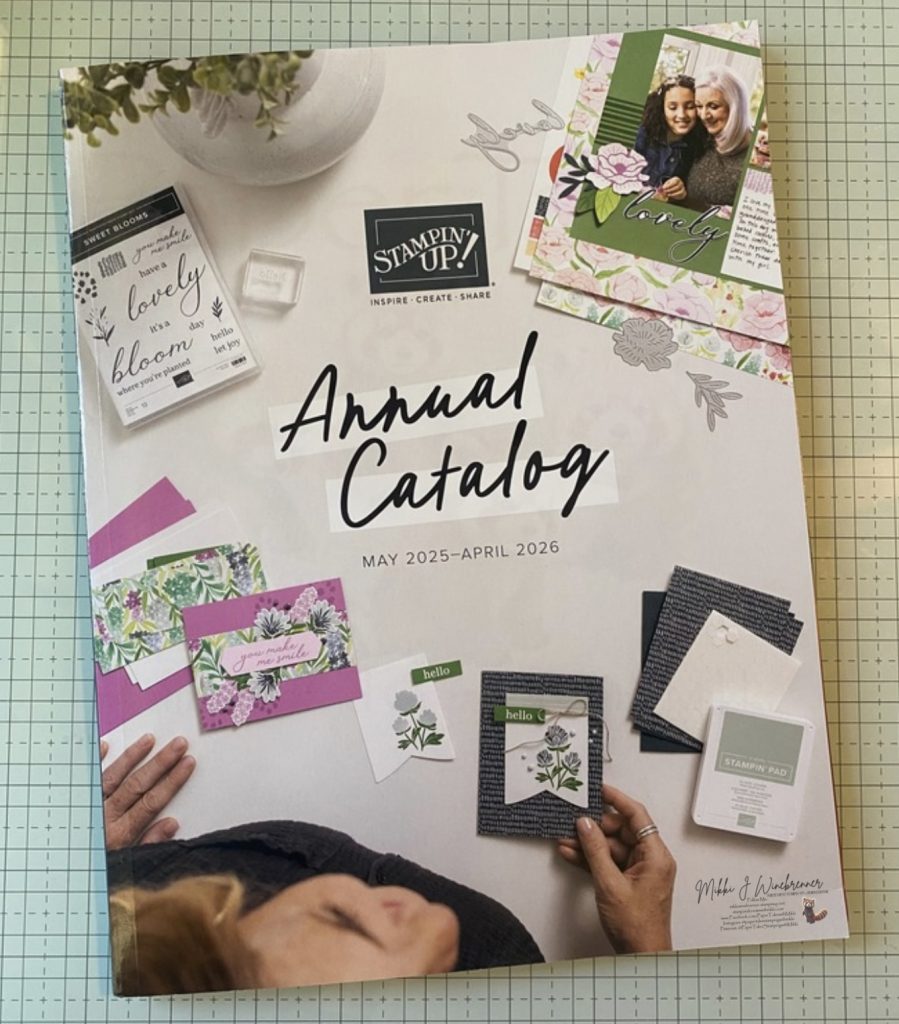
Feathered Friends Stamp Set can be found in the 2025-2026 Annual Catalog and in the online store!
This design is whimsical, dimensional, and guaranteed to make someone smile when they open it. I wanted to create something that felt festive but unexpected, and those adorable feathered friends fit the bill perfectly. Think bright colors, joyful layers, and just enough sass to say, “Yeah, I made this in July—because I’m that prepared.”
✨ Here’s what you’ll find below:
- A quick tutorial with step-by-step basic instructions
- A video walkthrough so you can follow along with me *uploading soon*
- A downloadable PDF supply list (because we love easy) *uploading soon*
- Details and links to all the amazing creators in this hop—you won’t want to miss what they’re making!
🎄 Whether you’re crafting ahead for the holidays or just soaking up some inspiration, My name is Mikki Winebrenner and I’m so glad you stopped by.
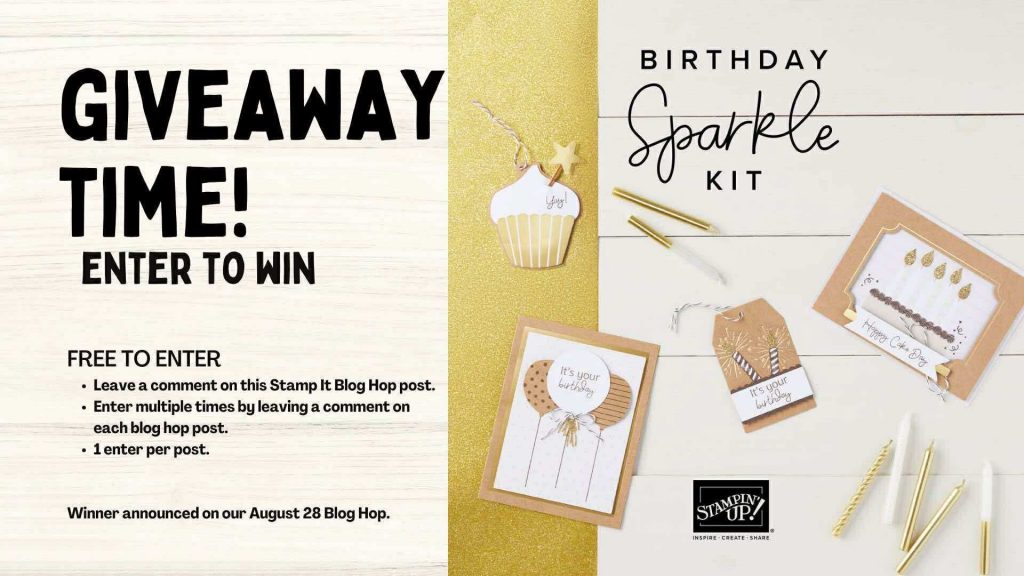
Be sure to drop a comment below for a chance to win a Stampin’ Up!©️ Birthday Sparkle Kit.
Let’s get our jingle bells on and begin with the paper measurements!
- Pretty Peacock 8-1/2” x 11” Cardstock: 5-1/2” x 8-1/2”, 1-1/4” x 8-1/2” (x4)
- Season of Elegance 12” x 12” Specialty Designer Series Paper: 1” x 1-7/8” (x4), 1” x 4” (x4), 2” x 5-1/4” (x3), 4” x 5-1/4”, 3” x 3” scrap pieces for stamping and circles
Ink used in this festive design:
Additionally I used the following items:
- Crumb Cake Stampin’ Blends Combo Pack
- Long Time No See Stamp Set
- 2-3/8”, 2-1/4” and 2” Circle Punches
THERE IS A FULL LIST OF PRODUCTS BELOW WITH LINKS AND PRODUCT NUMBERS.
Ready to Make Something Super Festive, Feathery and Adorable?!
Card Queens, Assemble! I have a quick walk through on how to build this card. I am working on a PDF and a Video for a step by step walk through you will be able to print/watch later (Adulting interfered with my plans and now I’m running a billion years behind!)
This video will give you the live action process on how this feathery festive card goes together!

PDF IS AVAILABLE BELOW! I AM STILL WORKING ON THE VIDEO!🫶🏻
While we wait for me to play catch up, here is a quick walk through on the process.
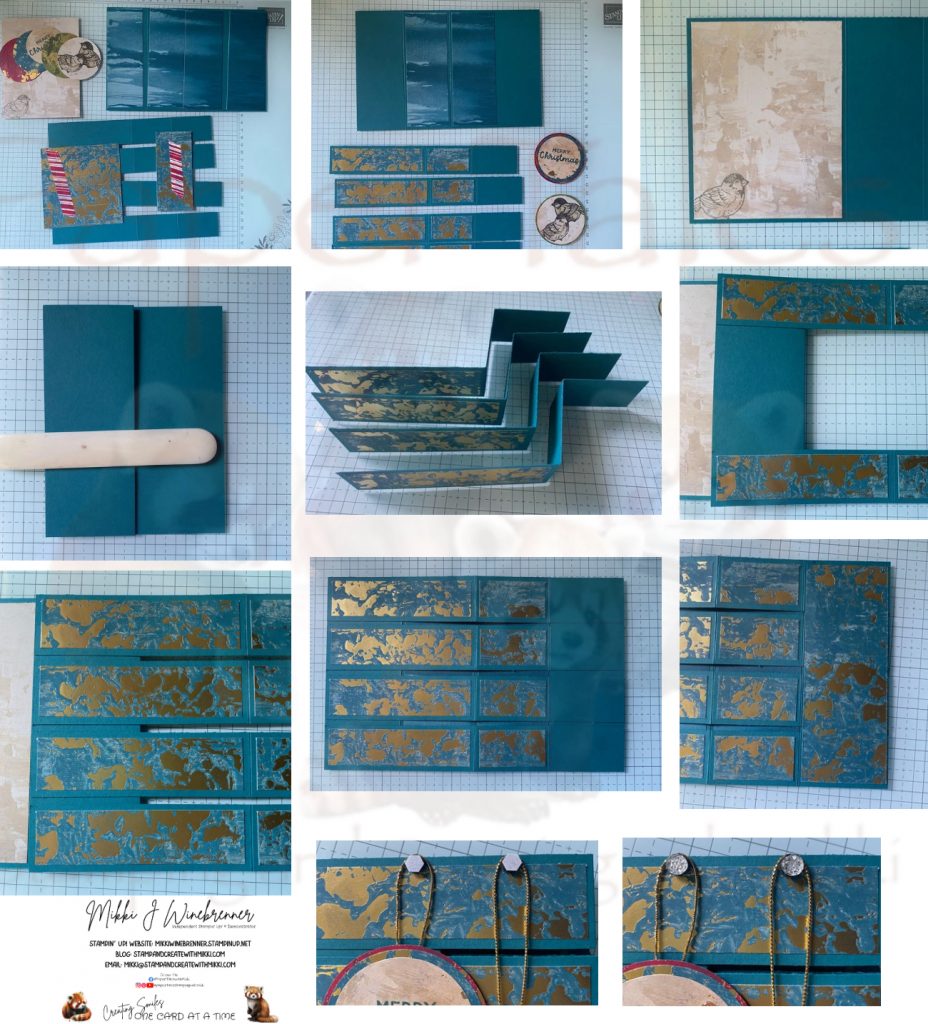
INSTRUCTIONS
- Score all your card stock bases at 2-1/8” and 4-1/4”
- Stamp 2 small birds onto a beige Season of Elegance piece with Tuxedo Back. Color them in with Crumb Cake Blends (or you can leave them as they are – very cute either way!)
- Cut the Birds out with 2-1/4” Circe Punch.
- Stamp another bird – second generation onto the corner of the large DSP piece.
- Cut out two 2-3/8” Circes from other colors in the DSP pack and one 2” Circle beige piece and one more 2-1/2” circle from either red or green.
- Stamp your sentiment onto the 2” circle with Pretty Peacock Classic Stampin’ Pad.
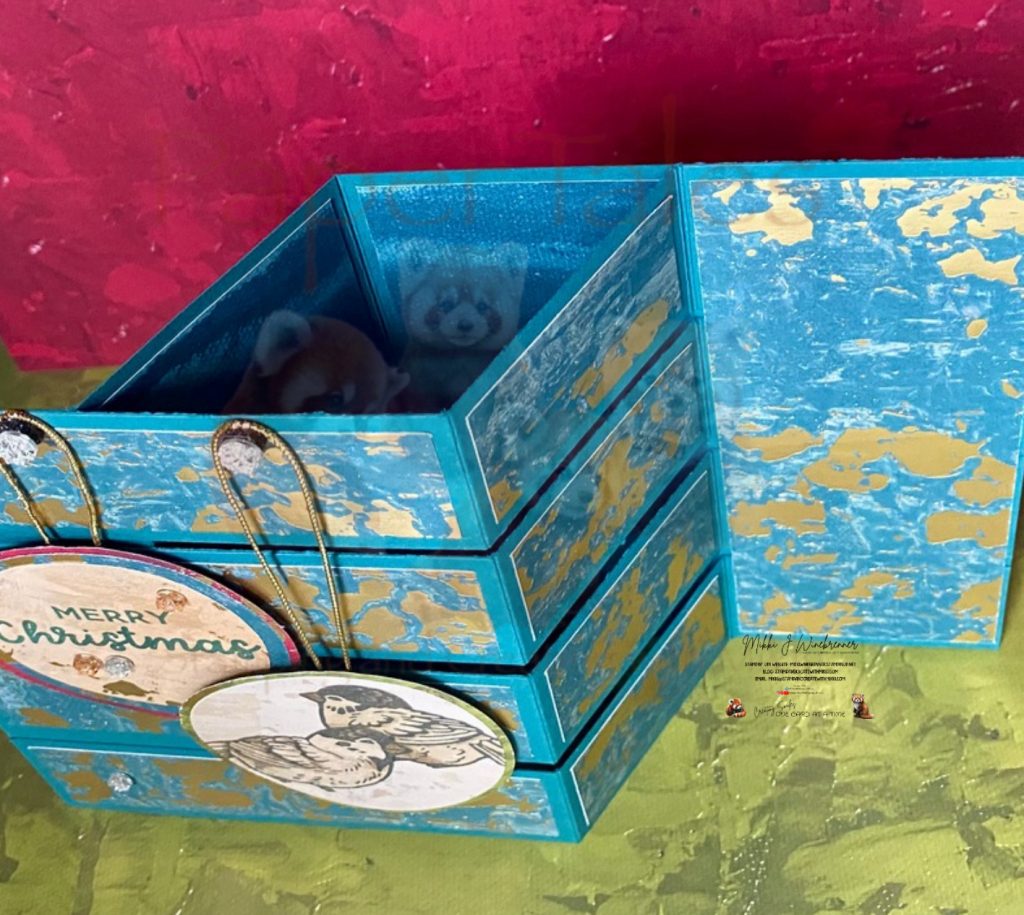
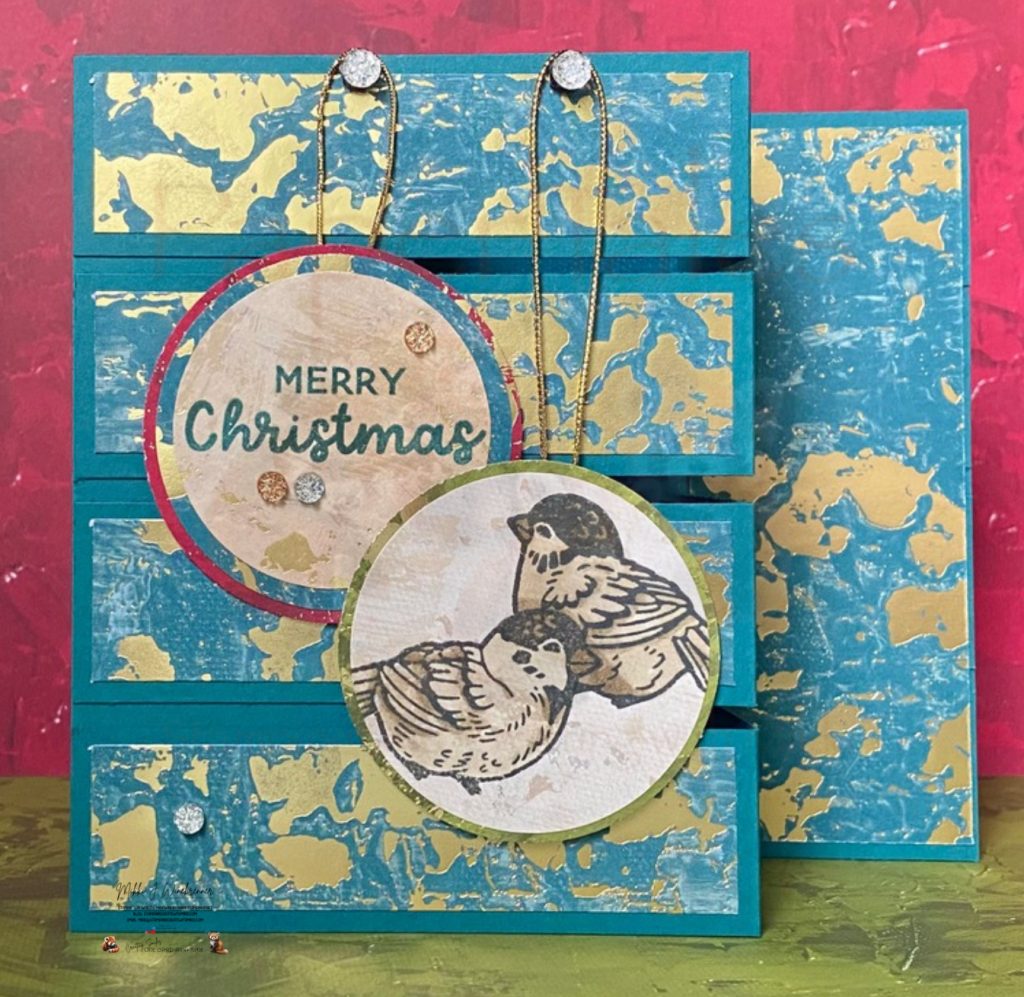
- Attach all the DSP to the the card bases except one of the 2 x 5-1/4” pieces and the circle sentiment and images to the the larger circles. See the 2nd and 3rd photo above for the layout.
- Fold the card base ad the 1-1/4” strips into a z shape.
- Flatten back out and attach the top and bottom 1-1/4” strips to the just the first panel (long side goes to the right).
- Attach the last two in the middle leaving about 1/8” between them.
- Attach the right side of the strips – last section only – to the card base.
- Cover the blank section you just glued with the remaining 2” DSP strip.
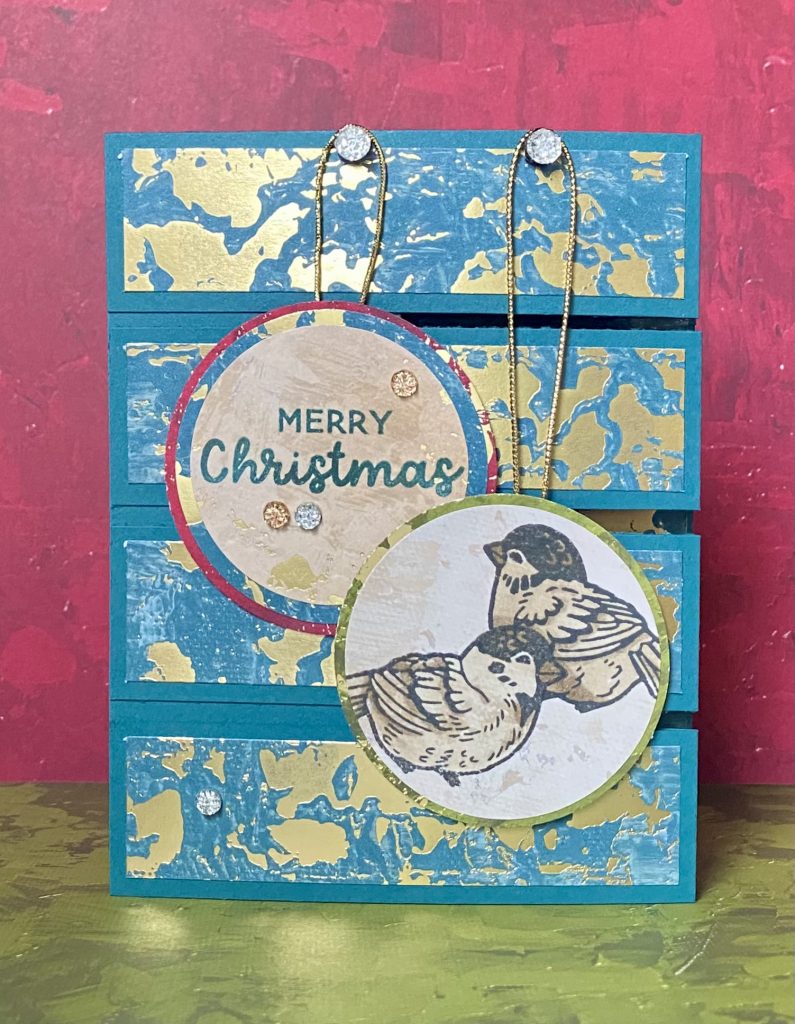
- Cut 4-5” of cold trim and attach it to the back of each “bauble” (sentiment and image circle)
- Attach your sentiment and image to the card front. I used dimensionals on both to pop them up.
- To give the thumb tack look for the trim loops: attach 2 black mini dimensionals onto each other and then to the cardstock making sure the loop is snug around it.
- Attach a Drusy Adhesive Embellishments to the top. Do this for both trim strings.
- Finally add more Drusy Adhesive Embellishment around the card front.
- Don’t forget to decorate your envelope.
- ** Optional: you can add a piece of the beige DSP or cardstock to the far right side of the card front to write on. The paper size for that would be 1-3/4” x 5”. This would eliminate the 4” x 5-1/4” DSP for the back.
Isn’t this quadruple z-fold card just so adorable?! I hope it gives you a little bit of inspiration to start your holiday creations.
Please make sure you leave a comment to be entered to win a Stampin’ Up!©️ Birthday Sparkle Kit!
Congratulations to last month’s winner!!
Ready for more festive fun?
Don’t stop here—there’s a whole sleigh-full of inspiration waiting! Be sure to hop on over to the next amazing creator in the Christmas in July Blog Hop and see what they’ve whipped up. Trust me, you’re going to want to add every single project to your crafting list.
Happy Stamping and Happy Hopping!!
Product List![Stampin' Cut & Emboss Machine [ 149653 ]](https://assets1.tamsnetwork.com/images/EC042017NF/149653s.jpg "Stampin' Cut & Emboss Machine [ 149653 ]")
![Season Of Elegance 12" X 12" (30.5 X 30.5 Cm) Specialty Designer Series Paper [ 164144 ]](https://assets1.tamsnetwork.com/images/EC042017NF/164144s.jpg "Season Of Elegance 12\" X 12\" (30.5 X 30.5 Cm) Specialty Designer Series Paper [ 164144 ]")
![Gold & Silver 1/8" (3.2 Mm) Trim Combo Pack [ 161633 ]](https://assets1.tamsnetwork.com/images/EC042017NF/161633s.jpg "Gold & Silver 1/8\" (3.2 Mm) Trim Combo Pack [ 161633 ]")
![2 3/8" (6 Cm) Circle Punch [ 161354 ]](https://assets1.tamsnetwork.com/images/EC042017NF/161354s.jpg "2 3/8\" (6 Cm) Circle Punch [ 161354 ]")
![Feathered Fun Photopolymer Stamp Set [ 165336 ]](https://assets1.tamsnetwork.com/images/EC042017NF/165336s.jpg "Feathered Fun Photopolymer Stamp Set [ 165336 ]")
![Long Time No See Photopolymer Stamp Set (English) [ 166189 ]](https://assets1.tamsnetwork.com/images/EC042017NF/166189s.jpg "Long Time No See Photopolymer Stamp Set (English) [ 166189 ]")
![Black Stampin' Dimensionals Combo Pack [ 150893 ]](https://assets1.tamsnetwork.com/images/EC042017NF/150893s.jpg "Black Stampin' Dimensionals Combo Pack [ 150893 ]")
![Crumb Cake Stampin' Blends Combo Pack [ 154882 ]](https://assets1.tamsnetwork.com/images/EC042017NF/154882s.jpg "Crumb Cake Stampin' Blends Combo Pack [ 154882 ]")
![Drusy Adhesive Backed Embellishments [ 164223 ]](https://assets1.tamsnetwork.com/images/EC042017NF/164223s.jpg "Drusy Adhesive Backed Embellishments [ 164223 ]")
![Pretty Peacock Classic Stampin’ Pad [ 150083 ]](https://assets1.tamsnetwork.com/images/EC042017NF/150083s.jpg "Pretty Peacock Classic Stampin’ Pad [ 150083 ]")
Ink Card Stock Tools & Adhesive Punch Ribbon & Trim
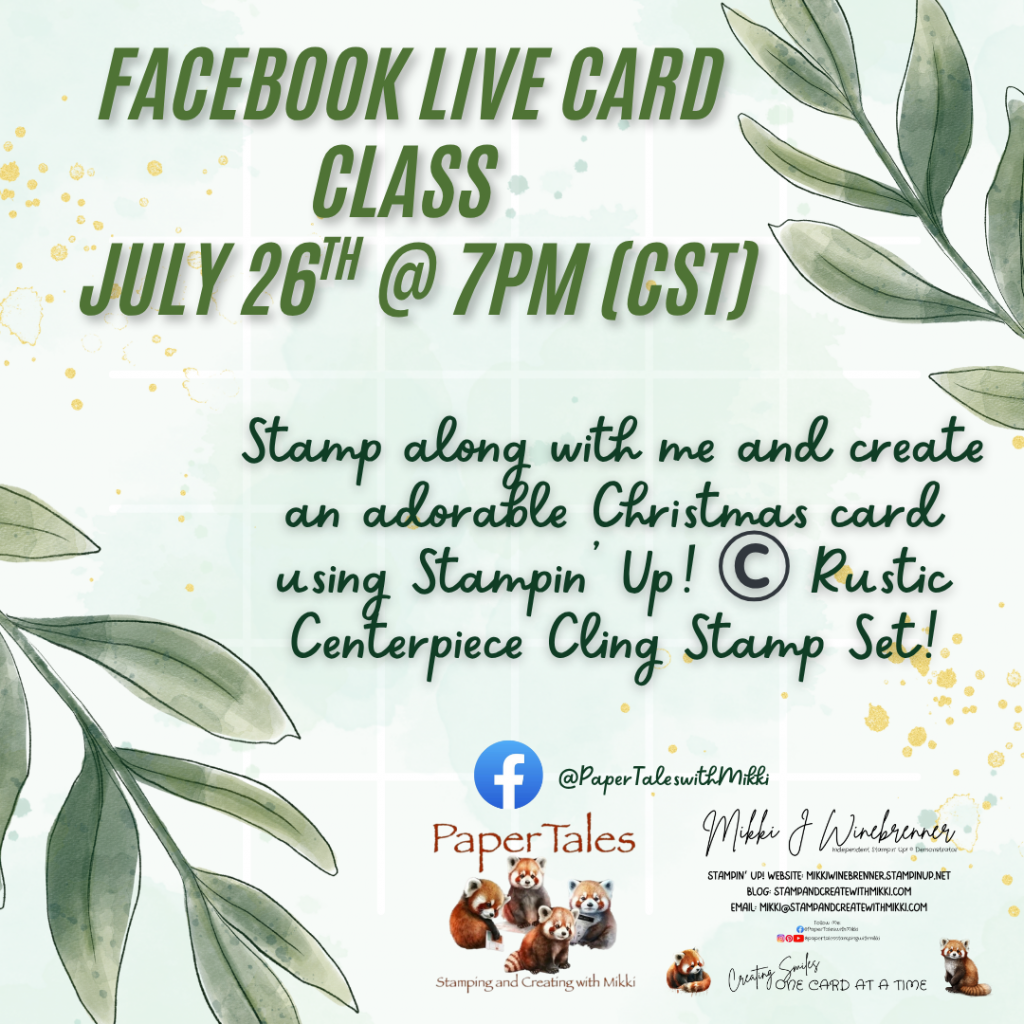
We are doing new and fun things over on Facebook!
I’ve taken a leap into the Live Stream world with a monthly card class. I will have video recordings uploaded to YouTube and will have them linked in here as well.
Just a few little details about these classes. First and foremost, they are FREE!!
I will provide the measurements and products I use during the classes but the creativity is limitless and you can choose whatever products you would like. There is no right or wrong.
These classes are really just to bring us all together once a month and have some crafty time and relax. The class will be the last Saturday of the Month at 7pm CST and last about an hour.
With that said, I’m always open to suggestions and anything you all might be interested in or a theme you would like to see! Just give me a shout over on my social media pages and let me know!
Our next class is Christmas Themed and will be using Stampin’ Up! Rustic Centerpiece. See you Saturday July 26th @ 7PM (CST)!
If you have any questions please reach out to me.
Happy Stamping!!


My Favorite Stampin Tools
| 1.Take Your Pick | |
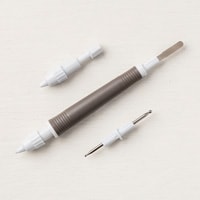 |
So many uses and attachments for this little tool that makes crafting so much easier! I have 3 currently in my tools drawer! |
| 2.Stampin’ Glass Mat Studio (Imperial) | |
 |
This glass mat is amazing! I love that you can write on it, stamp on it and use it to line up paper. Easy to use and super easy to clean up when you’re all done! |
| 3.Simply Scored | |
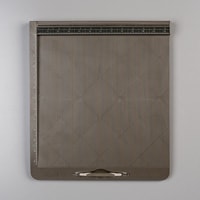 |
The Simply Scored is in my top 5 because it make scoring easy when you’re doing a bunch of scoring at once or intricate score marks for a fold. Also saves you from cutting when wanting to score! The diagonal board is also super helpful when doing scores for envelopes and boxes. |
| 4.Blending Brushes | |
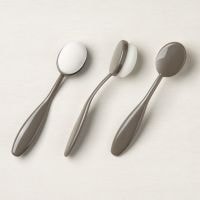 |
Oh my blending brushes. These little fellows are a blessing when it comes to adding color and making scenes! I could write an entire book on why you should have these in your tool bag! |
| 5.Soft Pastels Assortment | |
 |
These are a sentimental favorite. I have been using soft pastels in art work since high school. They are a unique color tool that believe it or not has a lot of different uses and color techniques. If you want to explore coloring then grab a set of these! |
")
")
")
")


6 responses to “Christmas in July Blog Hop — Feathered Fun Meets Quadruple Z Fold!”
Beautiful card with these lovely designs and papers! Love the colors and the shine!
Fabulous card! The Season of Elegance DSP is so lovely — nice choice for your card.
Thank you so much for the pdf. This is an awesome card, Love the distressing and blue colors
Such an elegant card ! Love the sparrows.
Nice card.
Very pretty project.