
Welcome!
We are at the end of the series for Stampin’ Up!’s Storybook Moments Suite Collection. I have a simple and elegant for you as we close this series.
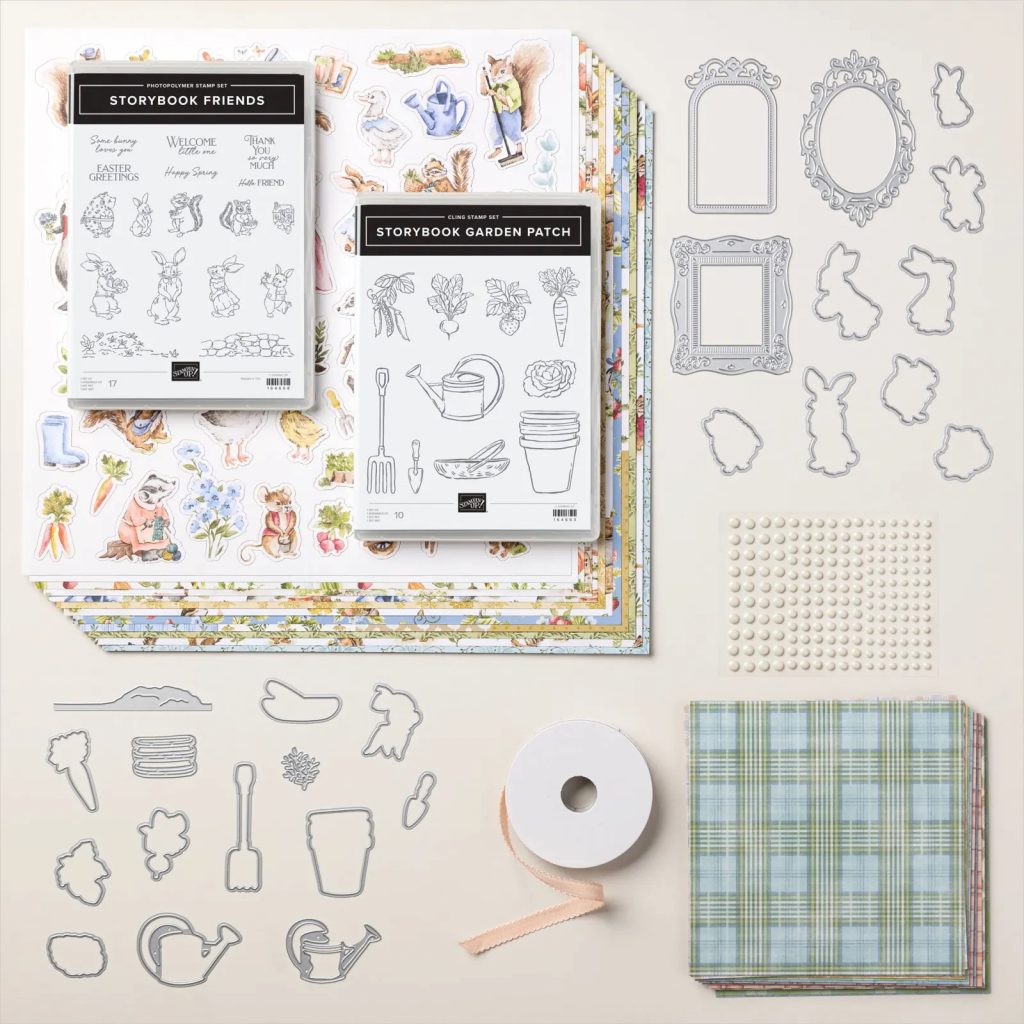
Stampin’ Up!©️ Storybook Moments Suite Collection is a very large suite! It consists of 2 complete stamp/die bundles, 2 designer series papers, pearls and ribbon. This suite can be found on my online store or in the January – April Mini Catalog, page 23.
I wanted to keep this one simple as our last few cards have been pretty detailed.
This card is also acting as a soft transition to our next series.
Let’s hop on into our final card!
Today, I will be using Storybook Friends Bundle and Antique Pearls. Both are a part of the Storybook Moments Suite Collection.
I will also be using Stampin’ Up! Distressed Tile 3D Embossing Folder.
Starting with the measurements for the card:
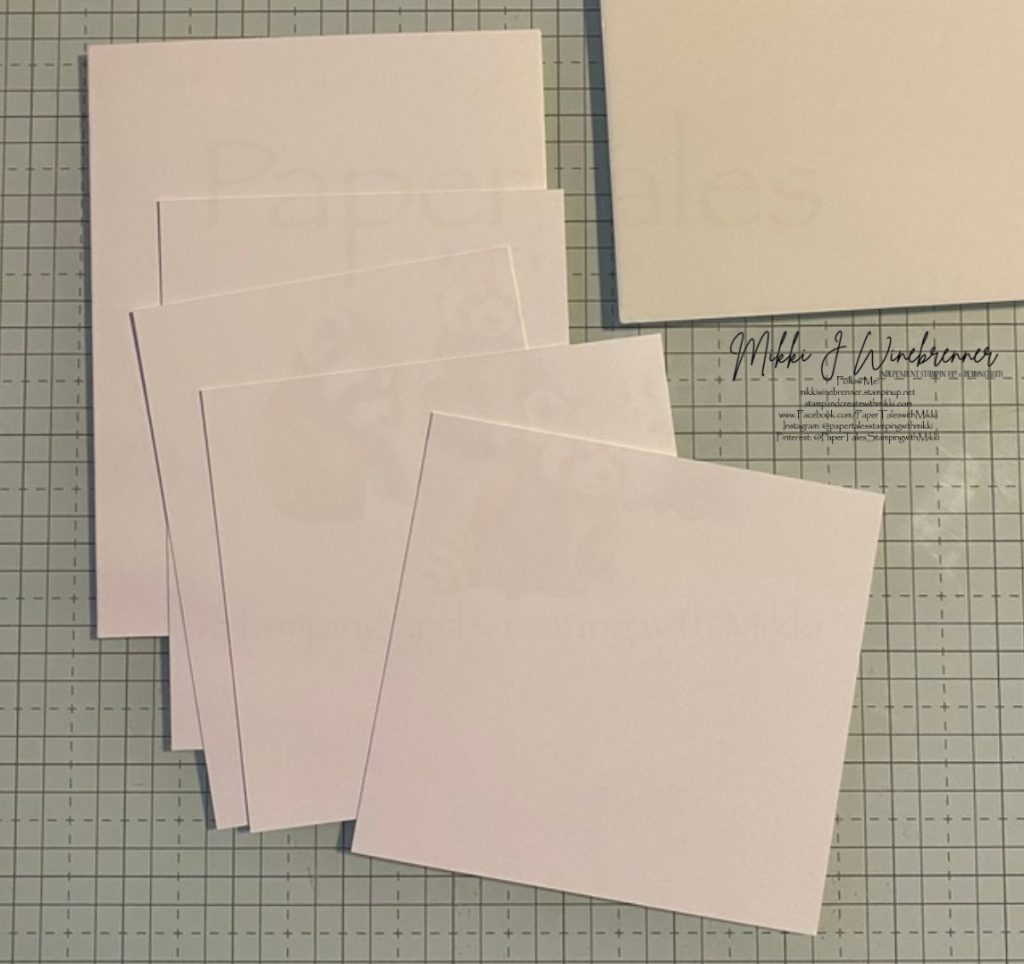
Basic White 8-1/2” x 11” Thick Cardstock: 5-1/2” x 8-1/2” scored at 4-1/4”, 3-3/4” x 5”, 3-1/2” x 3-3/4” and 2-3/4” x 4”
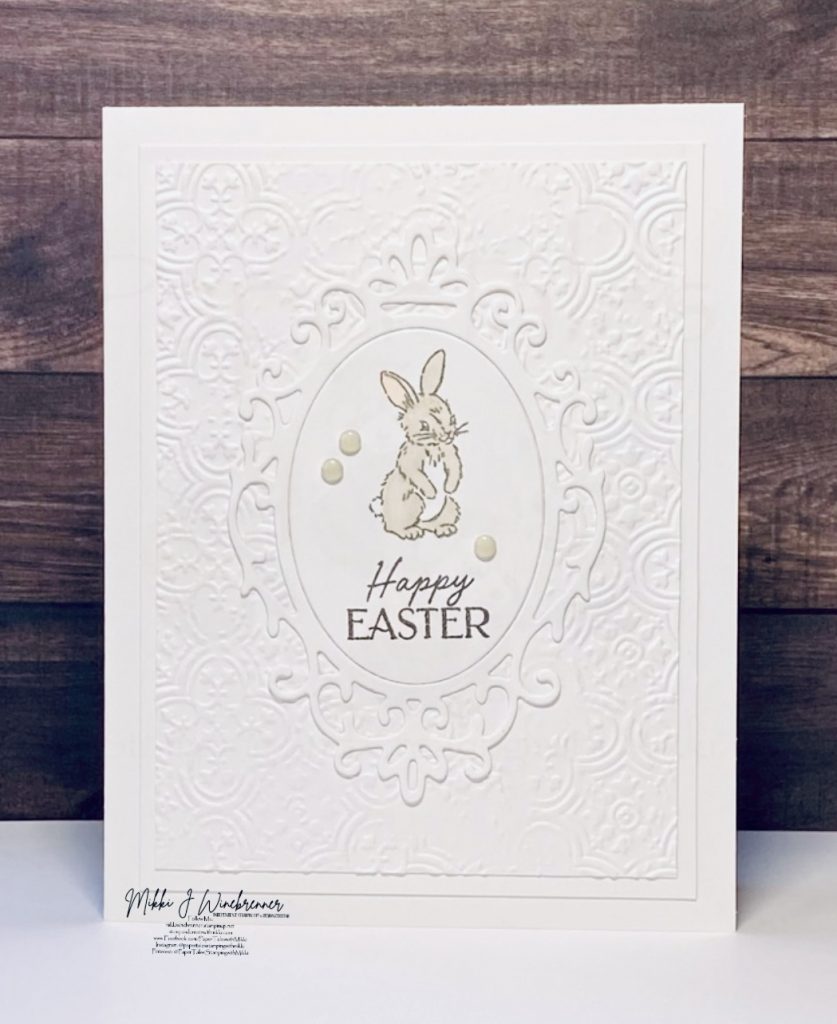
As you can see this is an all white card. I know some have issues with the white on white and that can be changed up to any color.
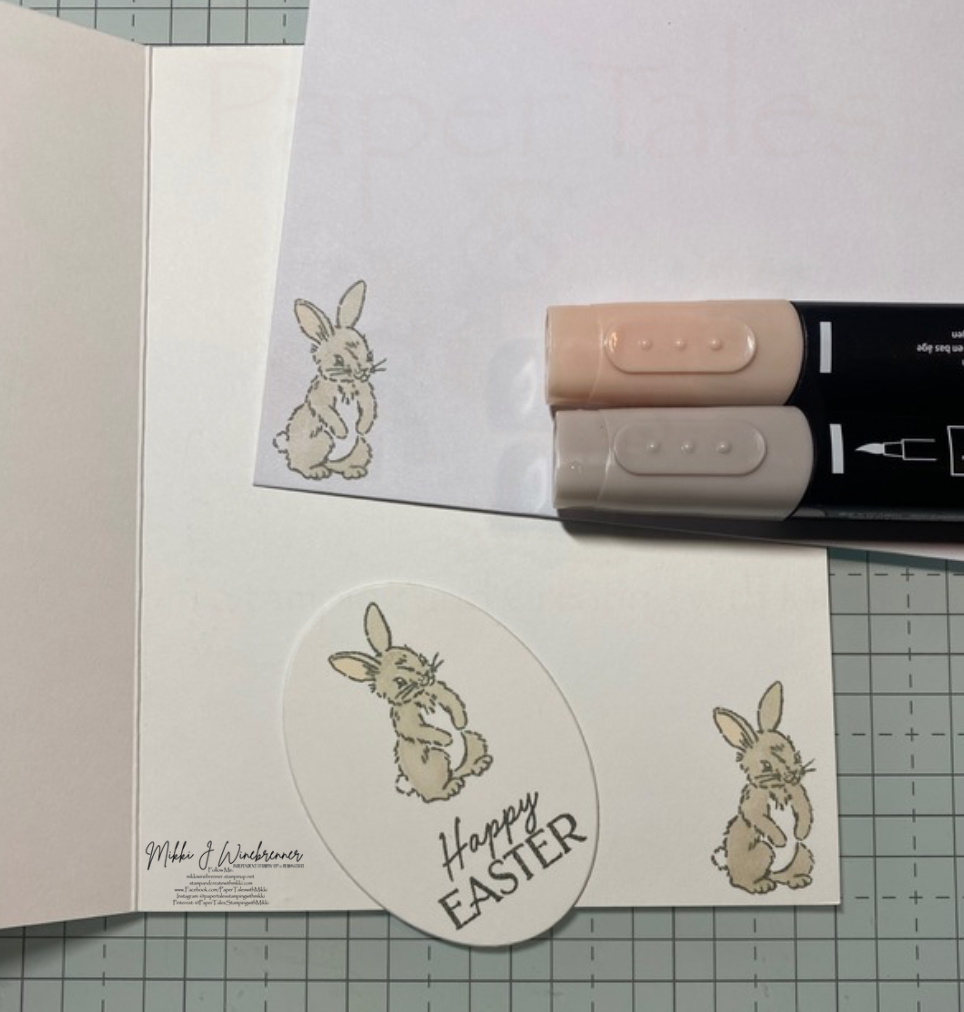
For ink I am using Pebbled Path and Crumb Cake and Petal Pink Stampin’ Blend.
Before I get to the step by step, the photo’s will show that I started this using foam adhesive sheet to try and pop the frame a little but it didn’t look right so I scratched that.
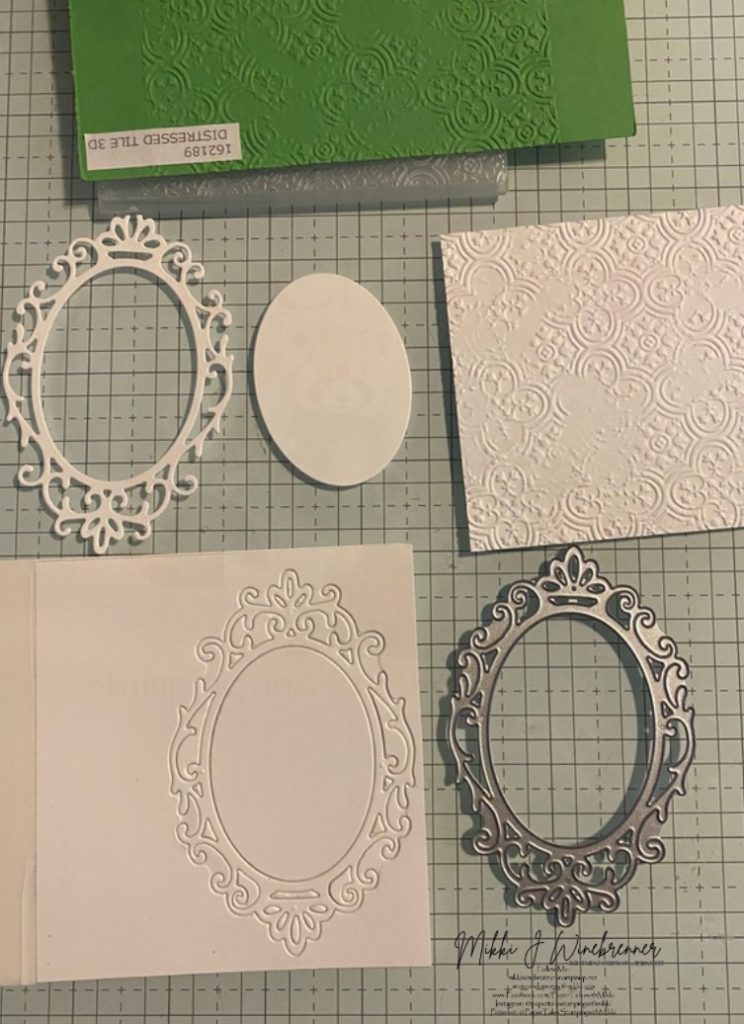
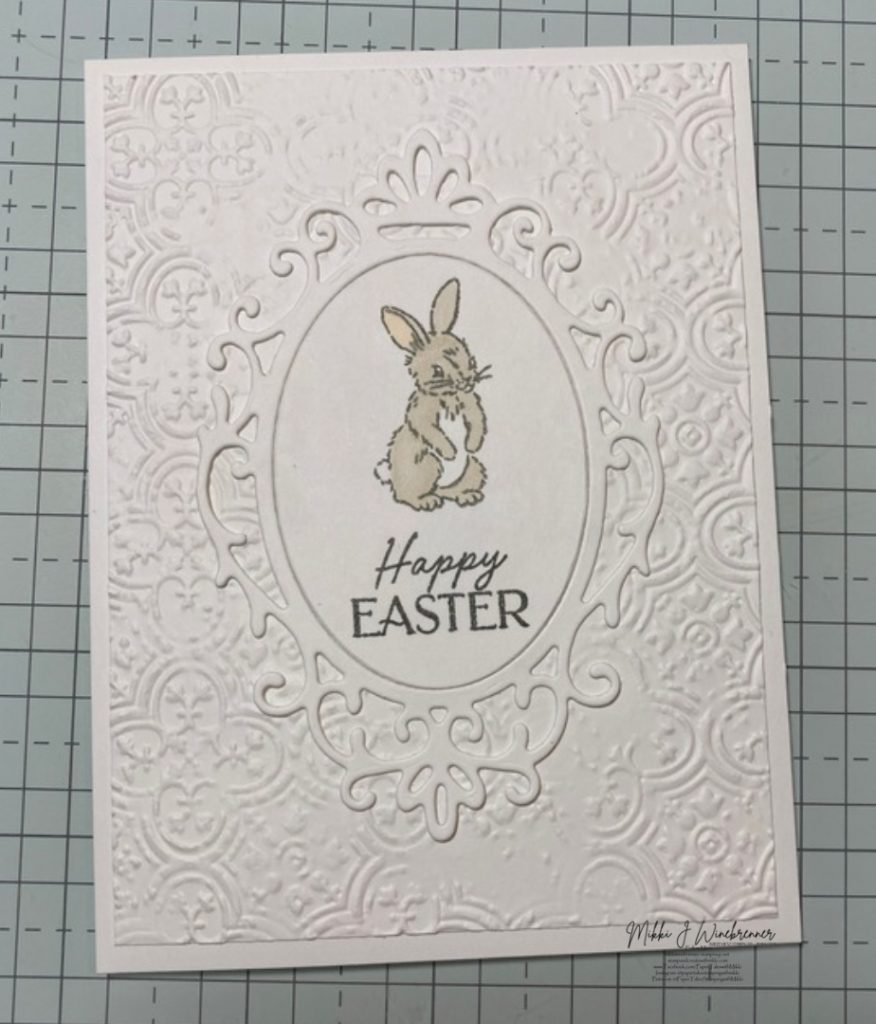
Cut out the frame from the Storybook Friends Bundle with Basic White Thick Cardstock. Run the 3-1/2” White through the emboss machine with Distressed Tile 3D Embossing Folder.
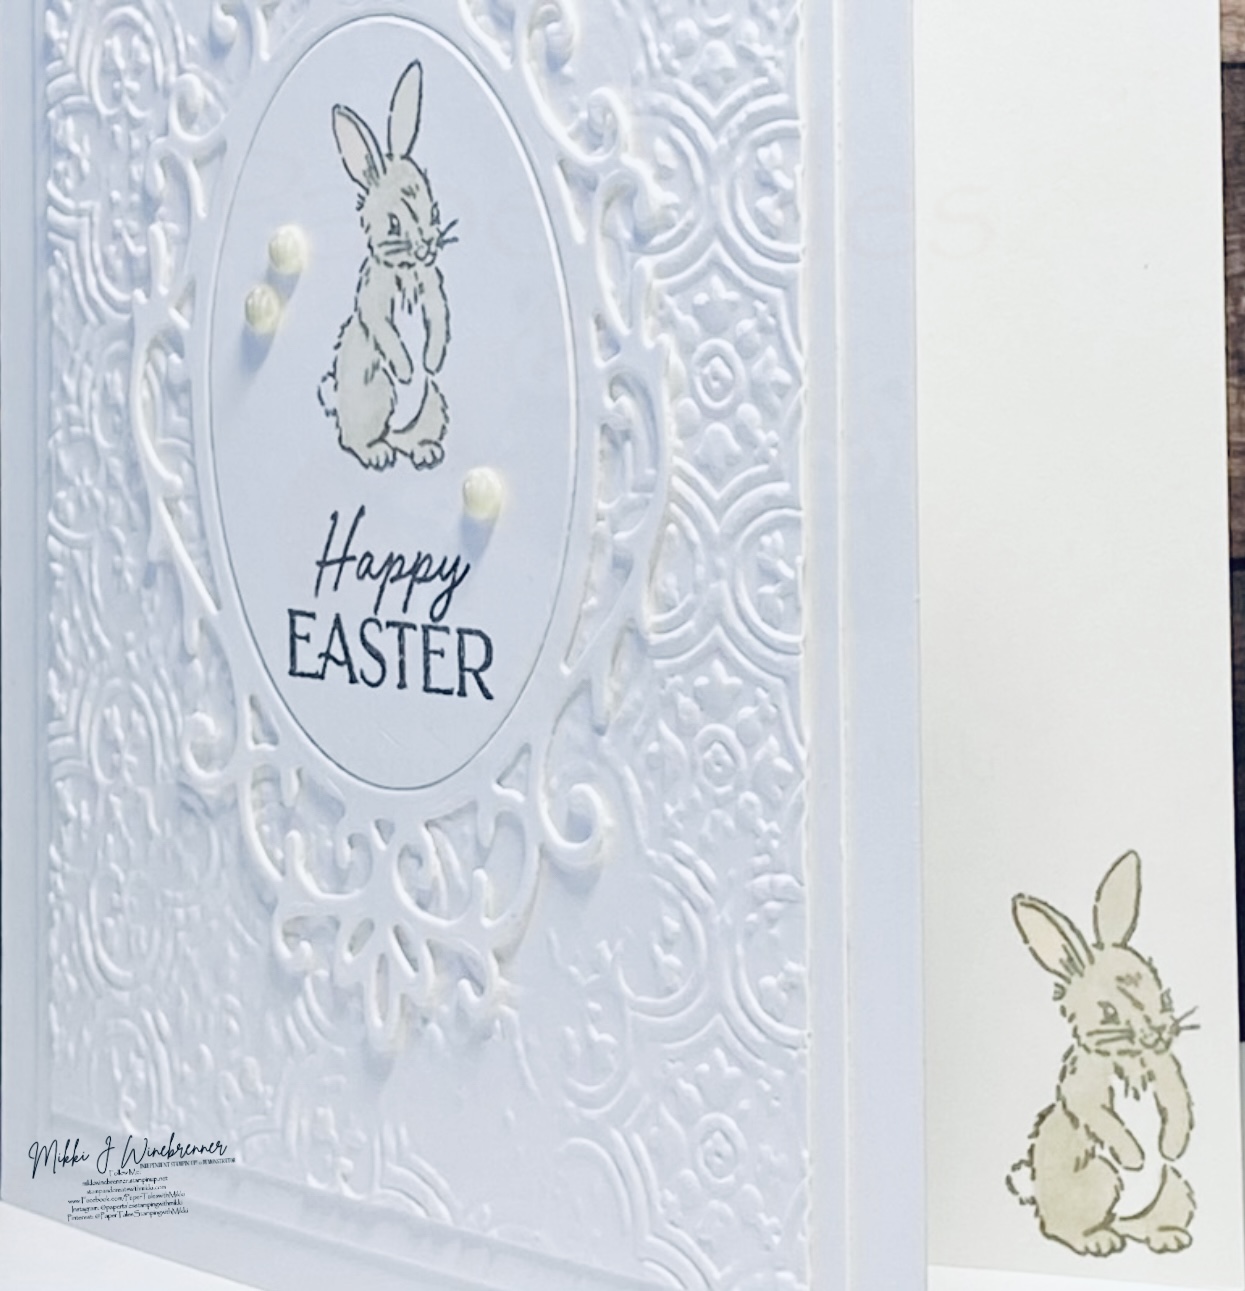
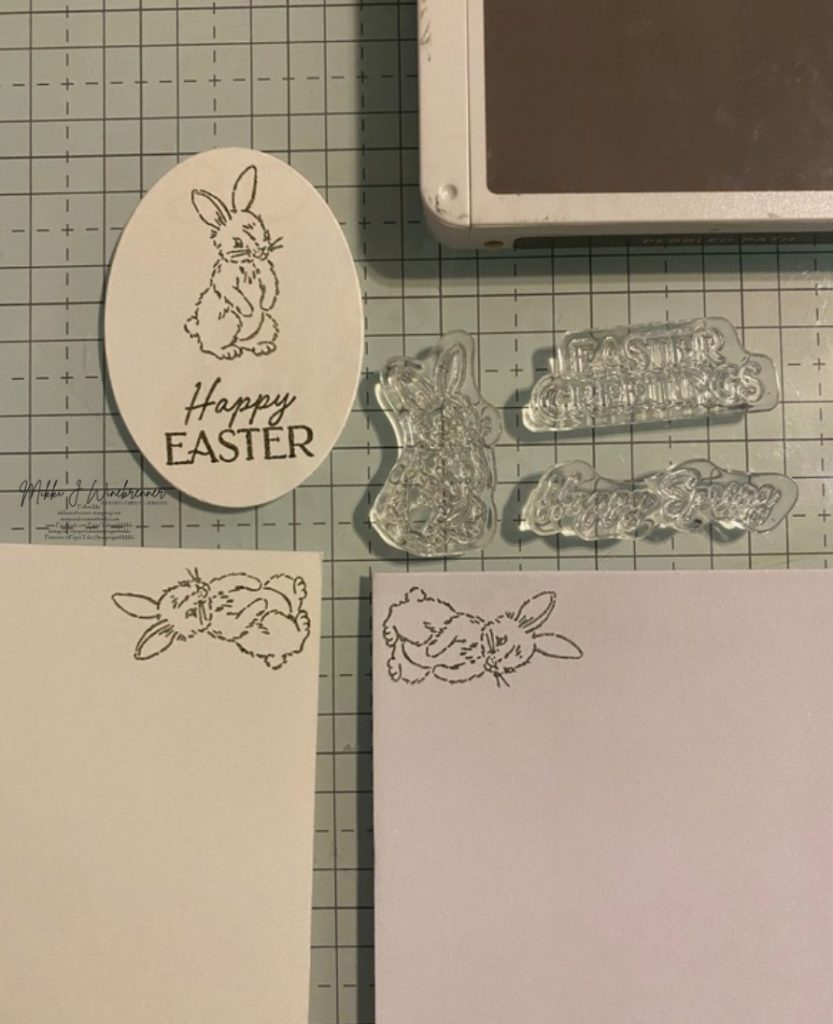
Stamp the small bunny in the center of the oval from the frame, one on the envelope and one on the inside of the card. Use Pebbled Path for this.
Color in the bunnies with Crumb Cake and Petal Pink Stampin’ Blends. I specifically only used the Light blends for this.
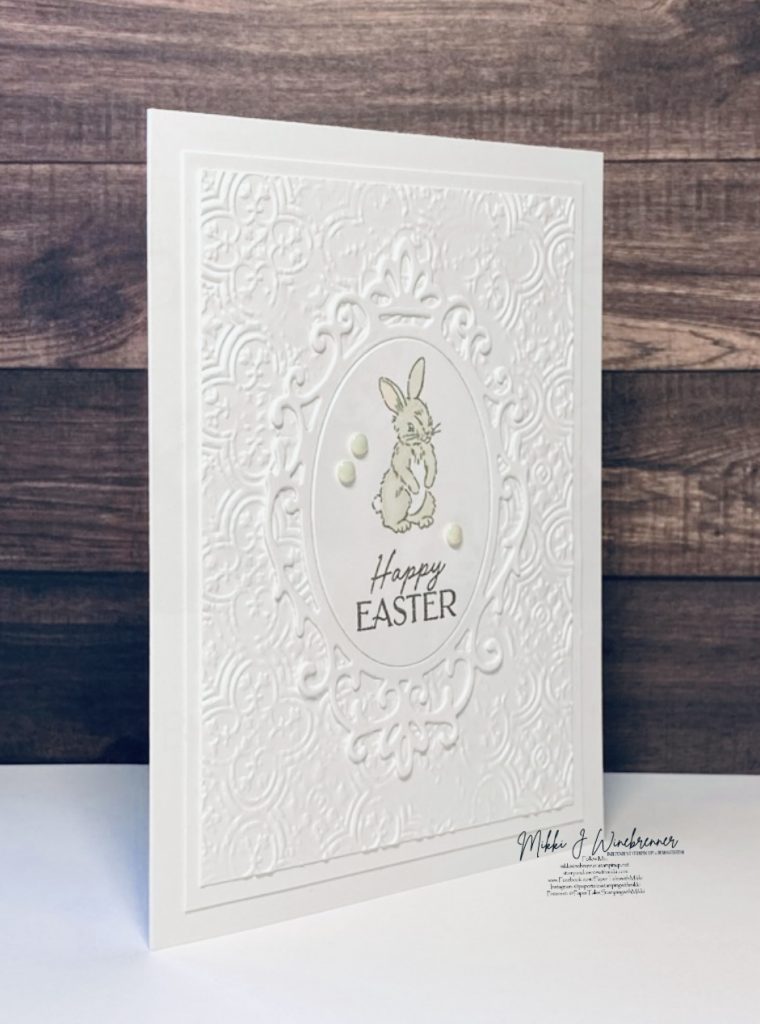
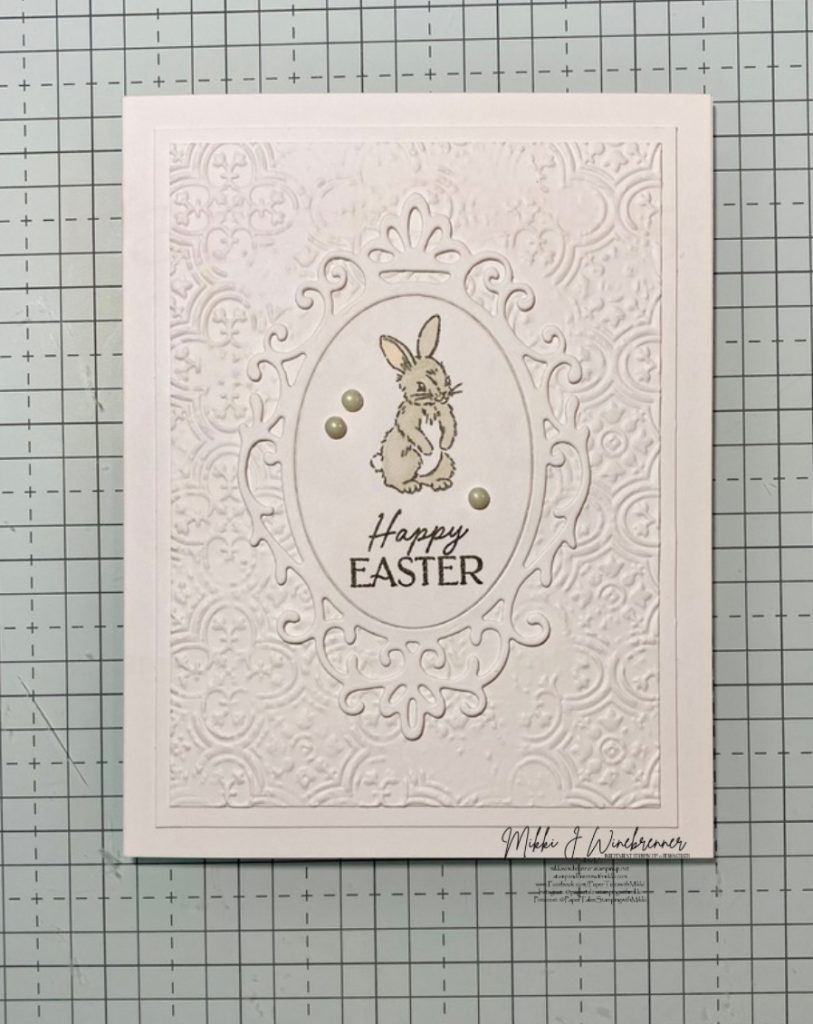
Attach the frame to the embossed piece and the oval back in place of the frame. Attach the embossed piece to the 3-3/4” White.
Attach that to the thick cardstock base. Add a few antique pearls around the bunny and your all done.
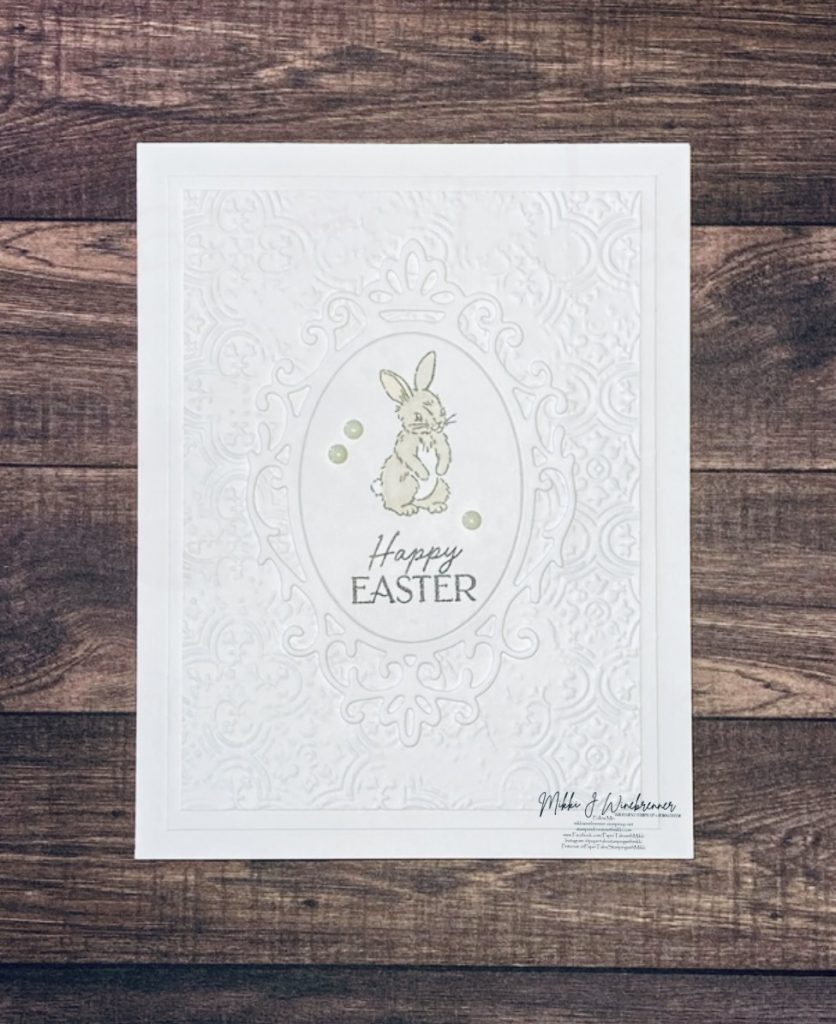
AND NOW YOU HAVE A VERY ELEGANT EASTER CARD TO SEND TO SOMEONE SPECIAL!
I have a full list of products used, as well as links to them in my store below. If you have any questions please do not hesitate to reach out to me either in the comments below or privately!
Thank you for hanging tight through all the bumps, hiccup’s and lemons life threw during this series! I appreciate everyone of you!
I will see you Saturday evening for our first card with the Easter Theme Series!
Happy Stamping!!
Product List
")
")

![Stampin' Cut & Emboss Machine [ 149653 ]](https://assets1.tamsnetwork.com/images/EC042017NF/149653s.jpg "Stampin' Cut & Emboss Machine [ 149653 ]")
![Petal Pink Stampin' Blends Combo Pack [ 154893 ]](https://assets1.tamsnetwork.com/images/EC042017NF/154893s.jpg "Petal Pink Stampin' Blends Combo Pack [ 154893 ]")
![Crumb Cake Stampin' Blends Combo Pack [ 154882 ]](https://assets1.tamsnetwork.com/images/EC042017NF/154882s.jpg "Crumb Cake Stampin' Blends Combo Pack [ 154882 ]")
![Distressed Tile 3 D Embossing Folder [ 162189 ]](https://assets1.tamsnetwork.com/images/EC042017NF/162189s.jpg "Distressed Tile 3 D Embossing Folder [ 162189 ]")
![Pebbled Path Classic Stampin' Pad [ 161648 ]](https://assets1.tamsnetwork.com/images/EC042017NF/161648s.jpg "Pebbled Path Classic Stampin' Pad [ 161648 ]")
Tools & Adhesive Ribbon & Trim
We are doing new and frighting things over on Facebook!
I’ve taken a leap into the Live Stream world with a monthly card class. I will have video recordings uploaded to YouTube and will have them linked in here as well.
Just a few little details about these classes. First and foremost, they are FREE!!
I will provide the measurements and products I use during the classes but the creativity is limitless and you can choose whatever products you would like. There is no right or wrong.
These classes are really just to bring us all together once a month and have some crafty time and relax. Going forward the classes will be the last Saturday of the Month at 7pm CST and last about an hour.
The March 29th class will be featuring Stampin’ Up! ©️ Online Exclusive Faith Collection Bundle with a focus on Easter.
I don’t have all details planned out yet but this will be an easier project but not a simple stamping card although I will have samples of how you can use just the stamp set. It will be fun!
I will post more details on the projects as we get close to the date. This will allow you to prep as much as you need.
If you have any questions please reach out to me.


My Favorite Stampin Tools
| 1.Take Your Pick | |
 |
So many uses and attachments for this little tool that makes crafting so much easier! I have 3 currently in my tools drawer! |
| 2.Stampin’ Glass Mat Studio (Imperial) | |
 |
This glass mat is amazing! I love that you can write on it, stamp on it and use it to line up paper. Easy to use and super easy to clean up when you’re all done! |
| 3.Simply Scored | |
 |
The Simply Scored is in my top 5 because it make scoring easy when you’re doing a bunch of scoring at once or intricate score marks for a fold. Also saves you from cutting when wanting to score! The diagonal board is also super helpful when doing scores for envelopes and boxes. |
| 4.Blending Brushes | |
 |
Oh my blending brushes. These little fellows are a blessing when it comes to adding color and making scenes! I could write an entire book on why you should have these in your tool bag! |
| 5.Soft Pastels Assortment | |
 |
These are a sentimental favorite. I have been using soft pastels in art work since high school. They are a unique color tool that believe it or not has a lot of different uses and color techniques. If you want to explore coloring then grab a set of these! |
")
")
")
")


2 responses to “Storybook Moments Suite Collection Series Simply Easter wrap up!”
Is the 3-1/2 x 3/4 white right for the Easter Bunny card? Happy Easter.
Thank you Margaret for reaching out! The measurement should be 3-1/2” x 3-3/4”. I have corrected it and I appreciate you asking! I forgot a number! Happy Easter!