
Welcome!
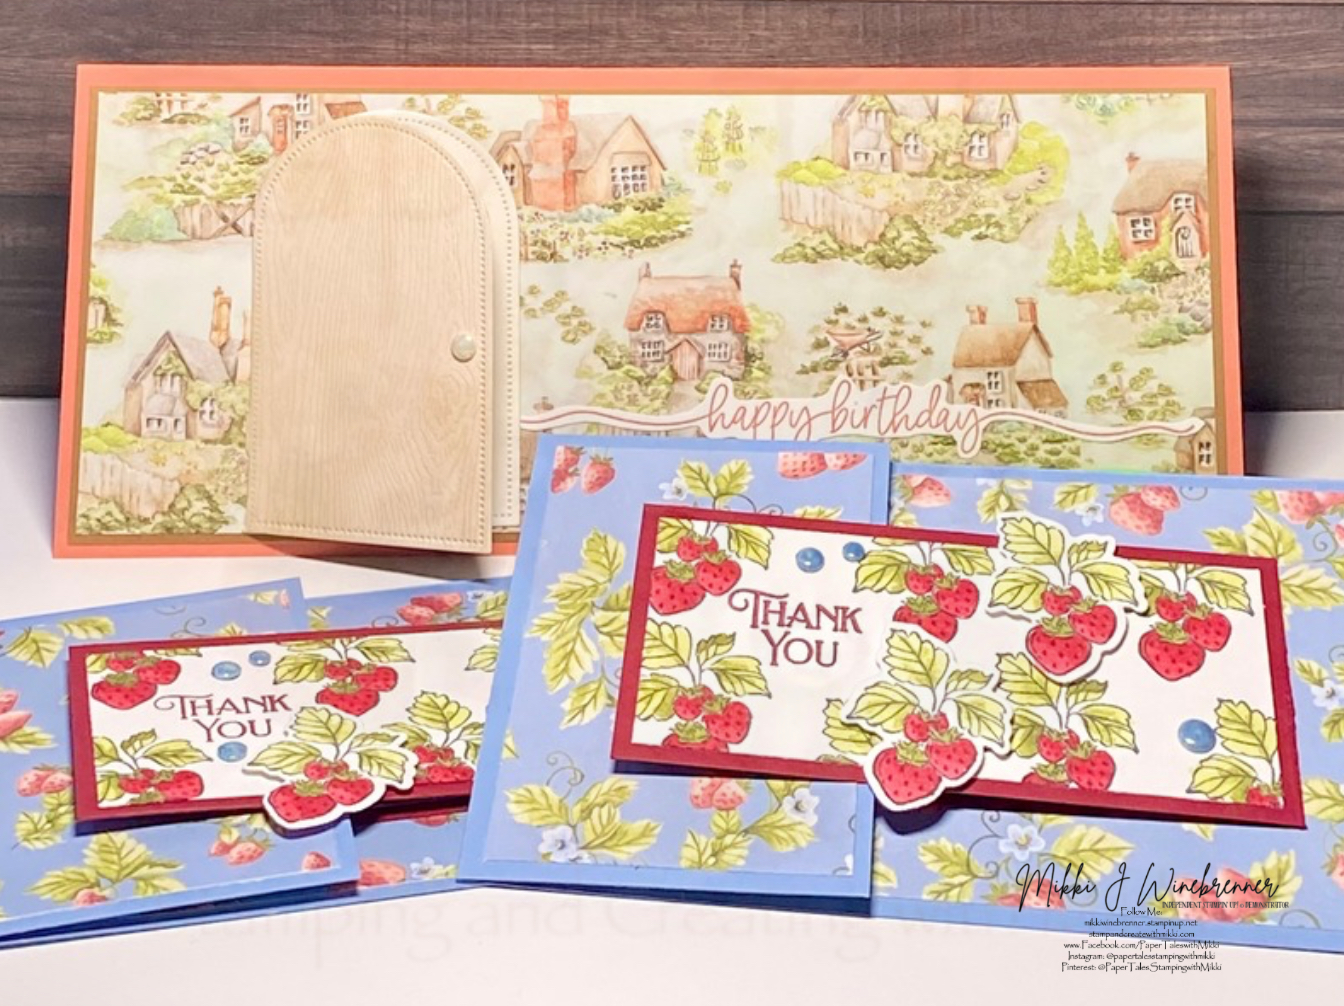
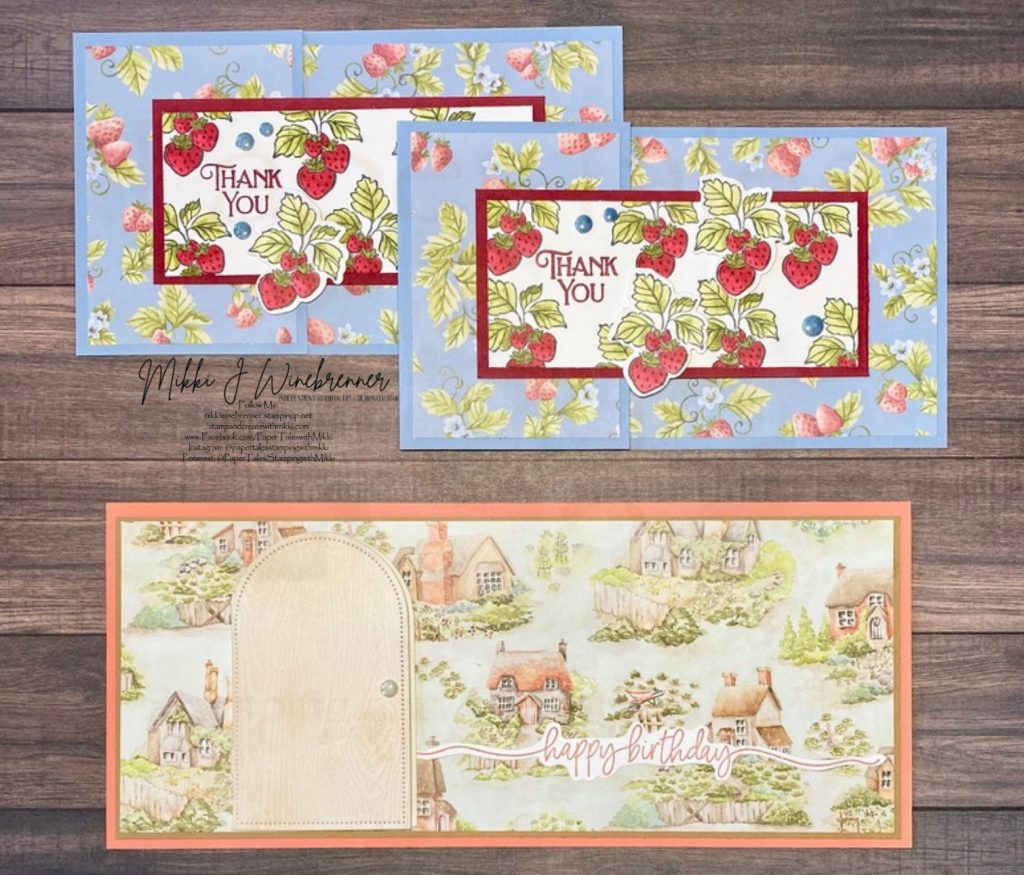
This evening I have a couple super cute slim line cards for you using Stampin’ Up!’s Storybook Moments Suite Collection!
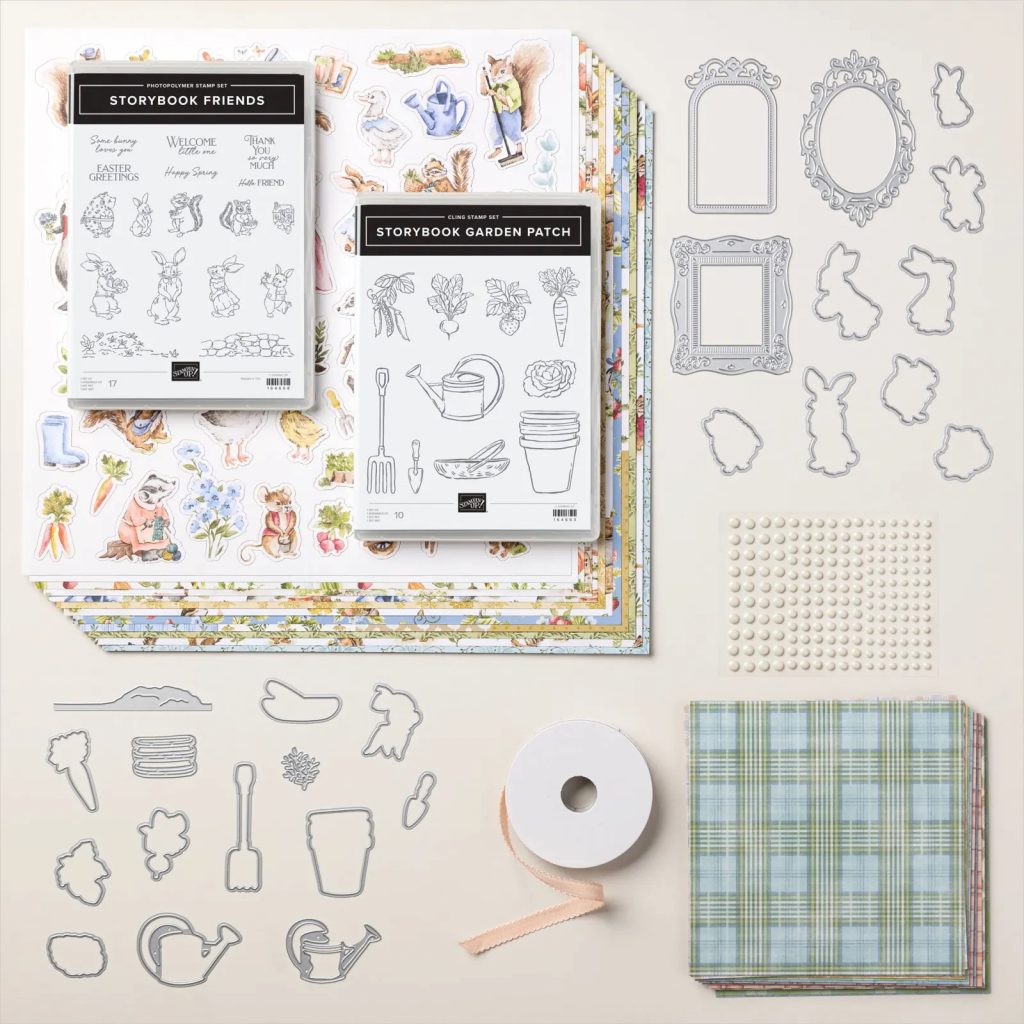
Stampin’ Up!©️ Storybook Moments Suite Collection is a very large suite! It consists of 2 complete stamp/die bundles, 2 designer series papers, pearls and ribbon. This suite can be found on my online store or in the January – April Mini Catalog, page 23.
This is one of I think 5 posts I have for you to get us back on track! Life just keeps blowing up! Imagine that!! 😂
Enough boring updates and let’s get to the fun!
Today, I will be using everything in the Storybook Moments Suite except the Petal Pink 3/8” Scalloped Ribbon. I did finally get some ordered but ribbon is not something I use often.
We will be building 3 cards, two of them are actually the same but I wanted to show you how you can make 2 cards from 1 piece of Cardstock.
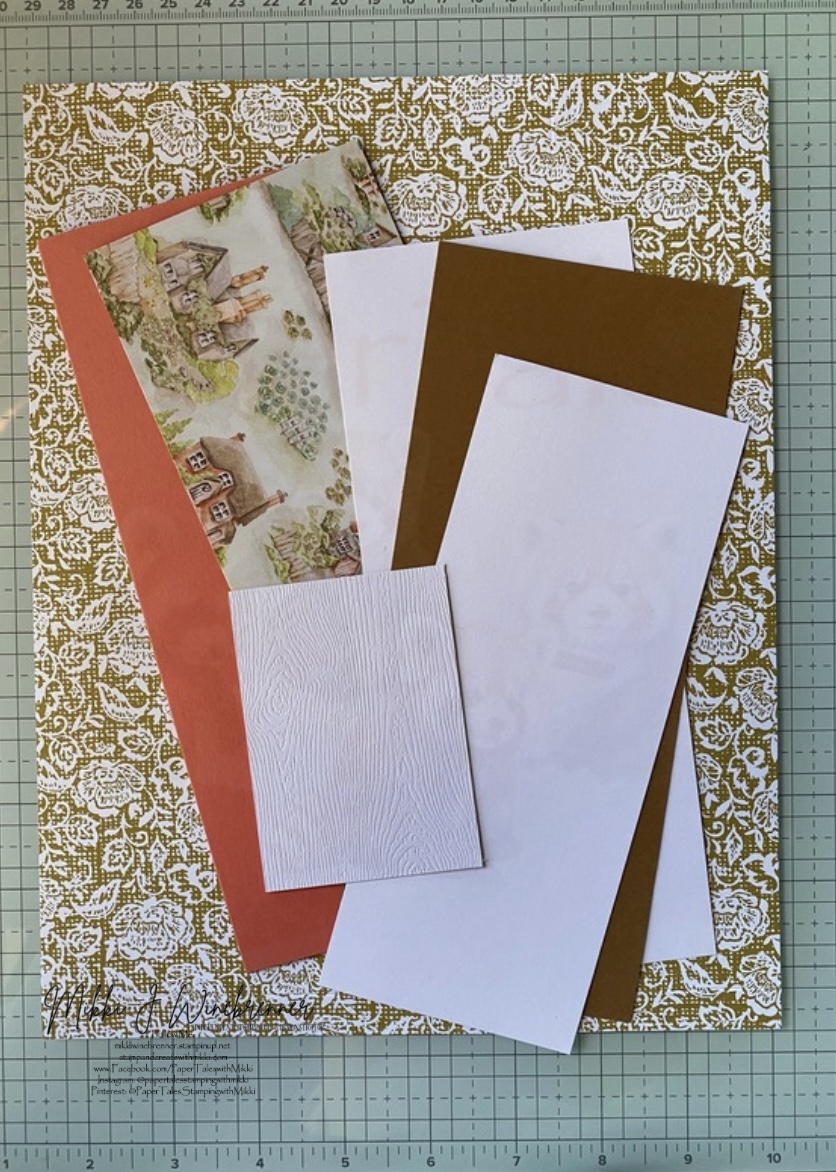
Shall we start with paper and colors:
Colors that I am using: Boho Blue, Cherry Cobbler, Calypso Coral, Pecan Pie and Basic White 8-1/2” x 11” Cardstock, Storybook Friends 12” x 12” Designer Series Paper and Wooden Texture Specialty 12” x 12” Paper.
I will be using Calypso Coral, Cherry Cobbler, Pecan Pie and Boho Blue Classic Stampin Pad for stamping the sentiments and Memento Tuxedo Black for the images.
Staying in line with the color theme, i will be using Crumb Cake, Lost Lagoon, Petal Pink, Old Olive and Cherry Cobbler Stampin Blends Combo Packs.
Paper Sizes and scoring for the cards and envelopes.
Calypso Coral 8-1/2 x 11” Cardstock: 7-1/2” x 8-3/4” – scored at 3-3/4”
Boho Blue 8-1/2 x 11” Cardstock: 3-1/2” x 8-1/2” scored at 2-1/2” (x2)
Cherry Cobbler 8-1/2 x 11” Cardstock: 2” x 8-1/2” scored at 4-1/4” (x2)
Basic White 8-1/2 x 11” Cardstock: 1-3/4” x 4” (x2), 3-1/2” x 8-1/2” and scraps for stamping.
Pecan Pie 8-1/2 x 11” Cardstock: 3-1/2” x 8-1/2”,
Wood Texture Specialty 12” x 12” Paper: 3-1/2” x 4-1/2” score at 2-1/4”
Storybook Friends 12” x 12” DSP: 3-1/8” x 8-1/8”, 2-1/4” x 3-1/4”(x2) and 3-1/4” x 5-3/4” (x2)
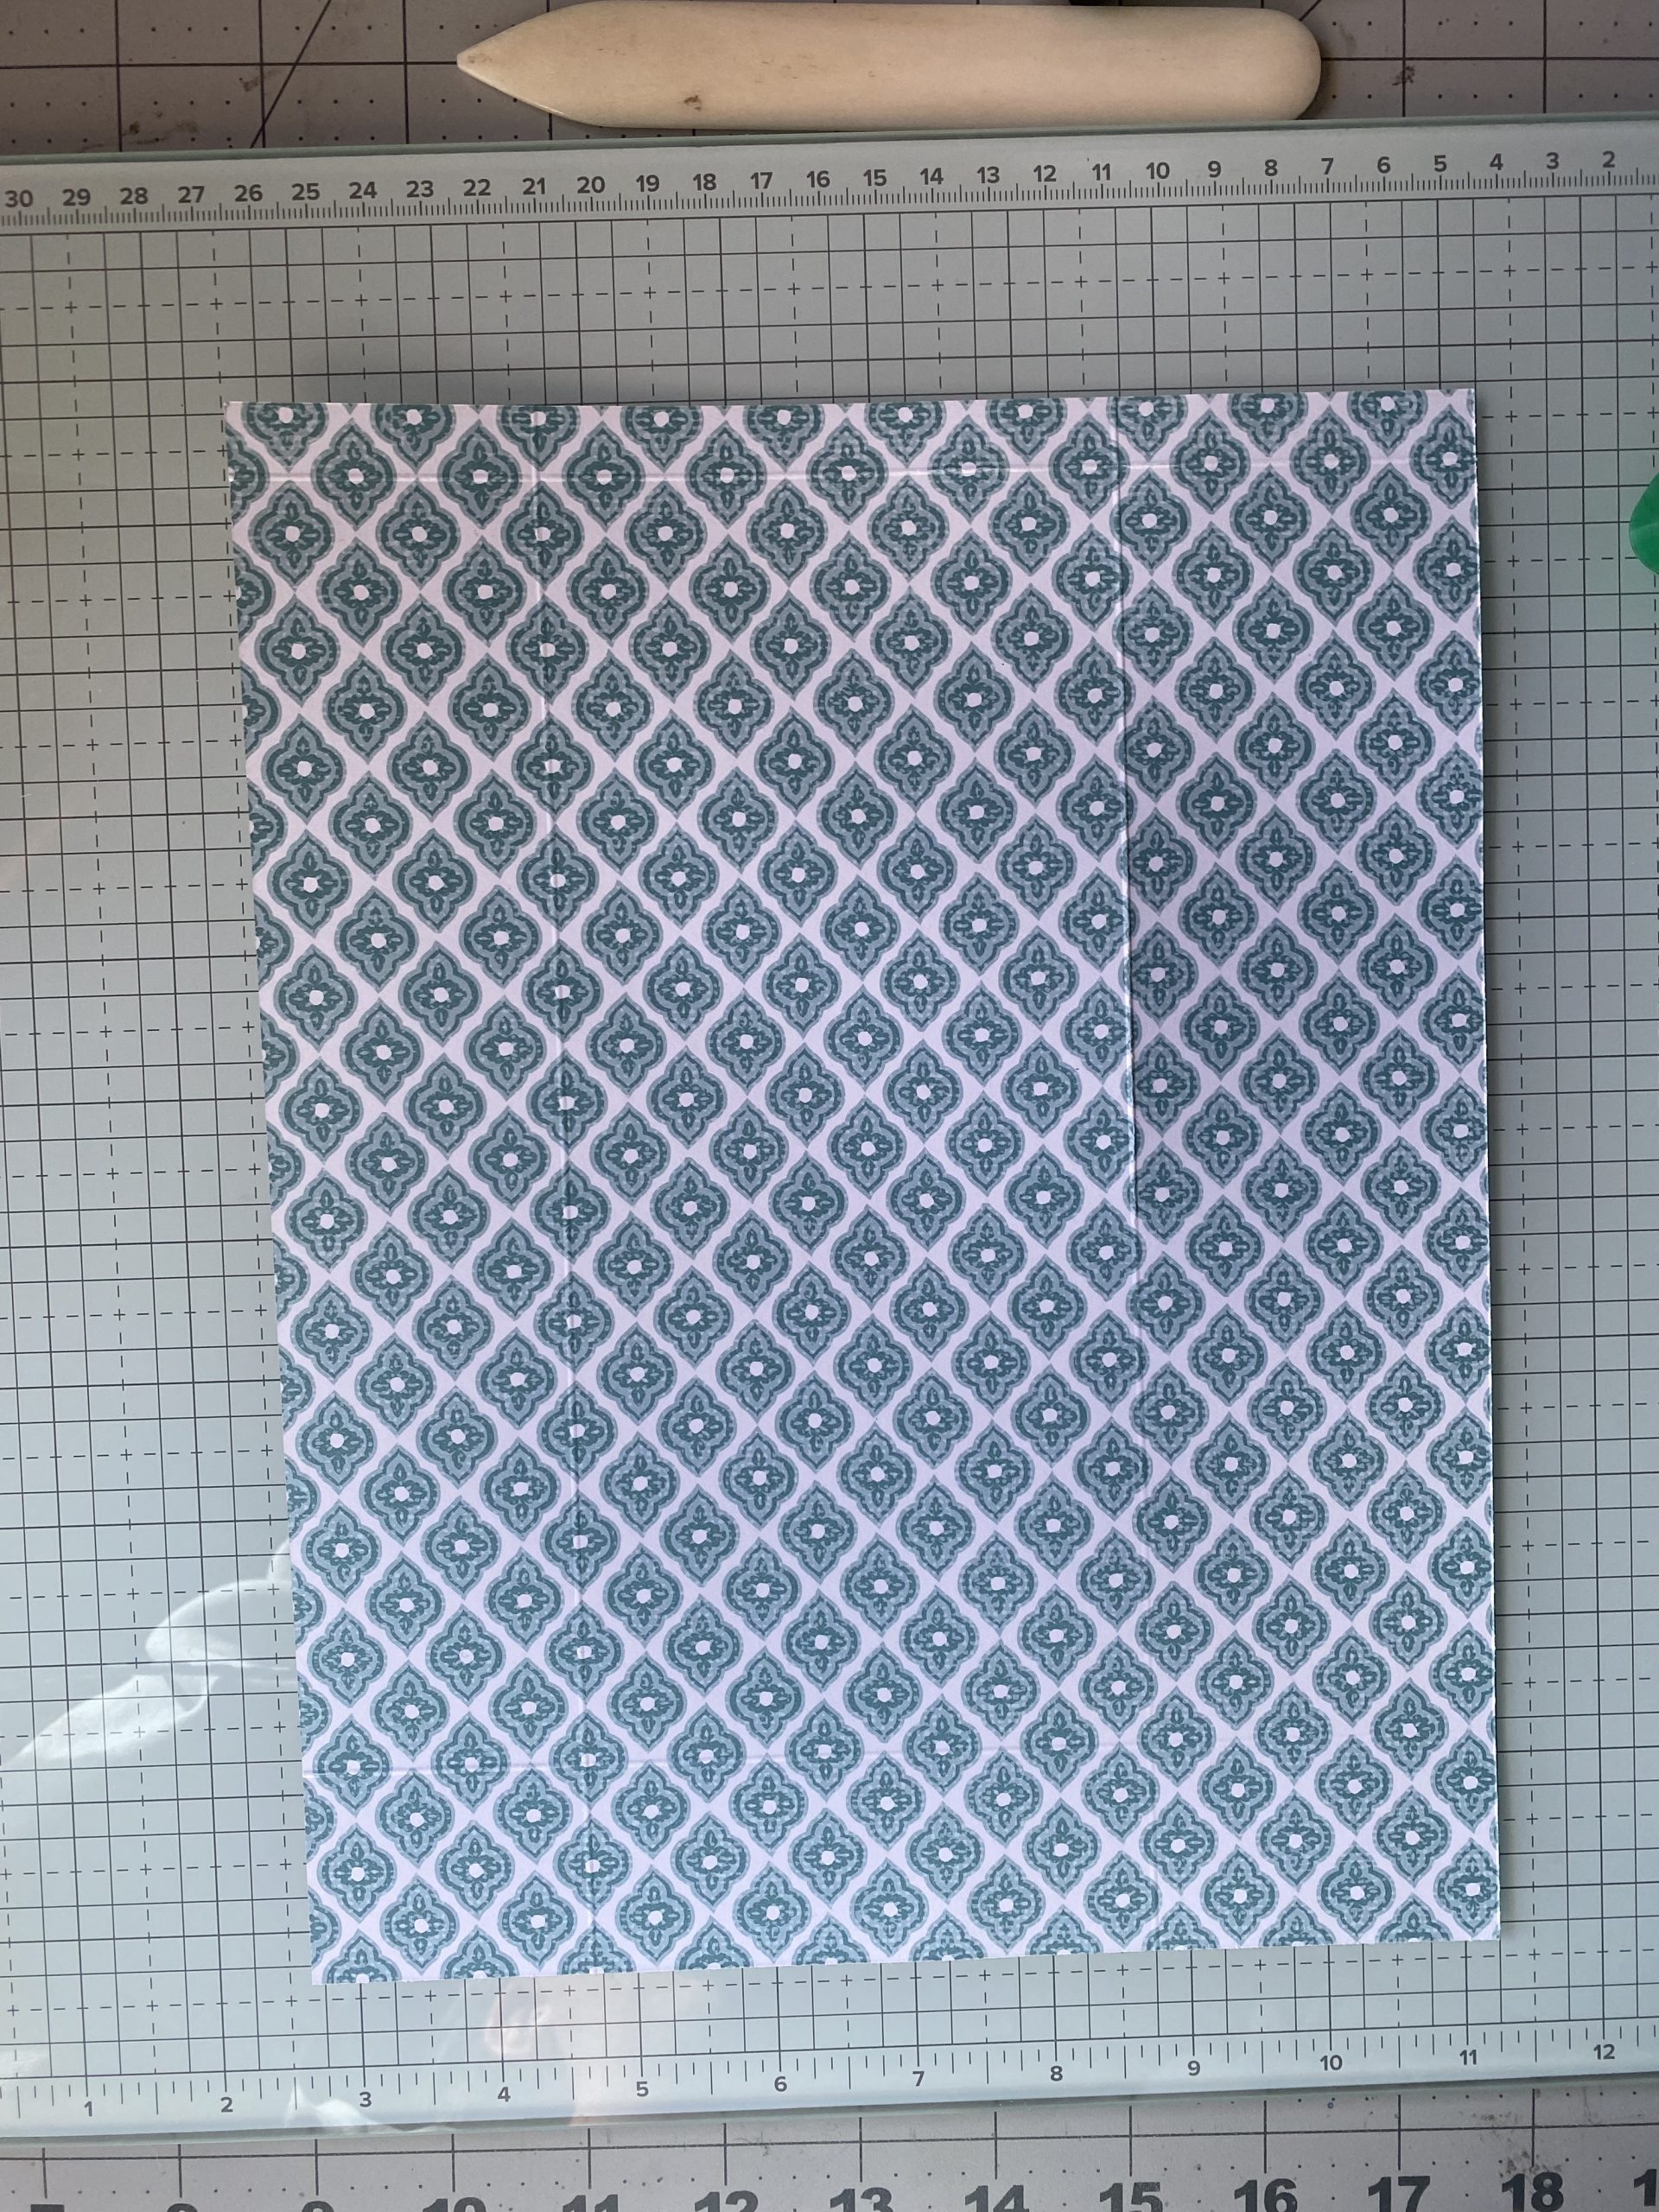
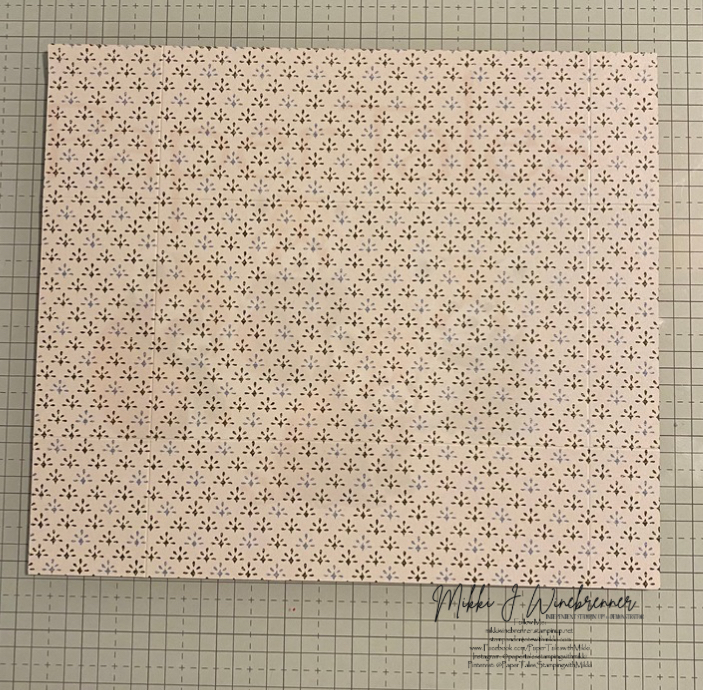
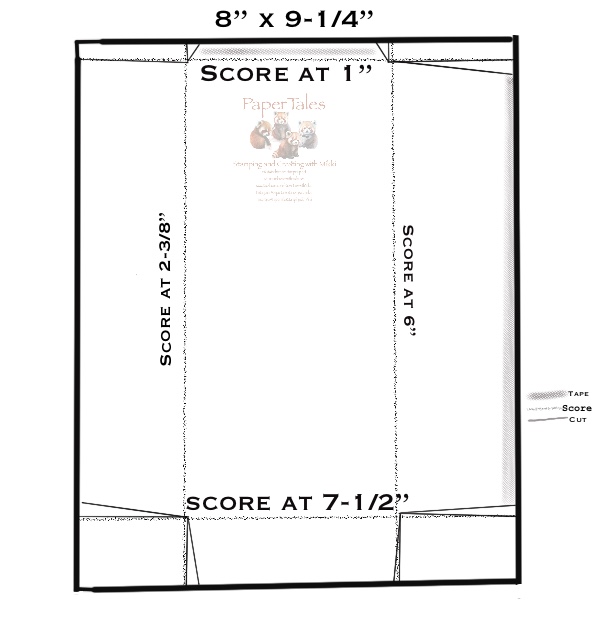
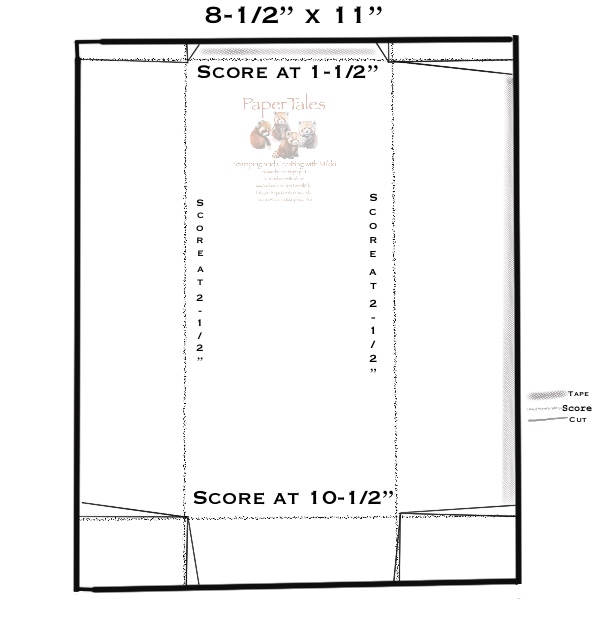
For the Envelopes you will need 2 pieces of DSP – anything will do – cut at 8” x 9-1/4” and one piece of 8-1/2” x 11” either light card stock or DSP.
Lets stamp!!
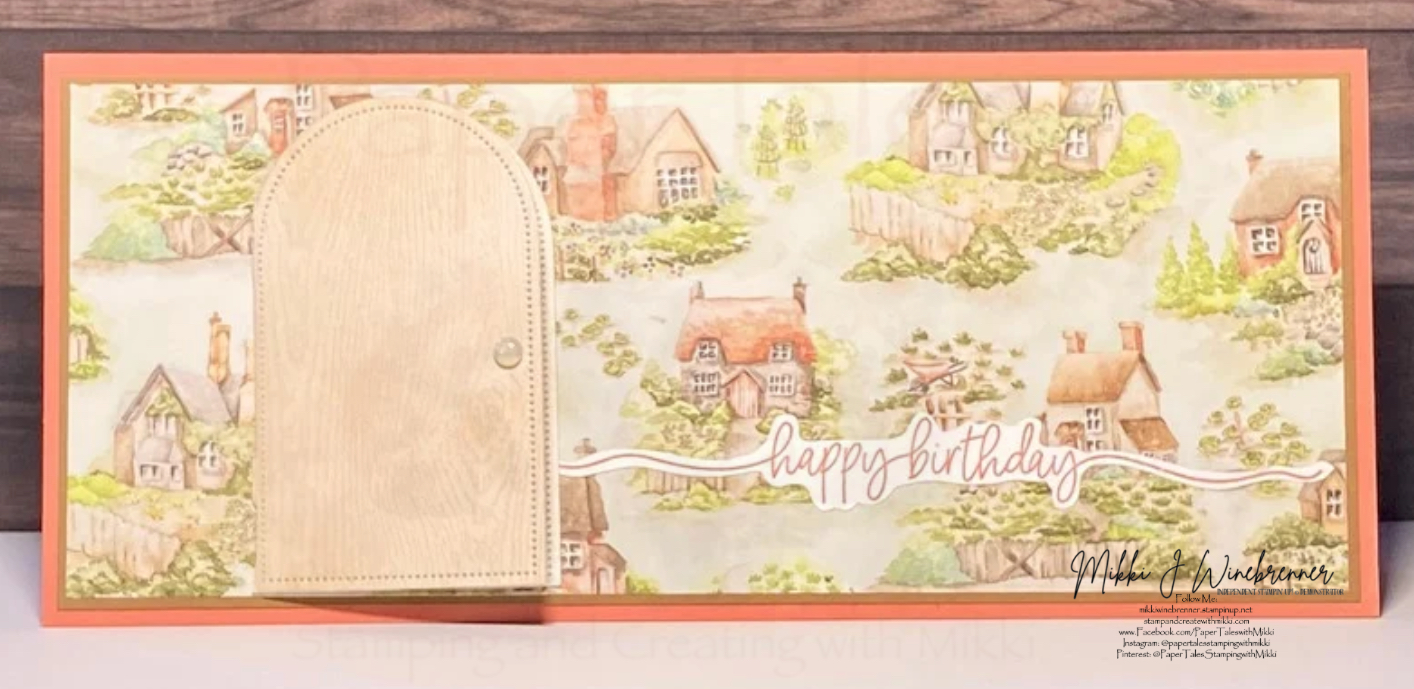
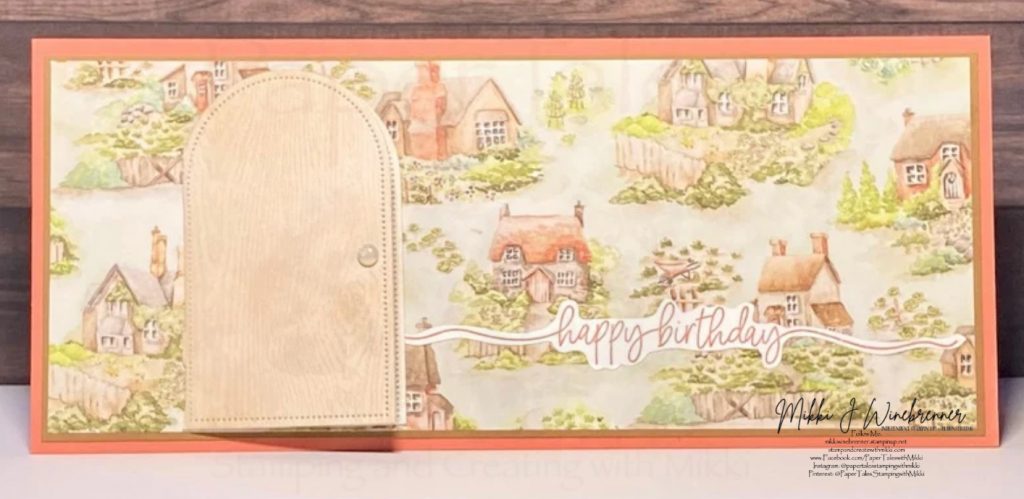
Standard size Slim Line Card:
1. Cut and score all your paper – full size slim lime scores at 3-1-3/4”
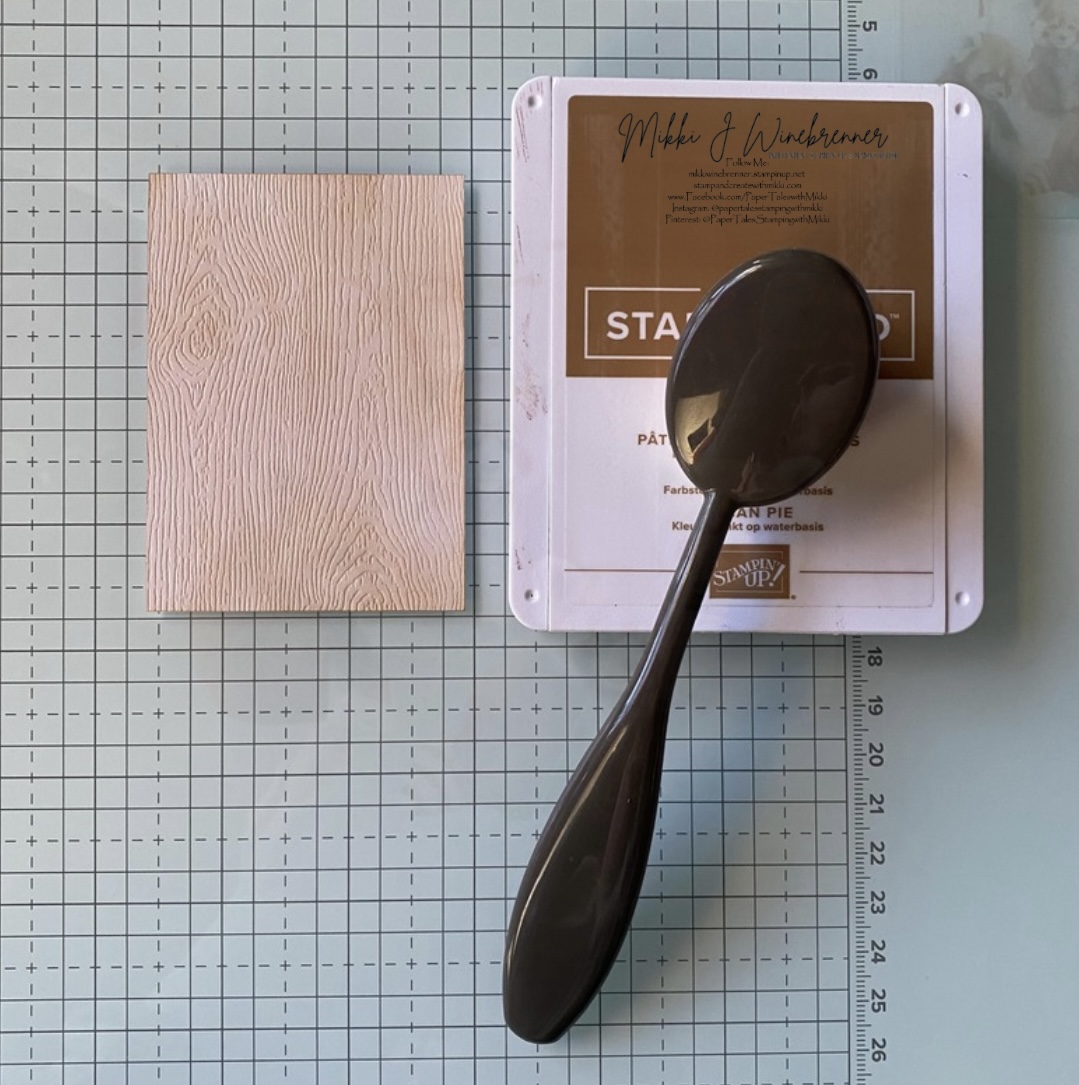
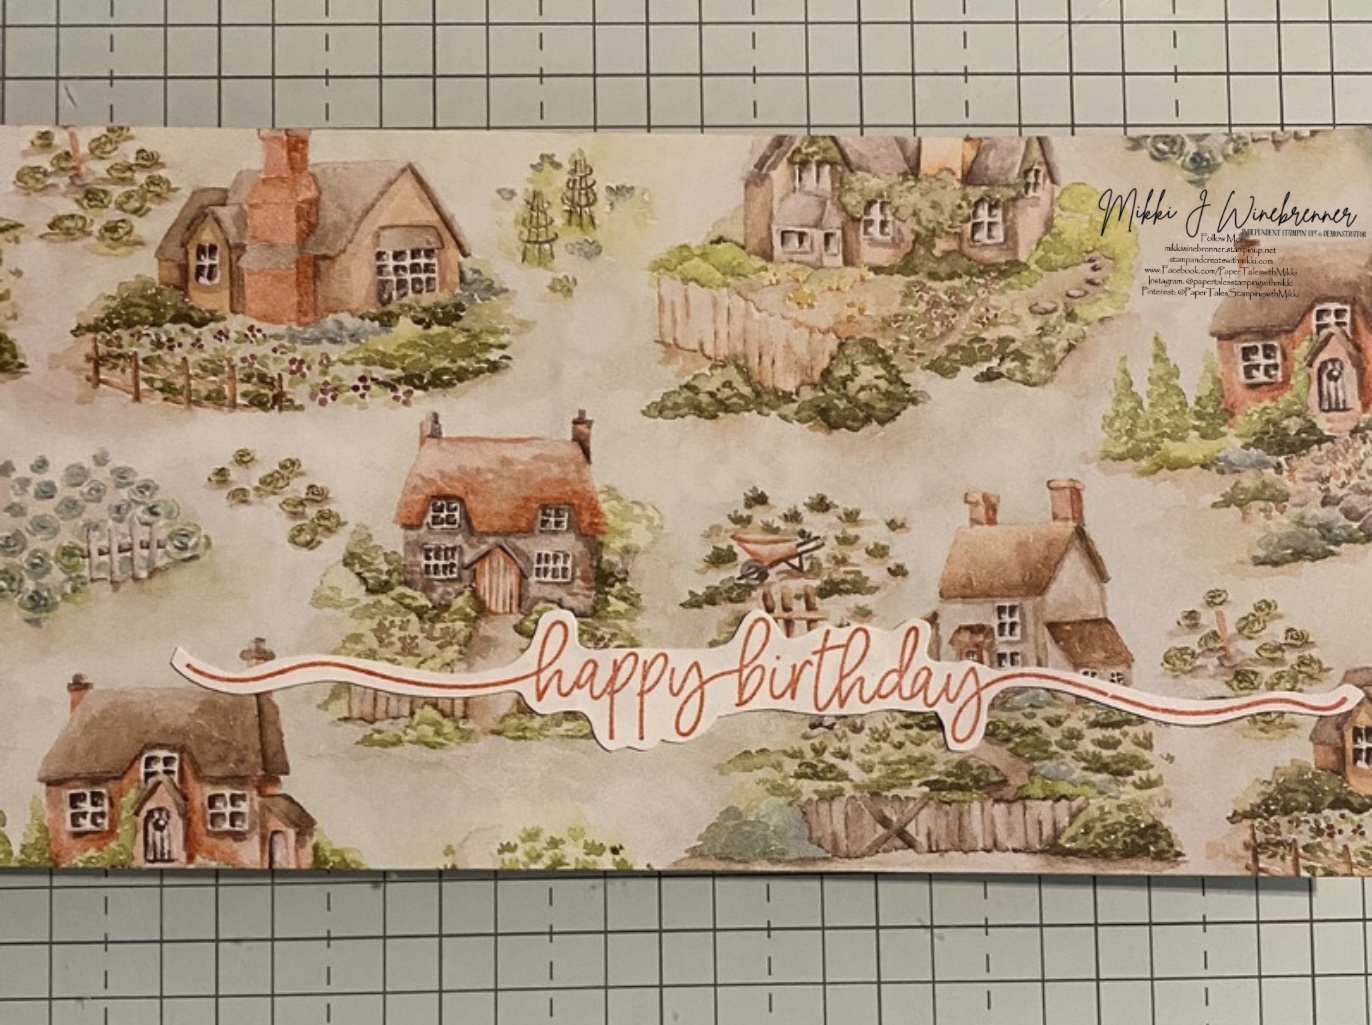
2. Brush the wood grain paper with Pecan Pie ink using a blending brush.
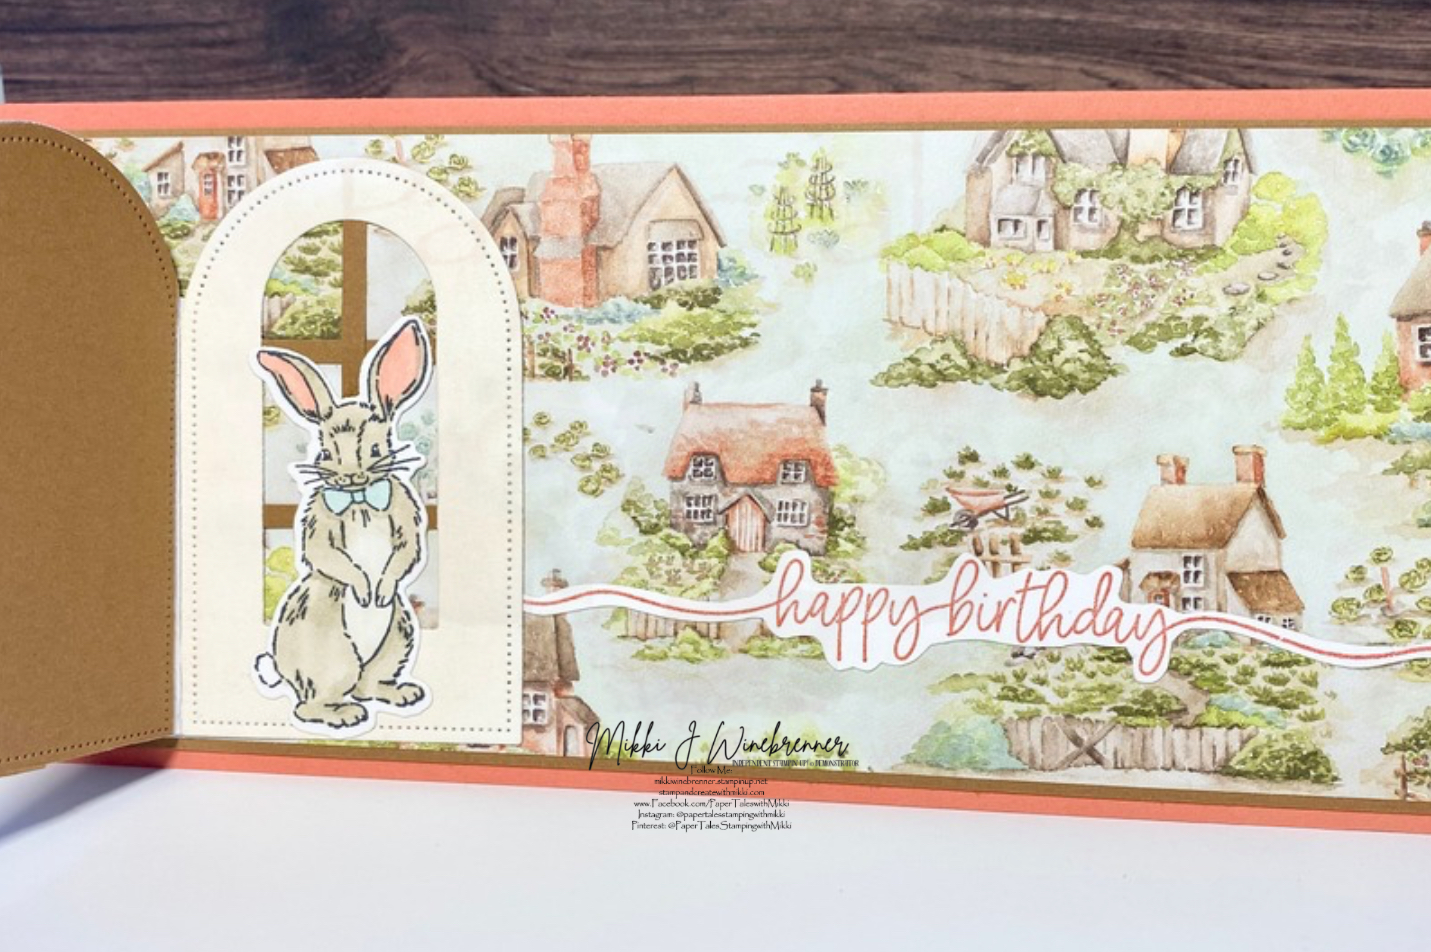
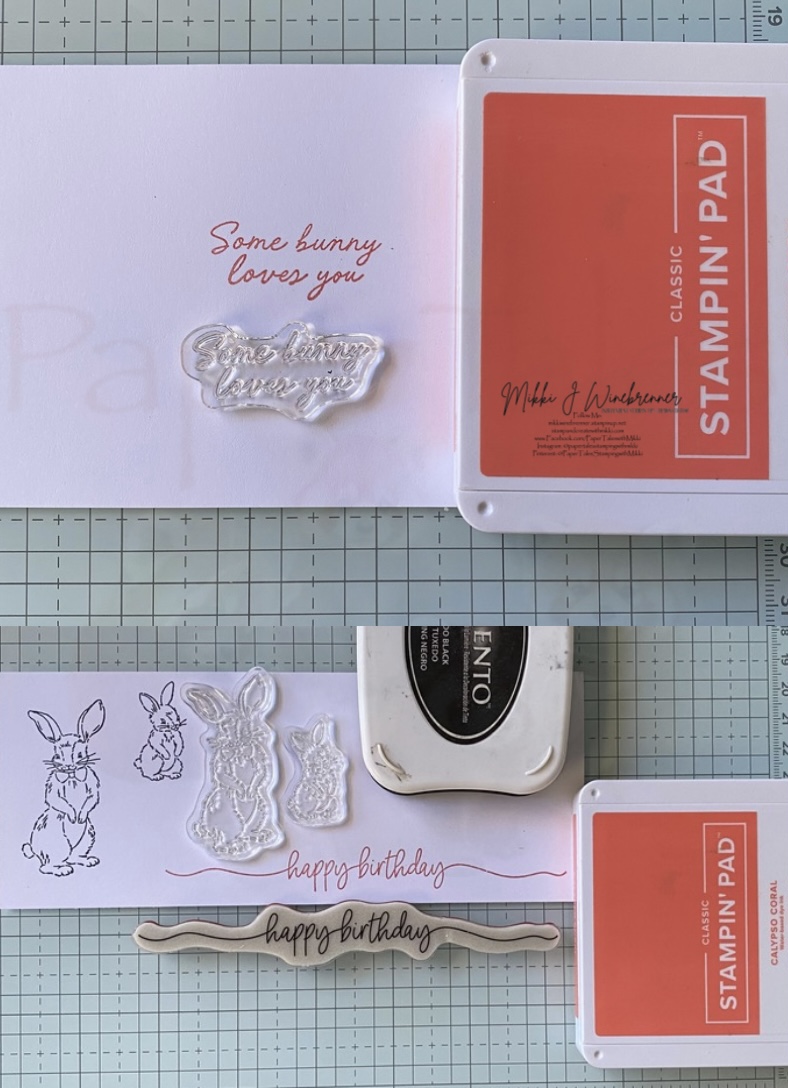
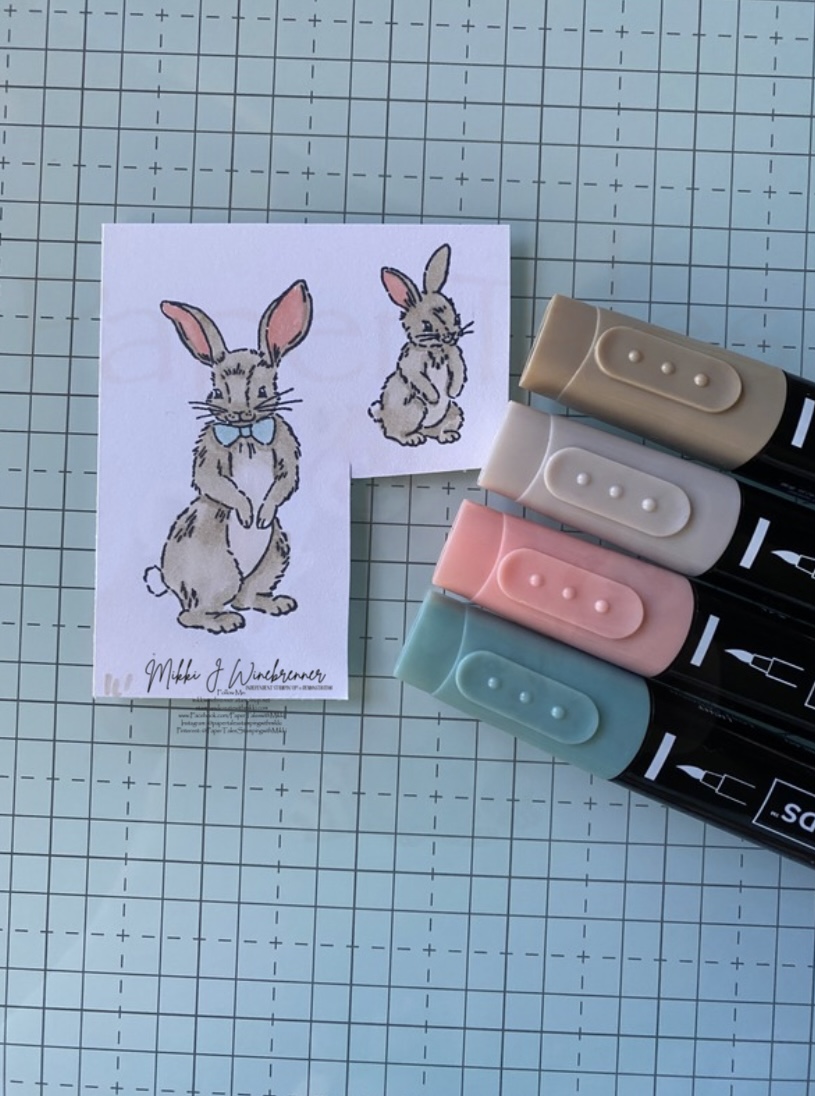
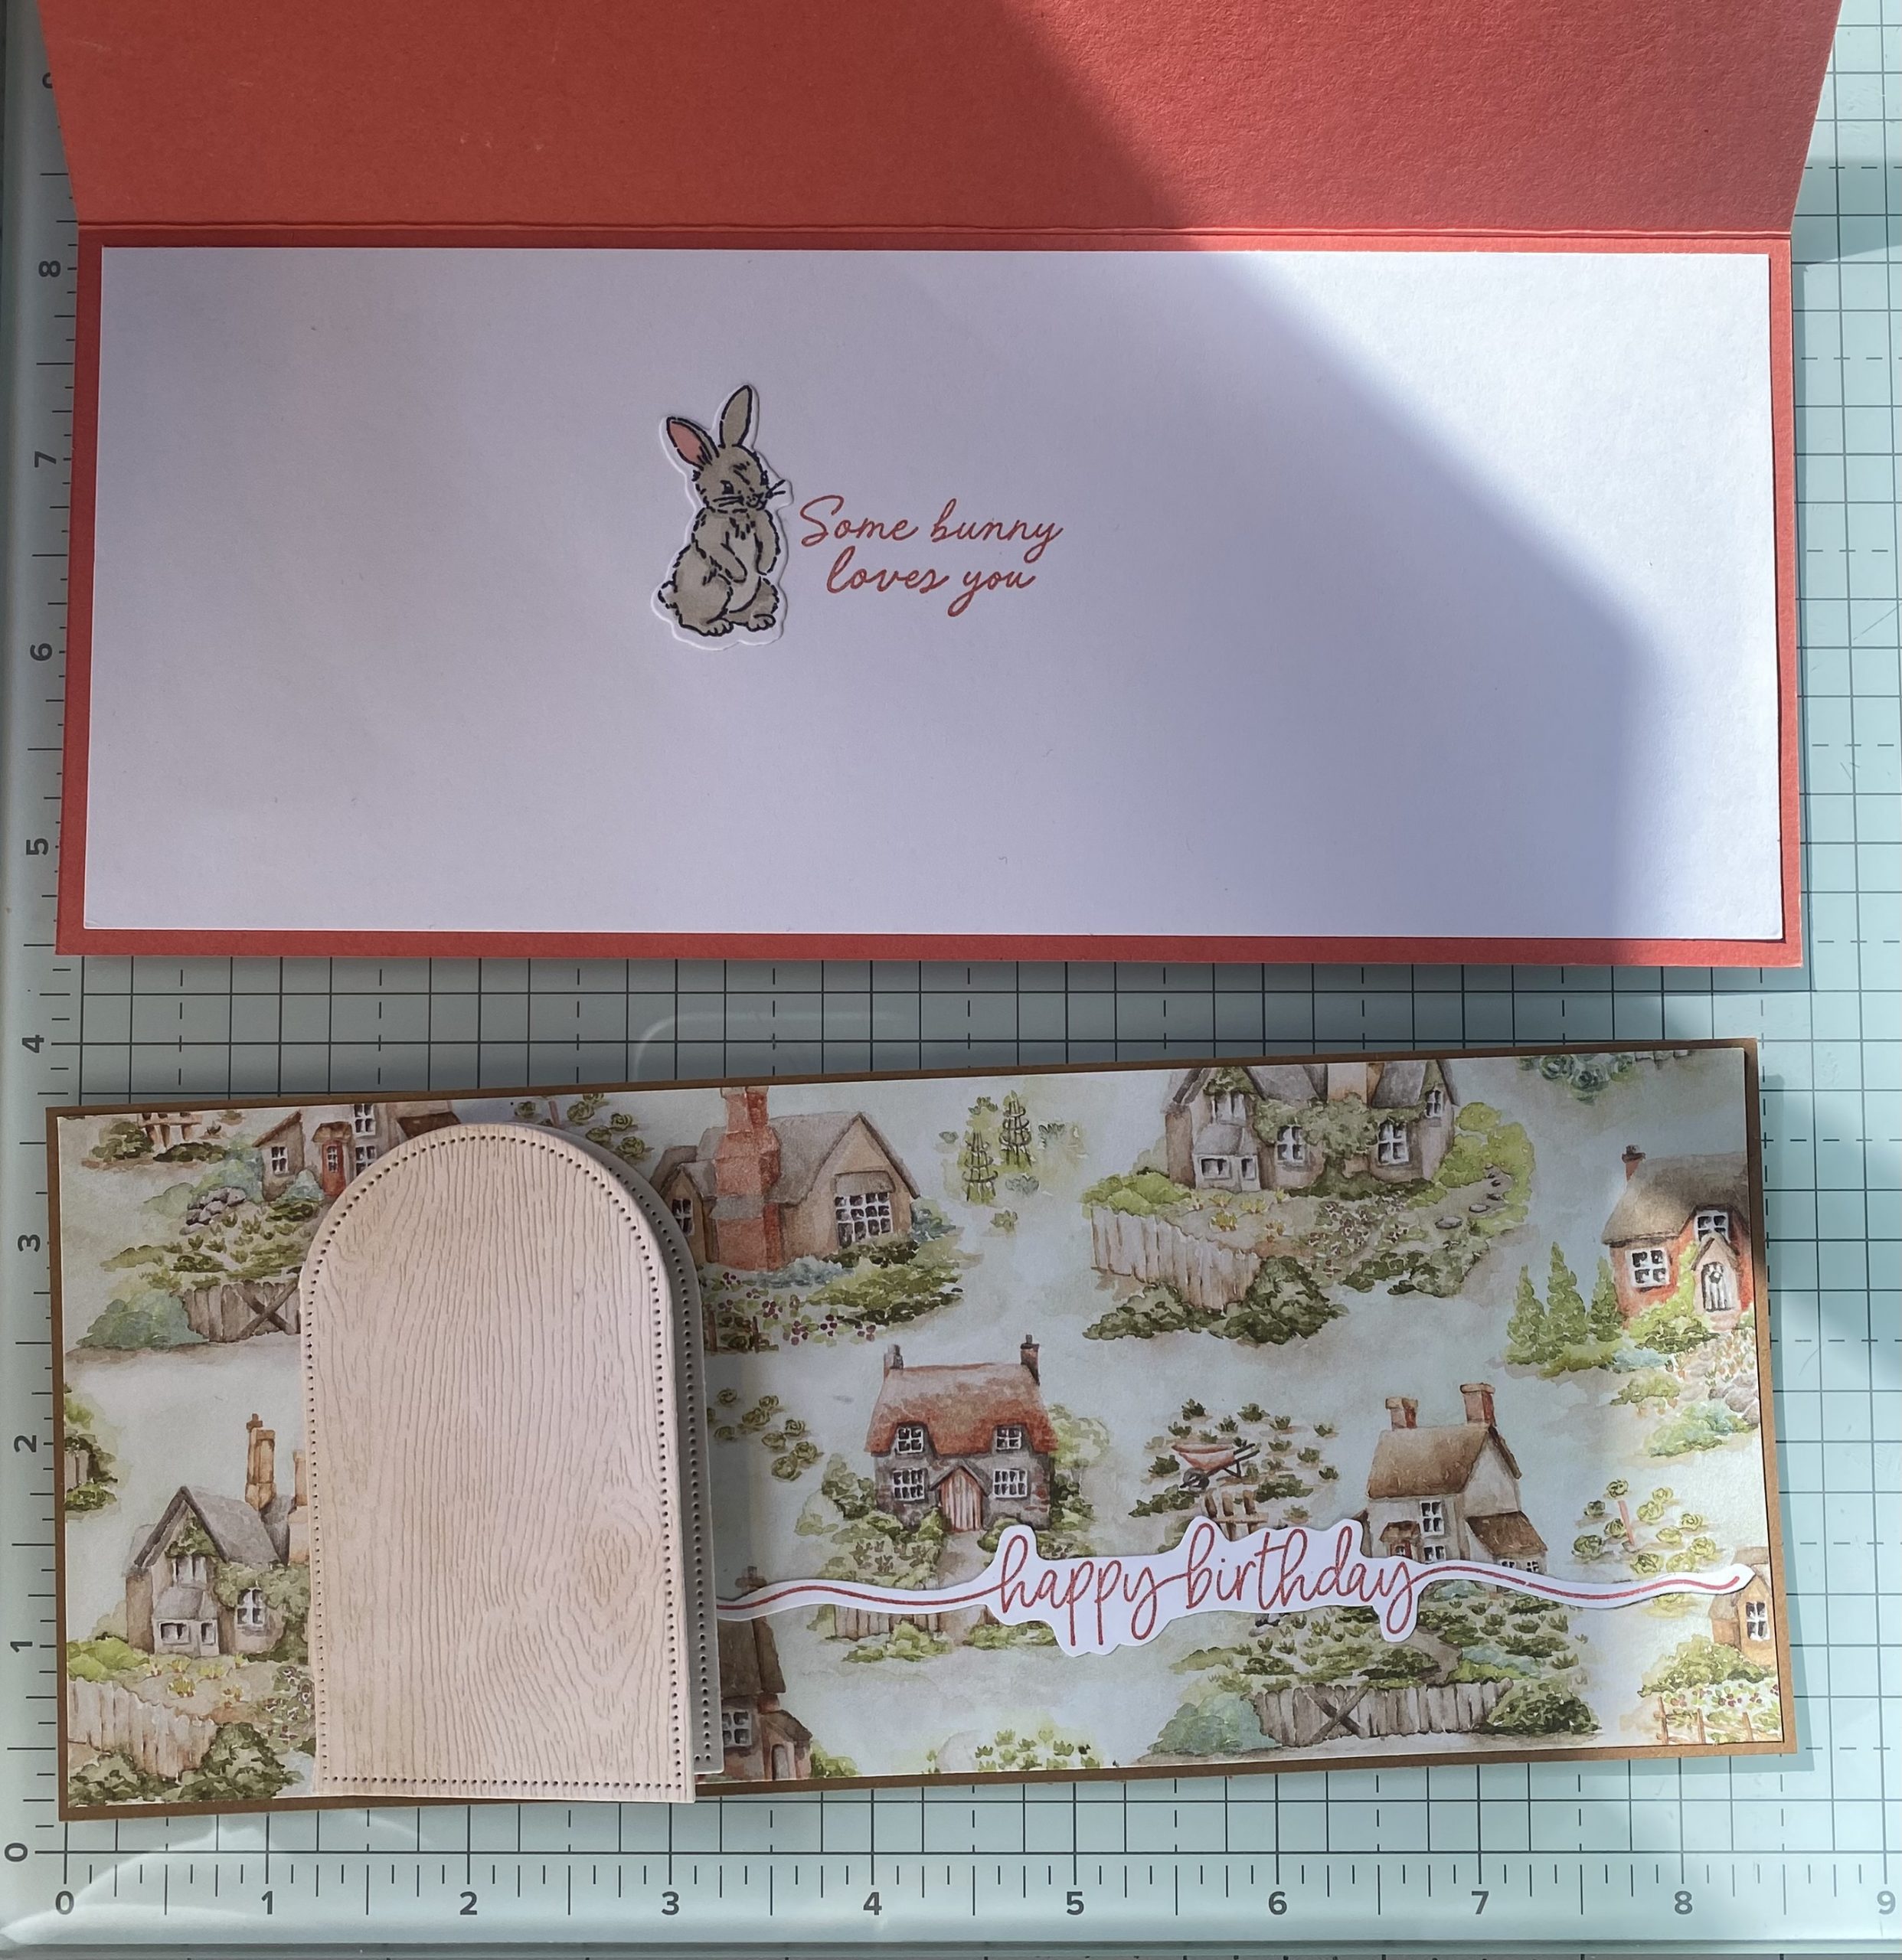
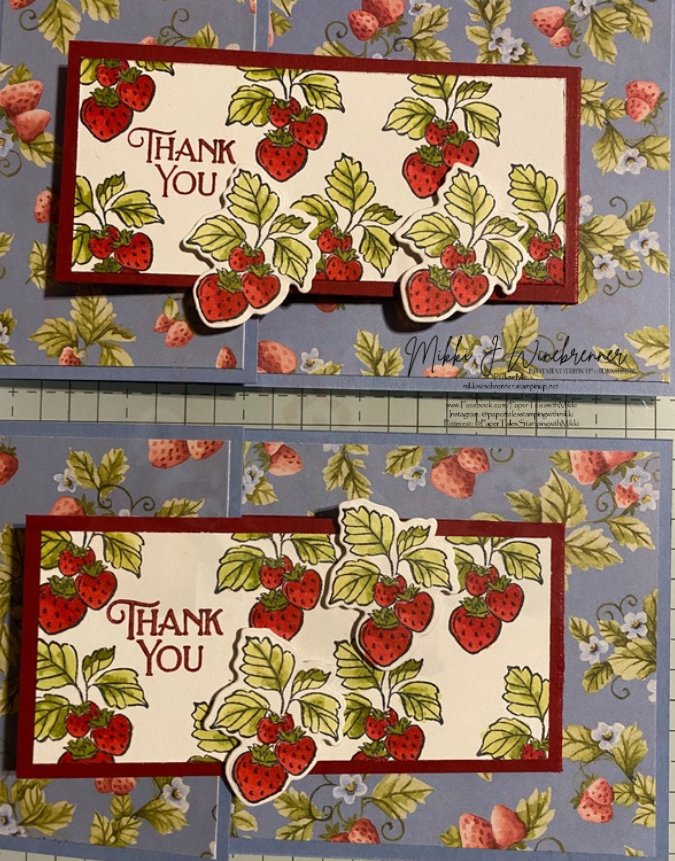
3. Stamp 2 bunnies in Memento on a scratch piece of paper. Stamp the main sentiment is Calypso Coral also on a scrap. Stamp the inside sentiment also in Calypso Coral.
4. Color in the bunnies with Crumb Cake, Petal Pink and Lost Lagoon Stampin’ Blends.
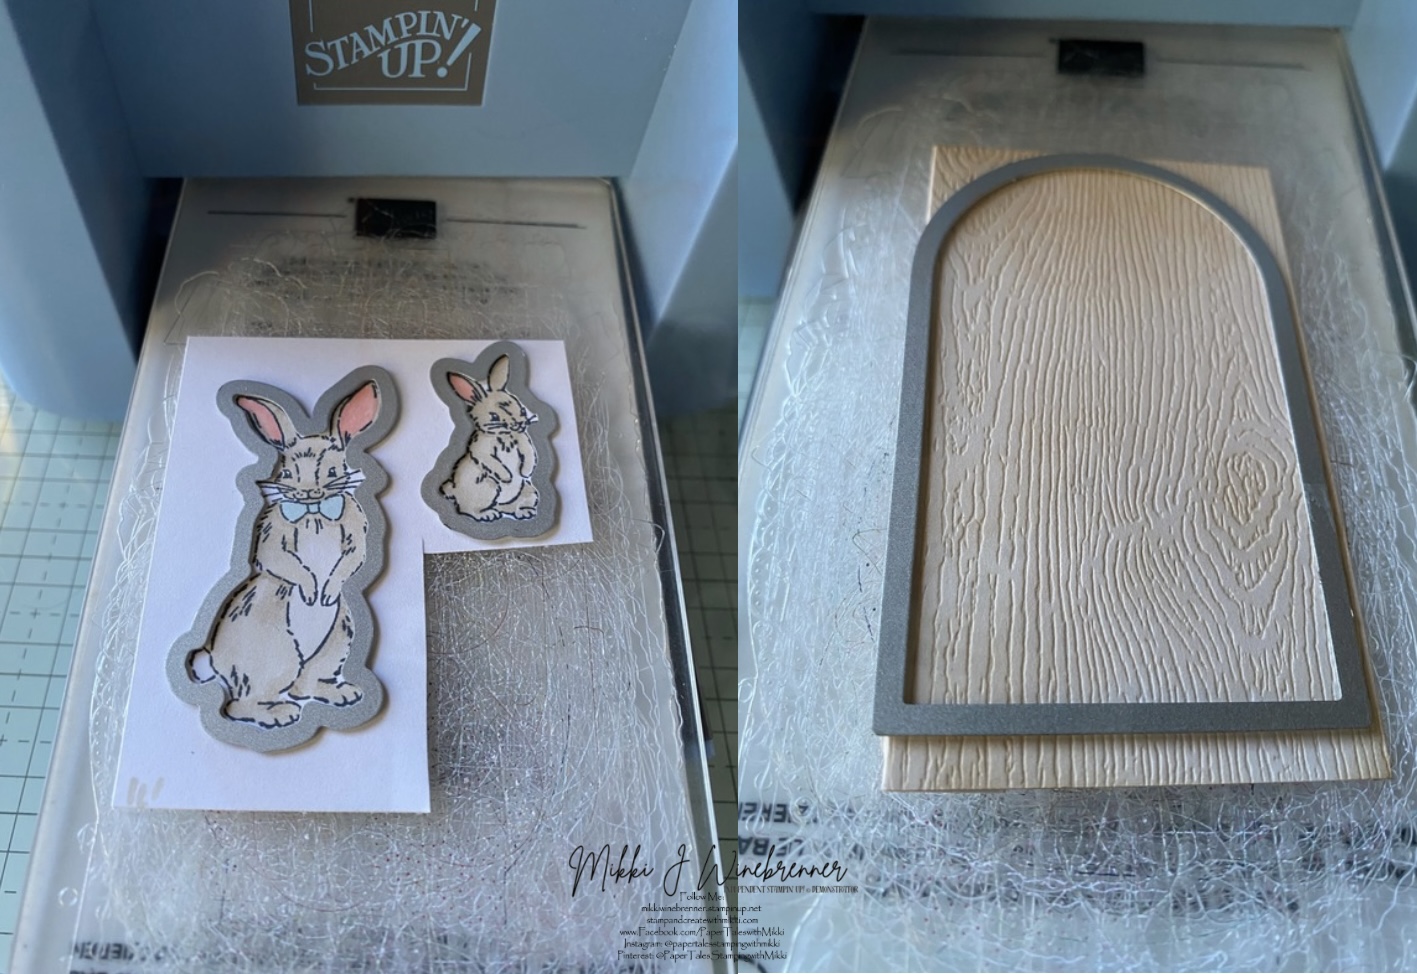
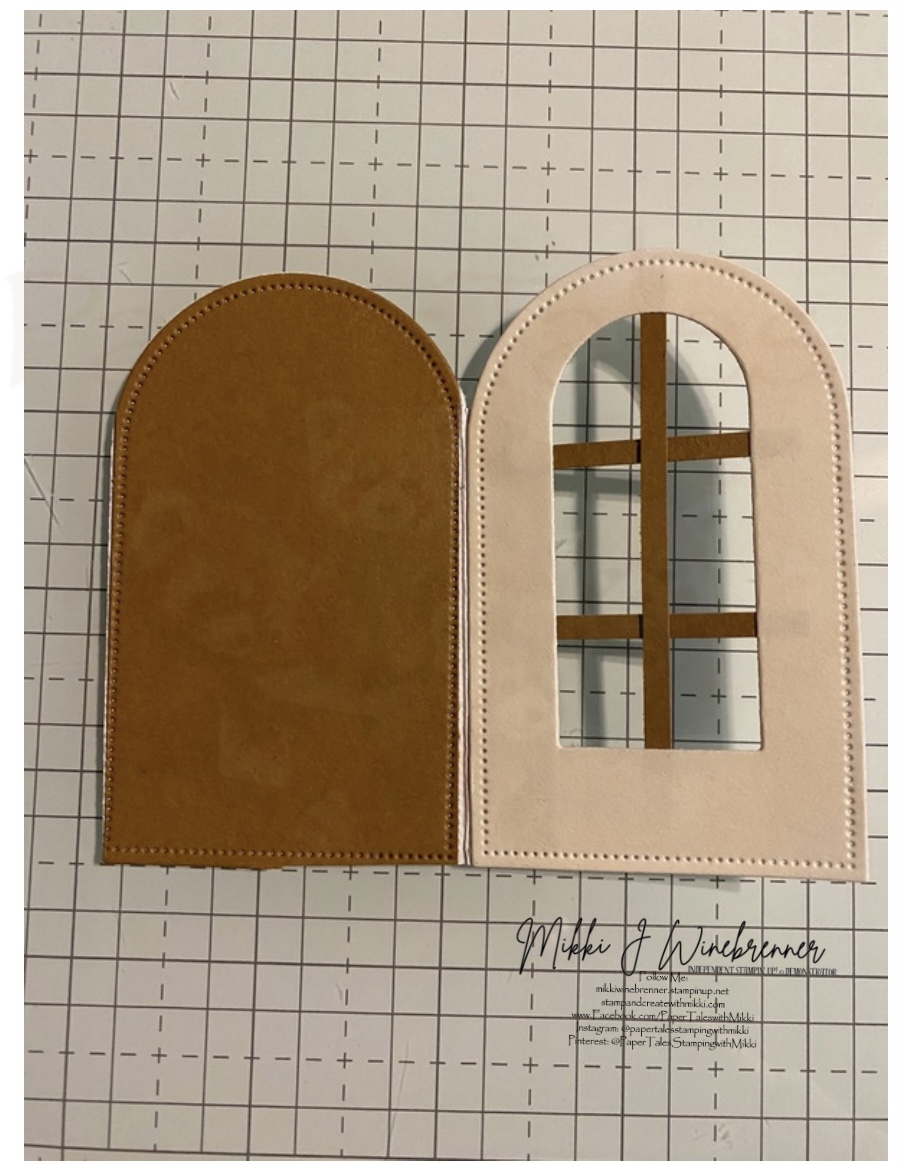
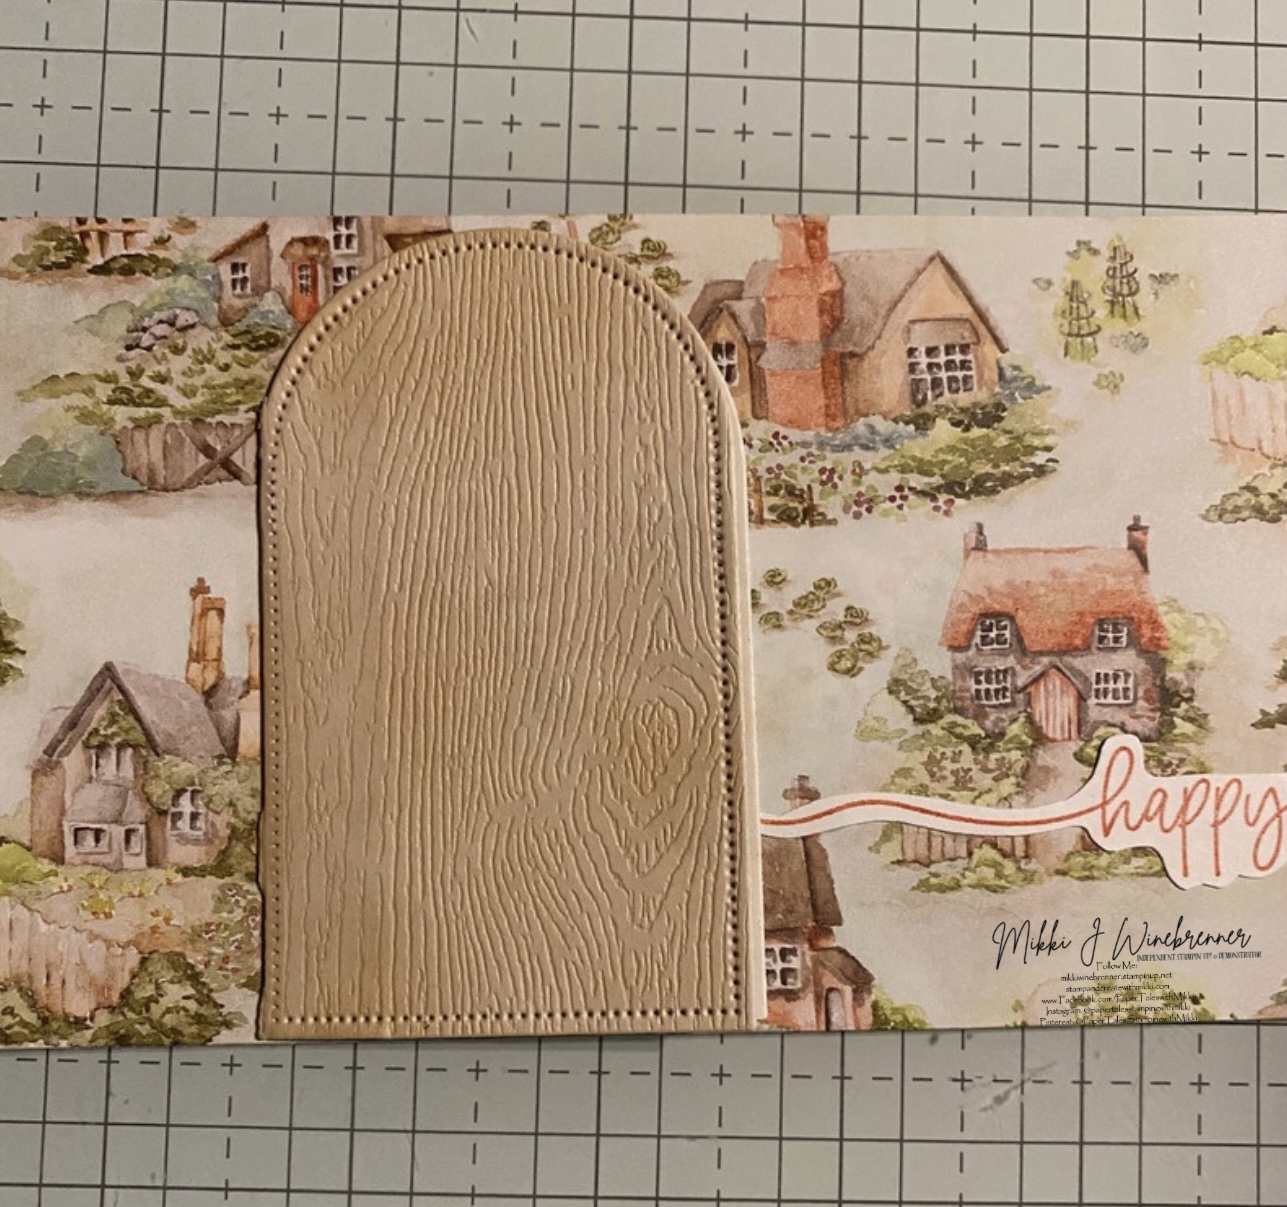
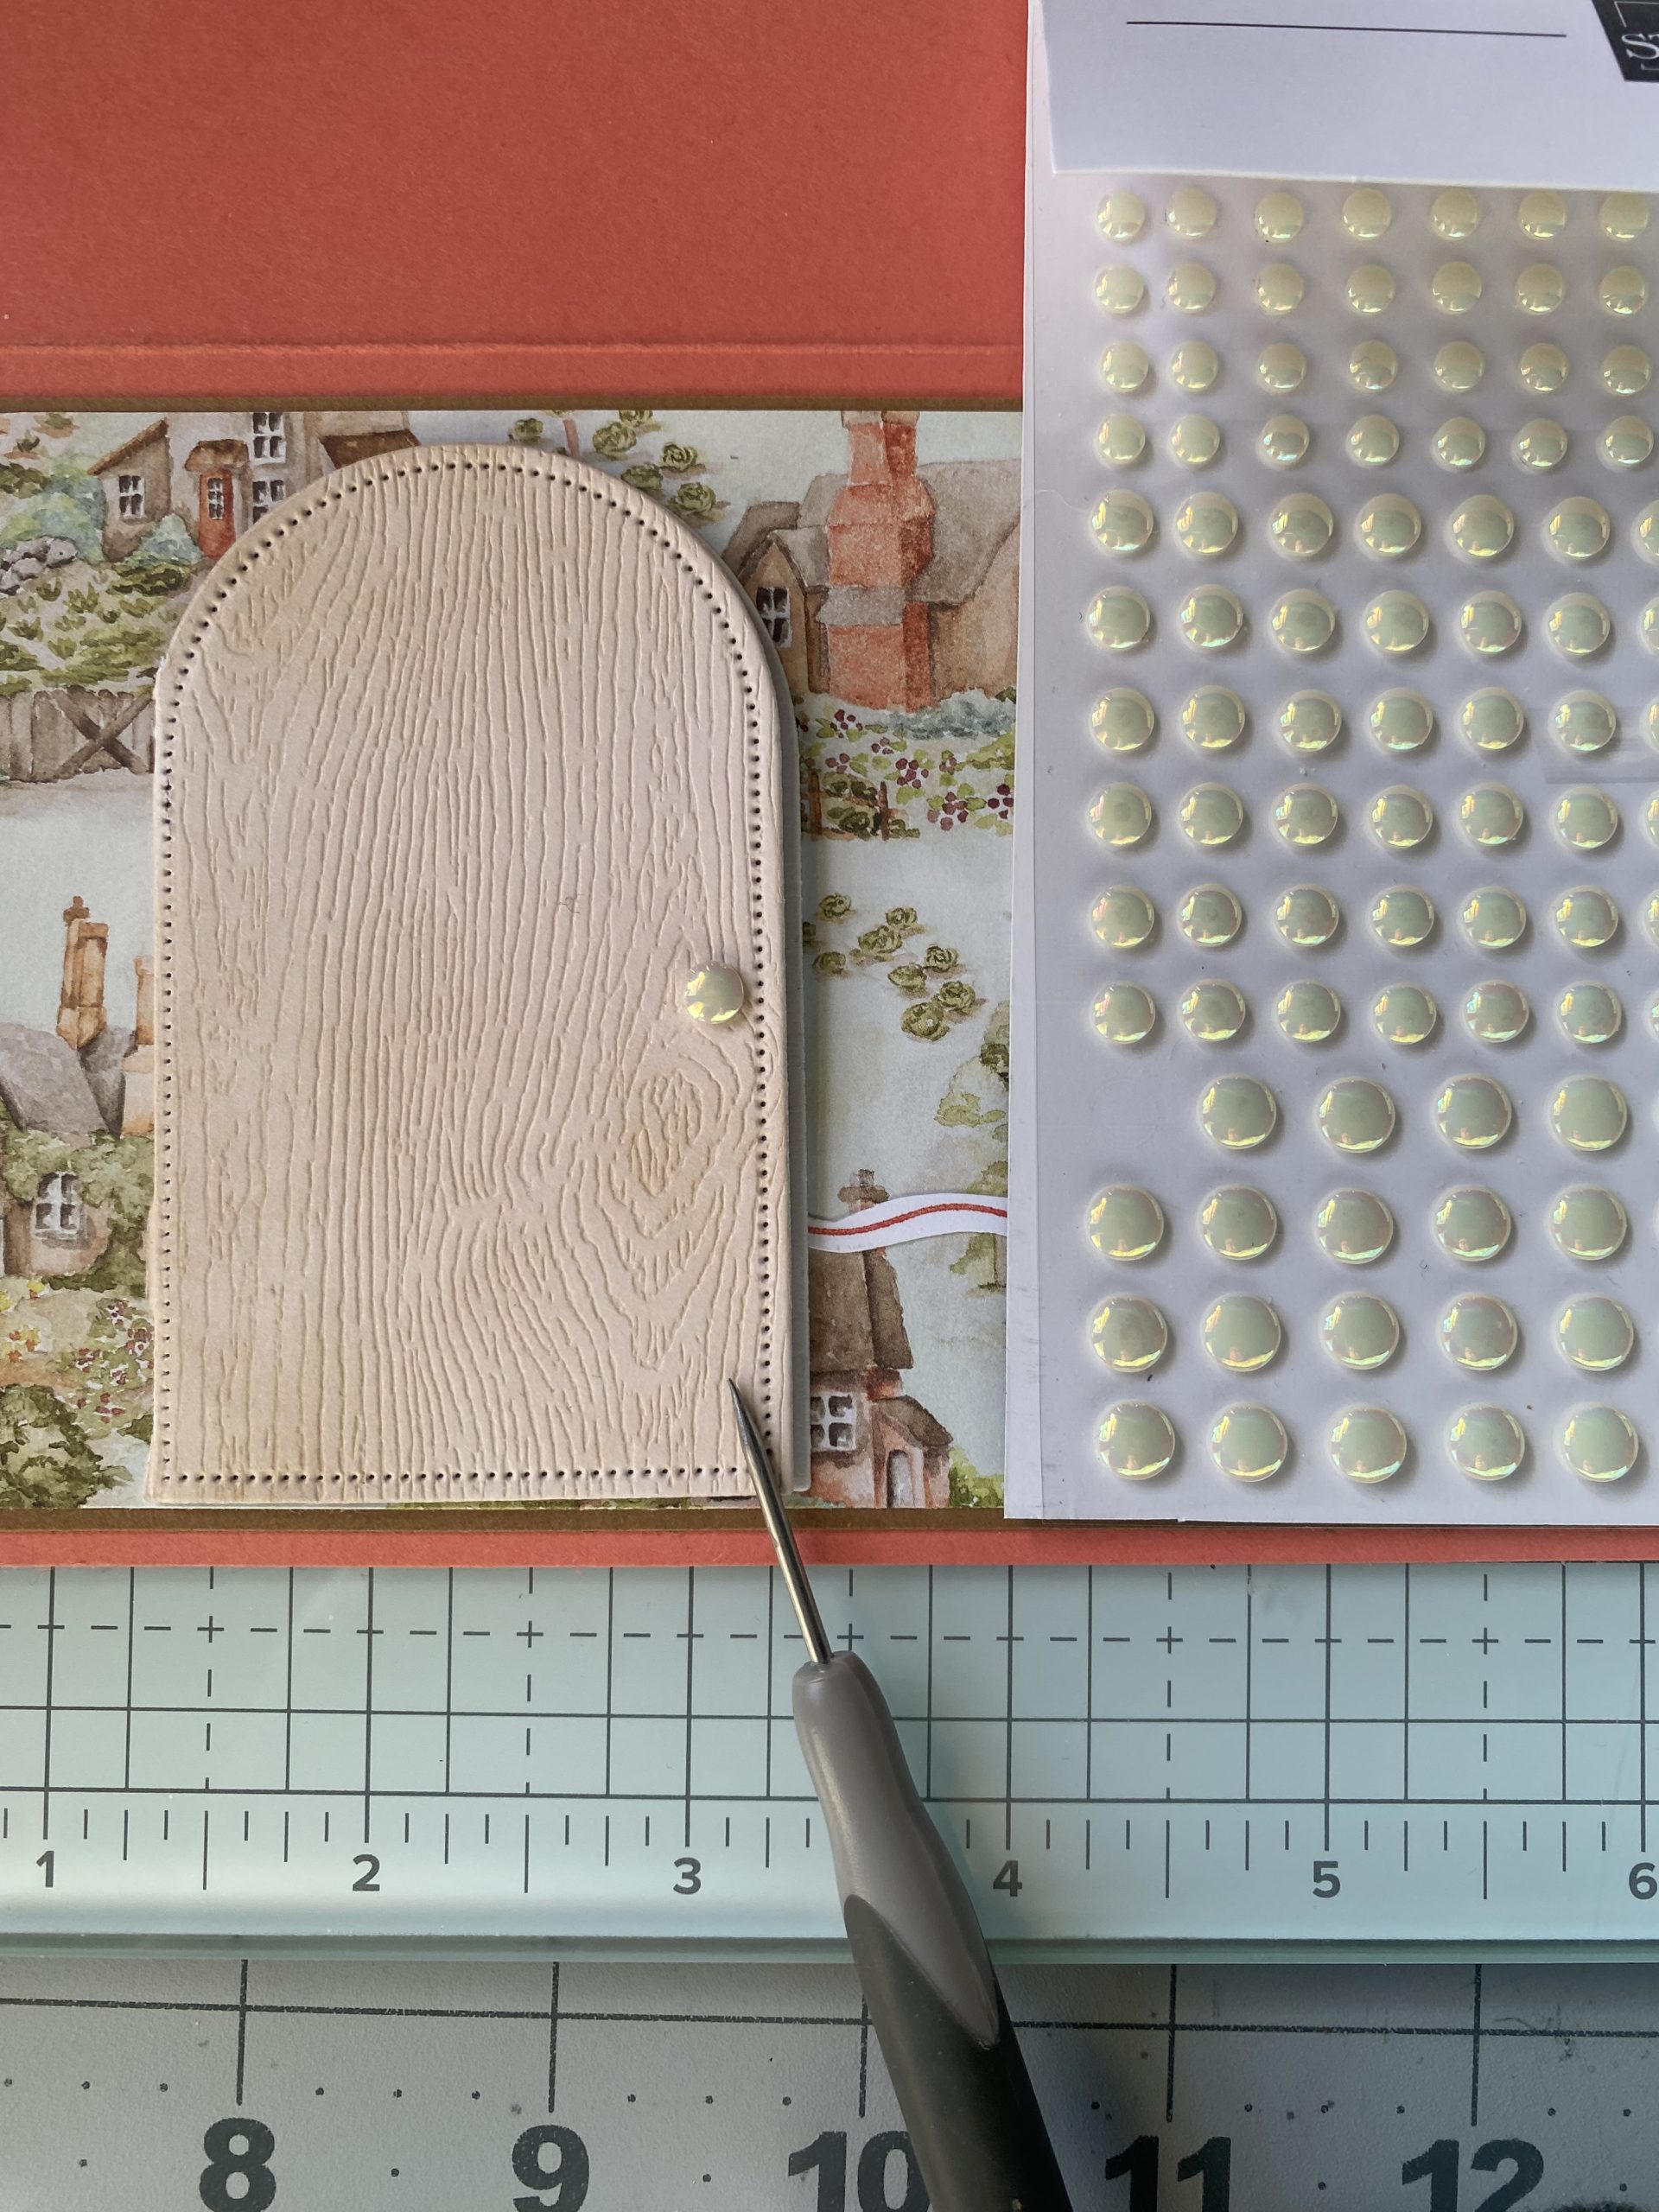
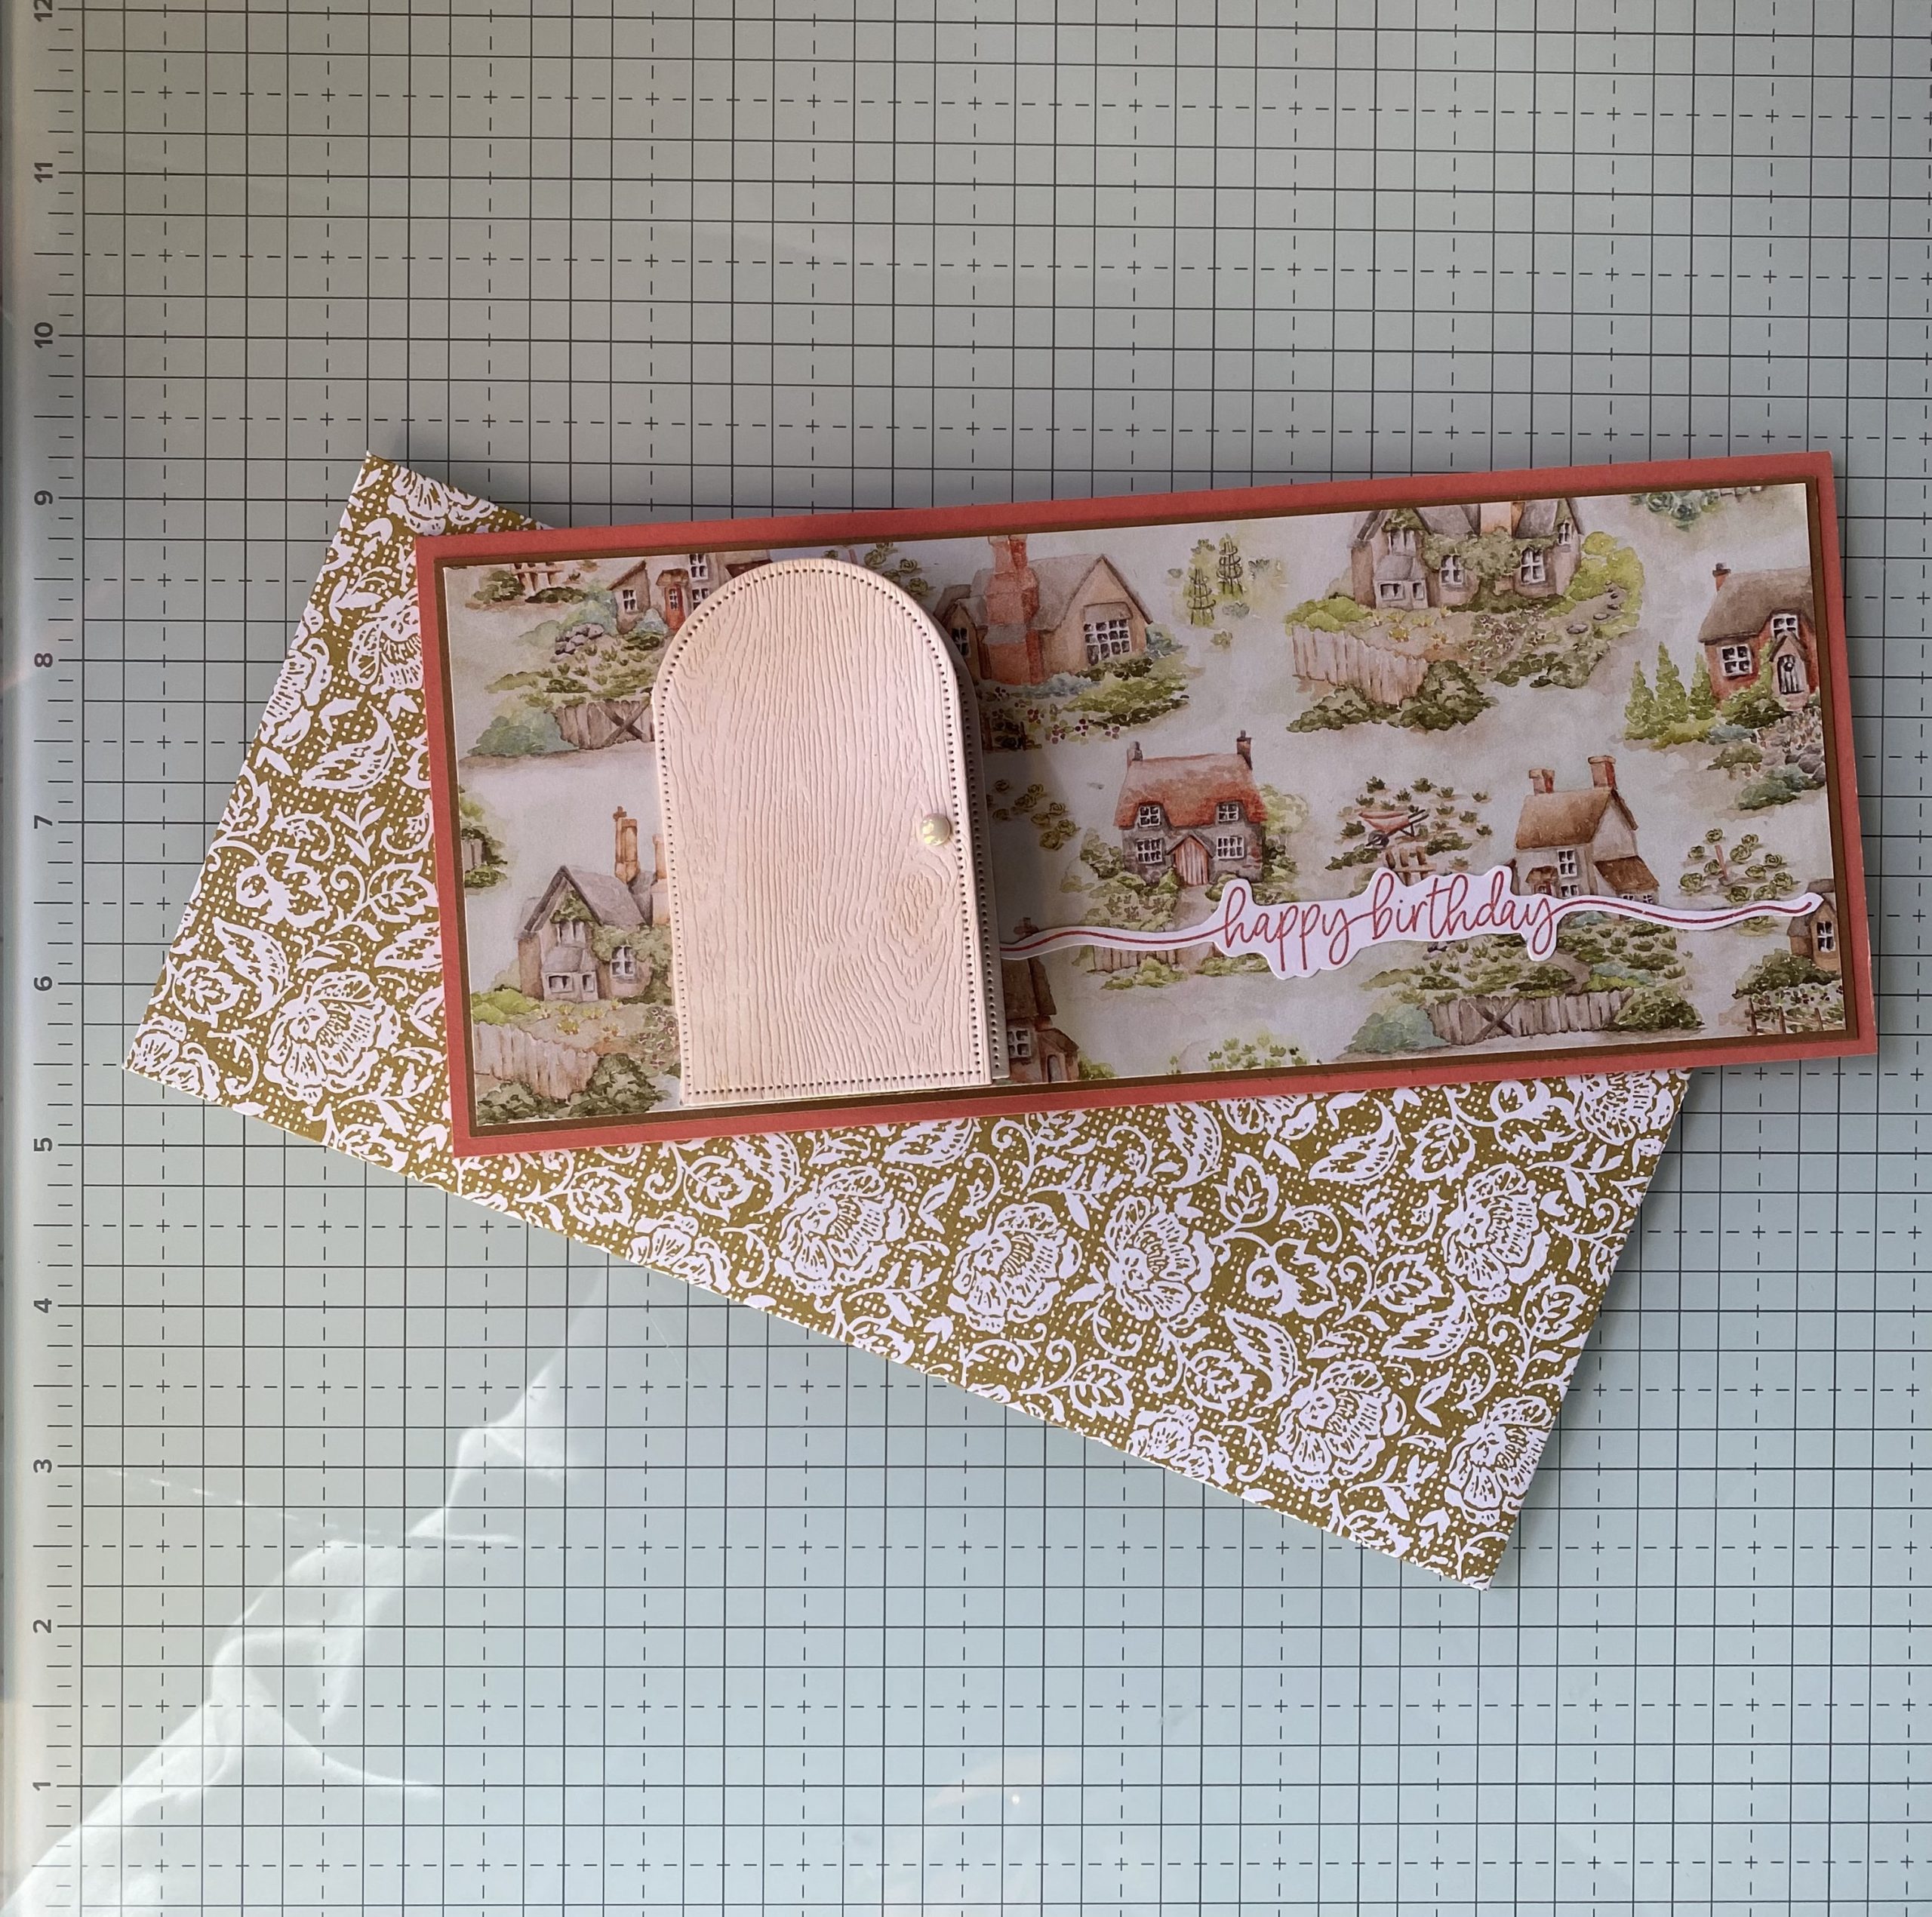
5. The door was changed halfway through so hang tight with me on photos; Fold the wood grain in half and run it through the cut machine using the Everyday Arches dies. Line up the left edge so it is inside the cut frame allowing both sides to be cut but remain in tact on the left. I cut a smaller arch on the backside to give it a window effect. The door was an entire hot mess! But it looks great in the end!
6. Cut the bunnies out with the coordinating dies.
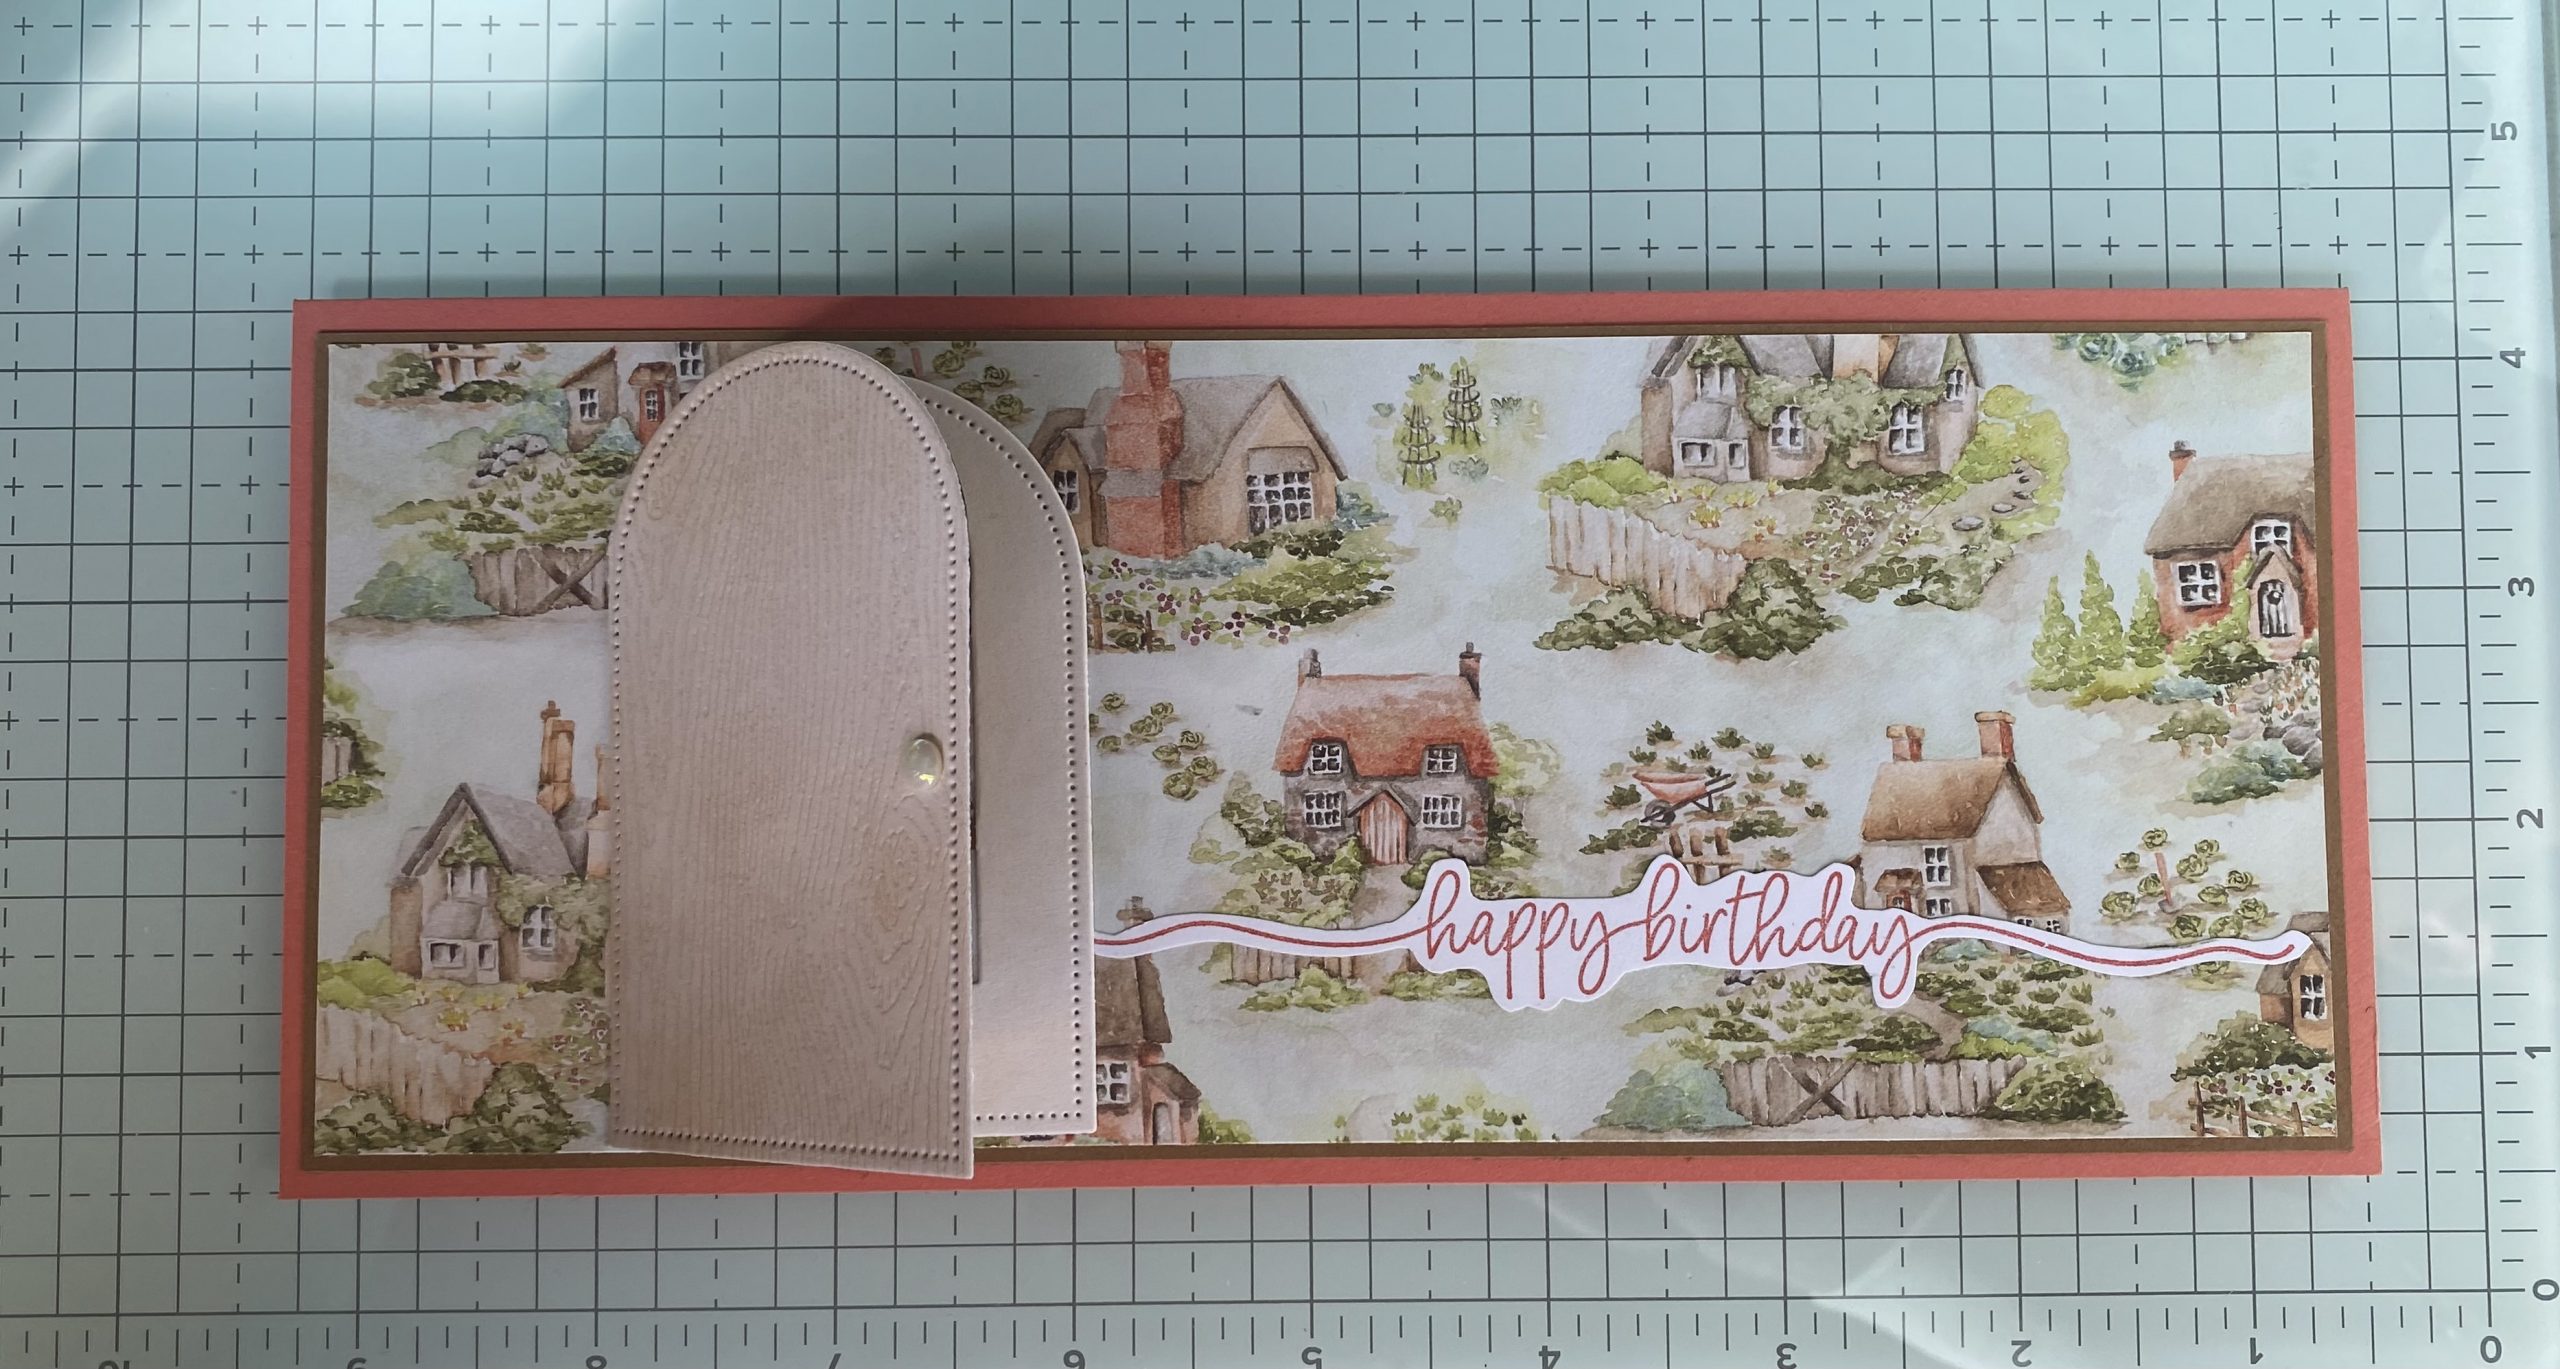
7. Attach the sentiment to the front with liquid glue.
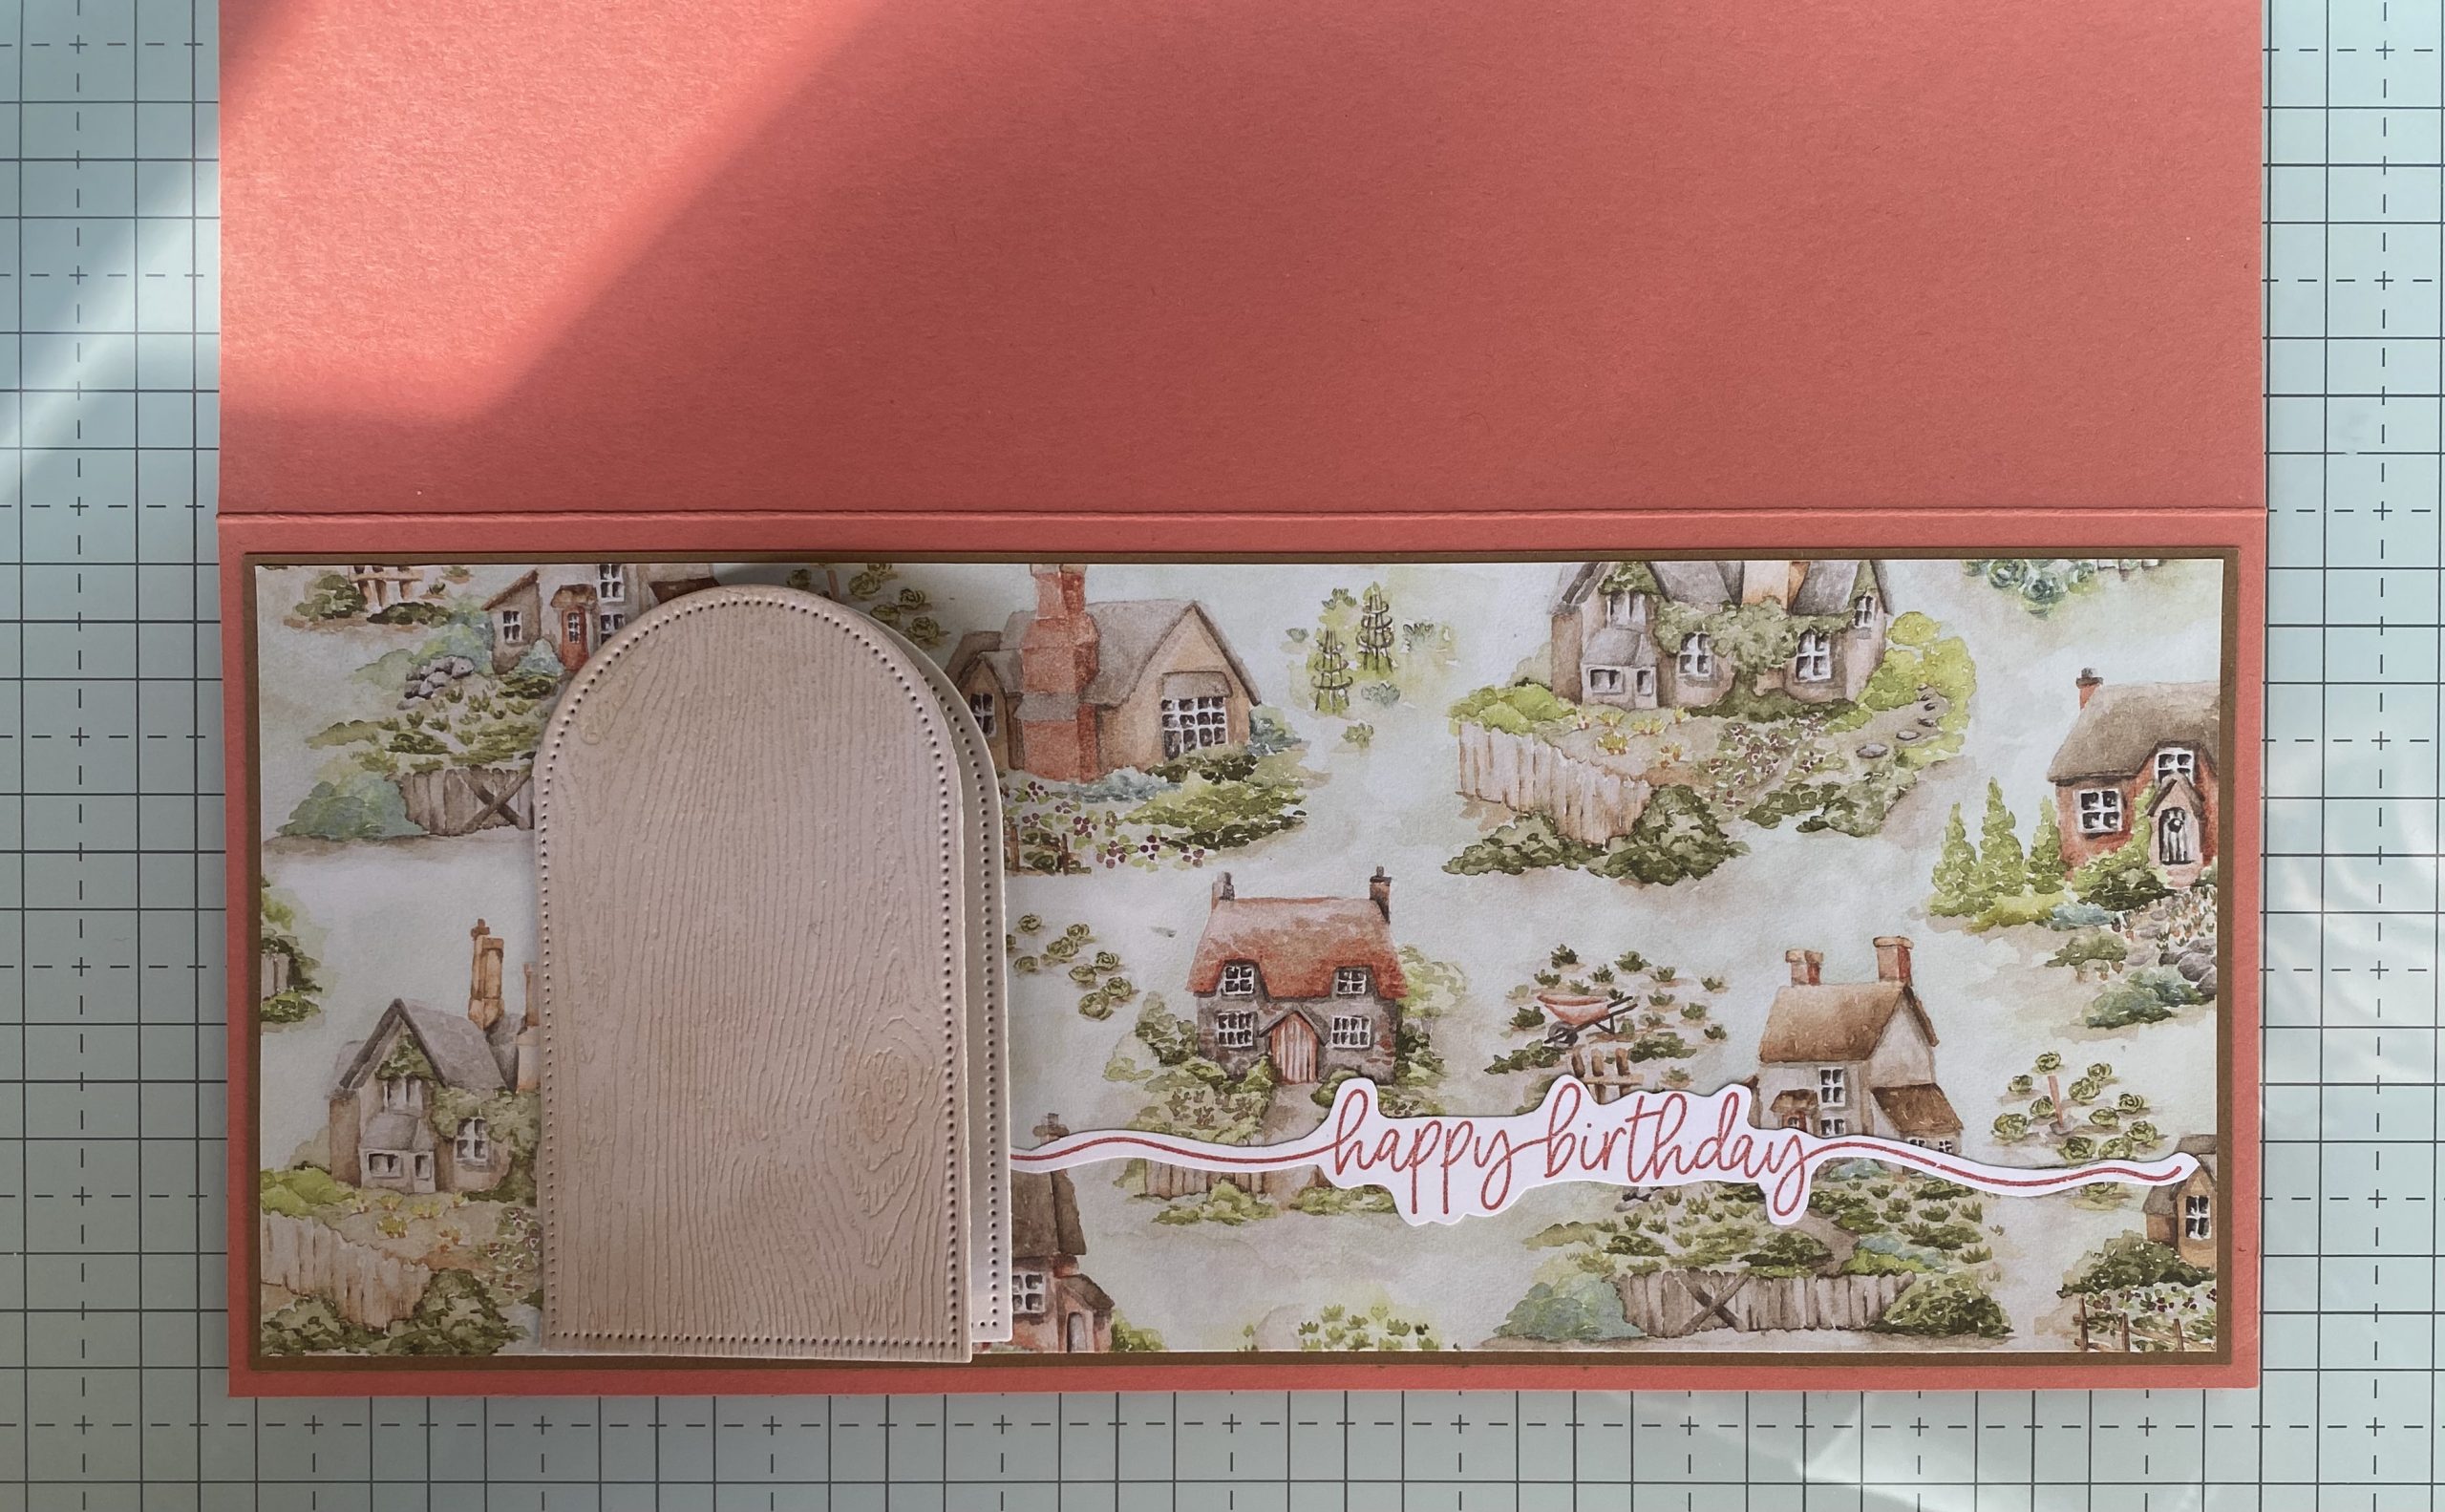
8. Attach the door to the very left side of the sentiment also with glue.
9. Attach the small bunny to the sentiment on the inside piece and attach that to the inside.
10. Attach the DSP to the Pecan Pie cardstock with liquid glue.
11. Attach the Pecan Pie to the card base.
12. Add 1 antique pearl to the door, the doorknob!, you can add more around the card if you choose.
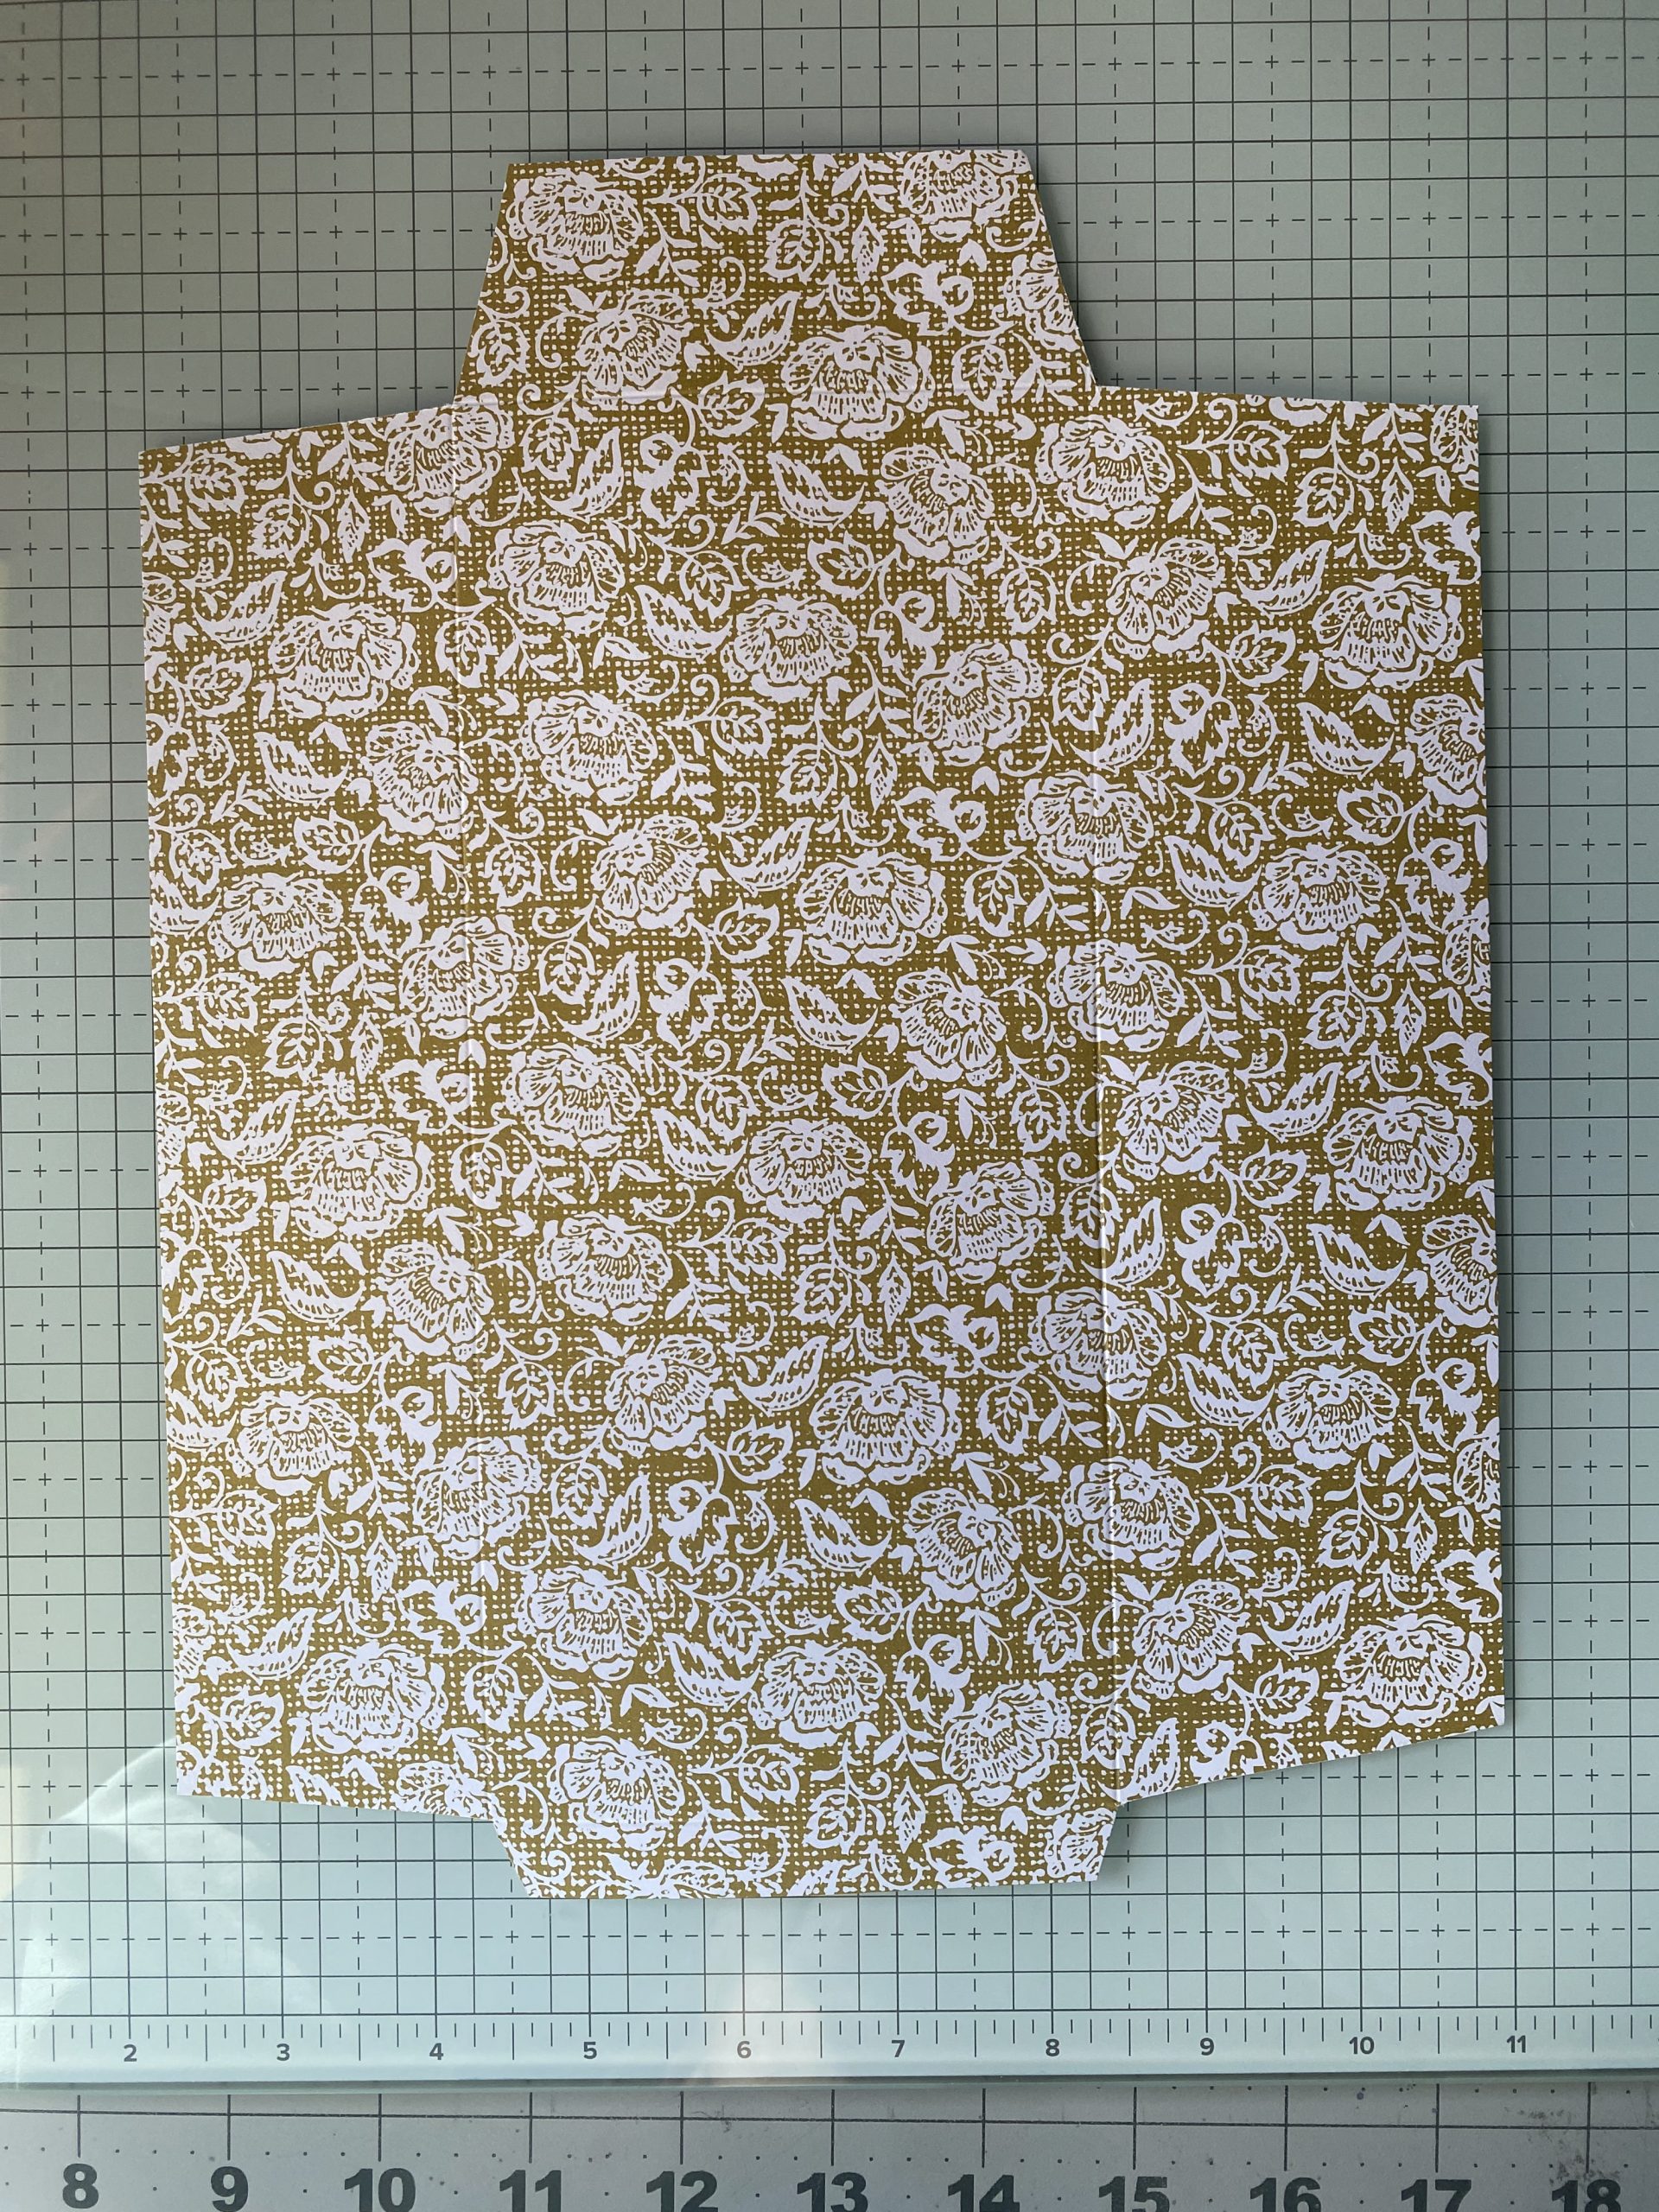
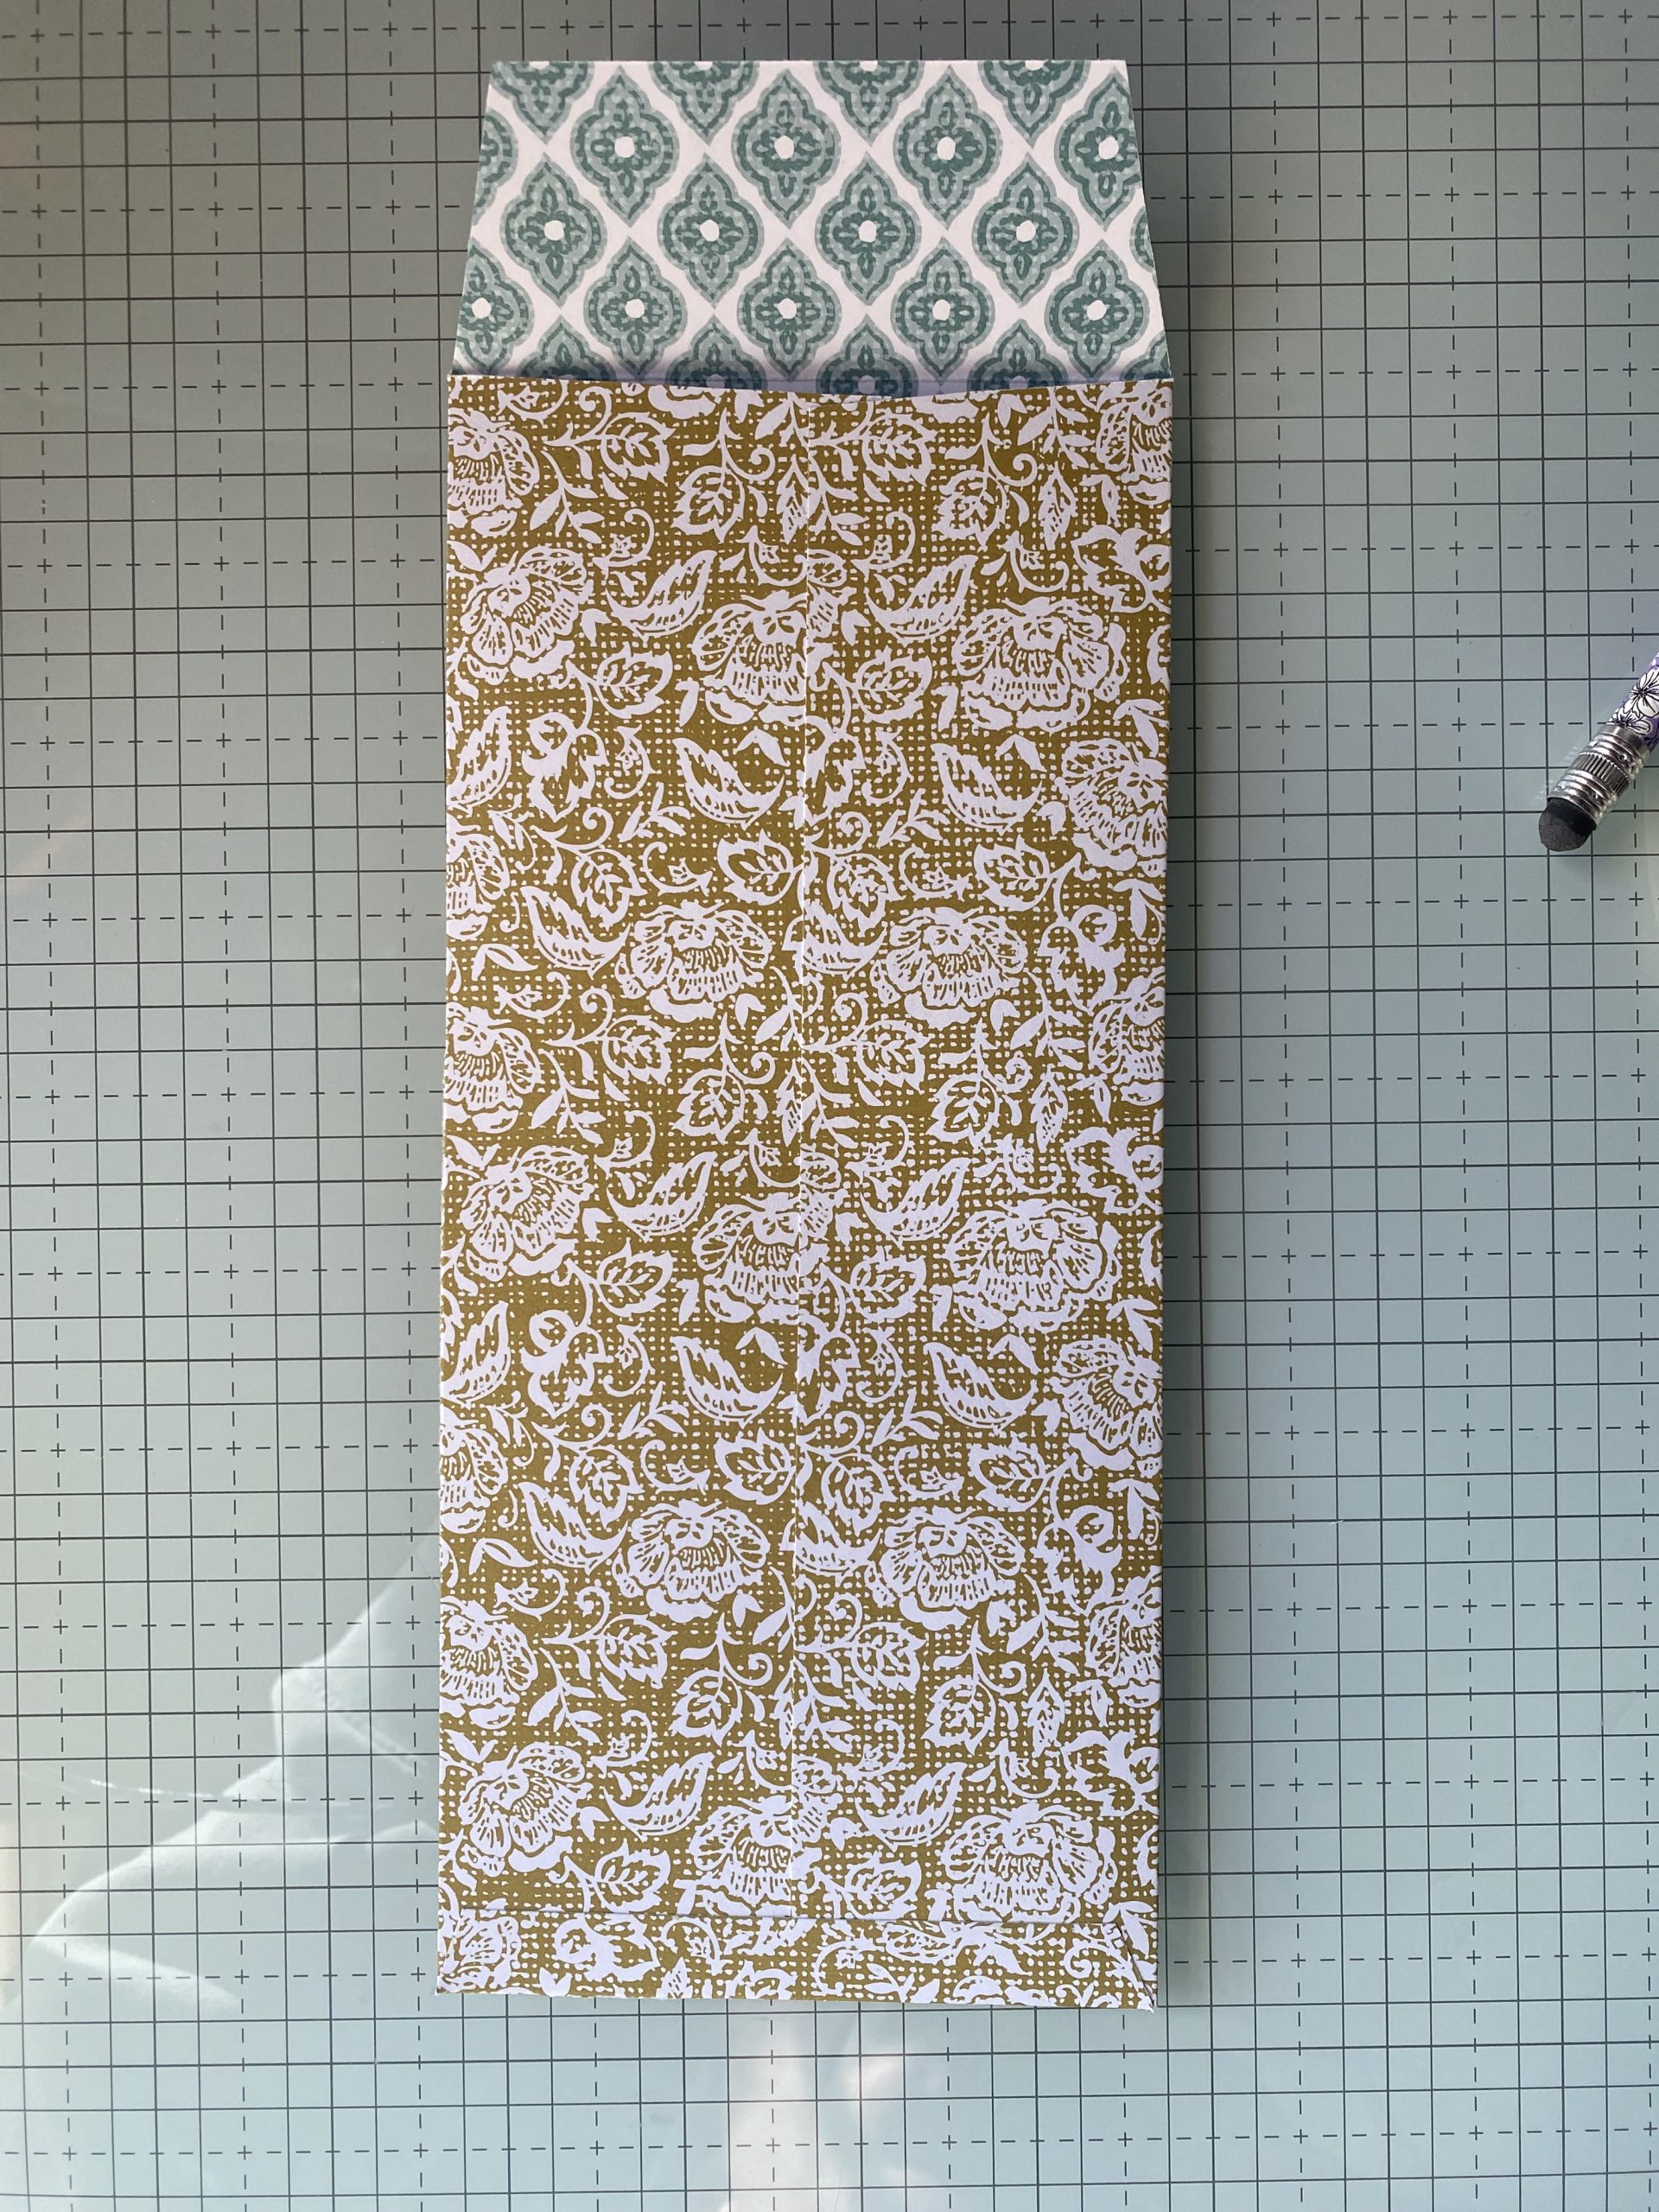
13. Create your envelope, there is a template below with scoring.
14. Enjoy!
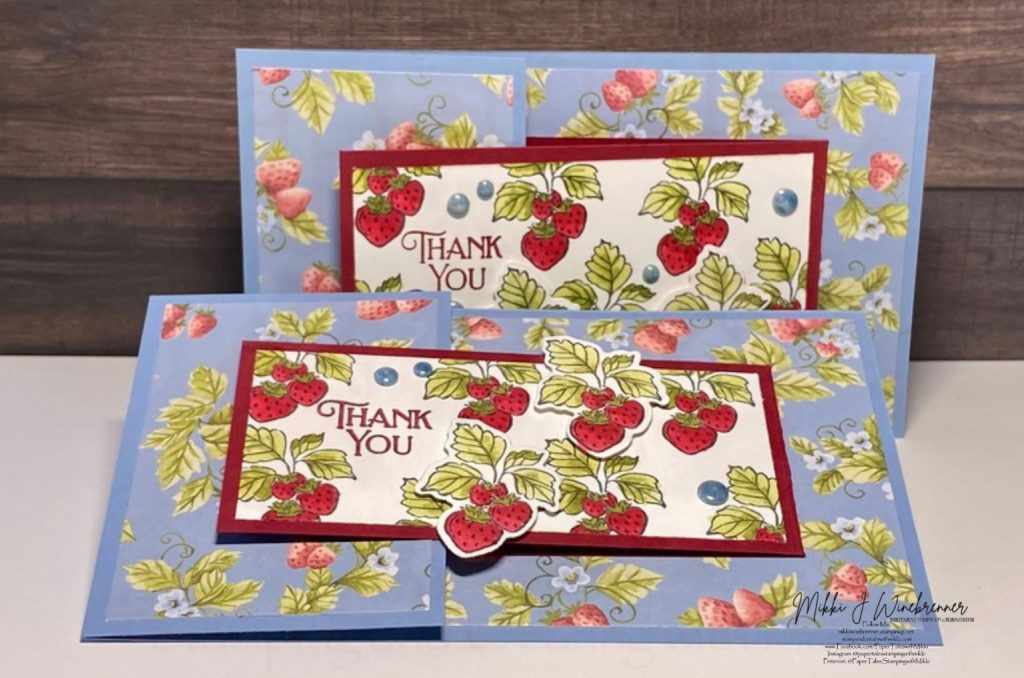
Mini Slim Line:
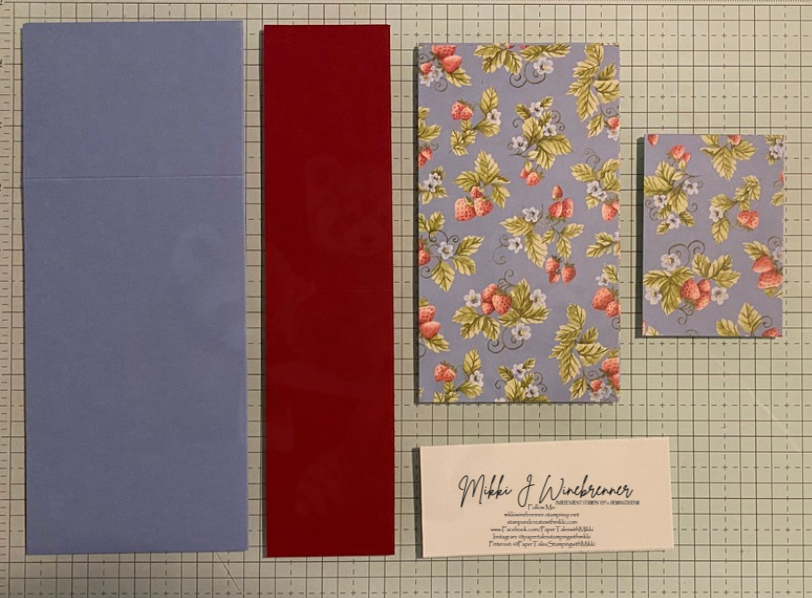

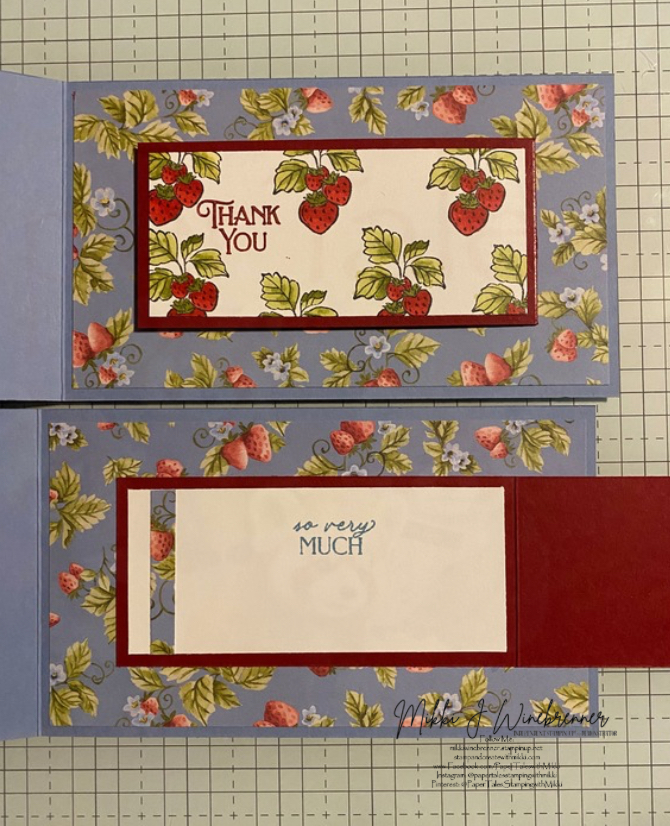


1. Cut your paper (two of everything!) and score your Boho Blue Base at 2-1/2” and the Cherry Cobbler at 4-1/4”.
2. Attach your DSP to the blue card base, large piece for the inside, small piece for the outside.
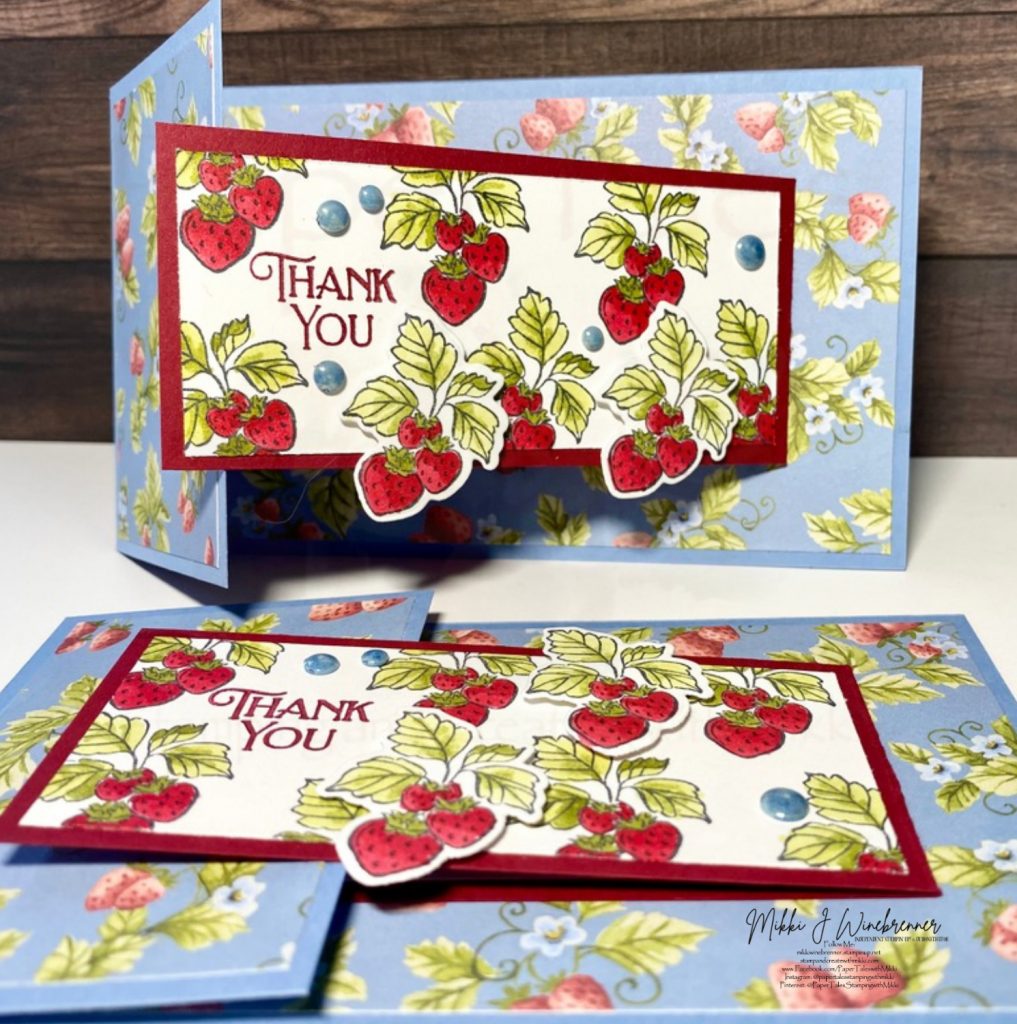
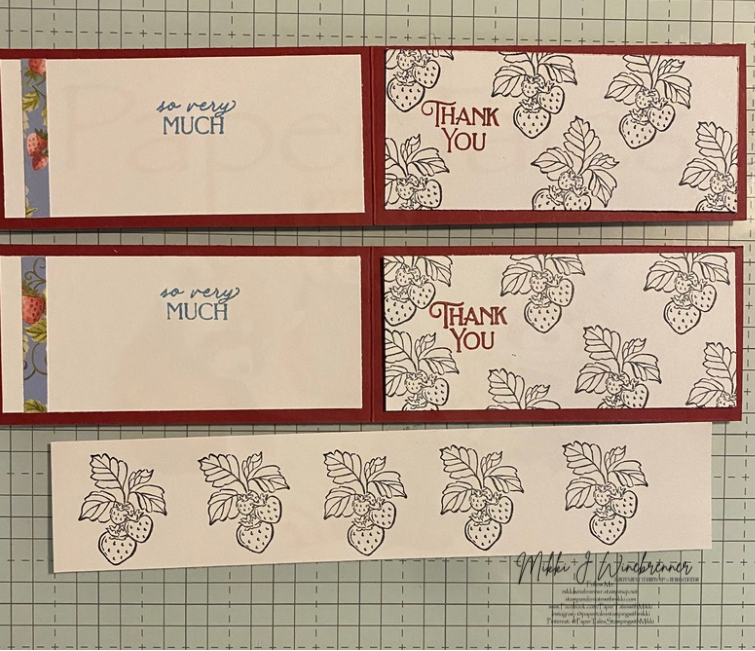
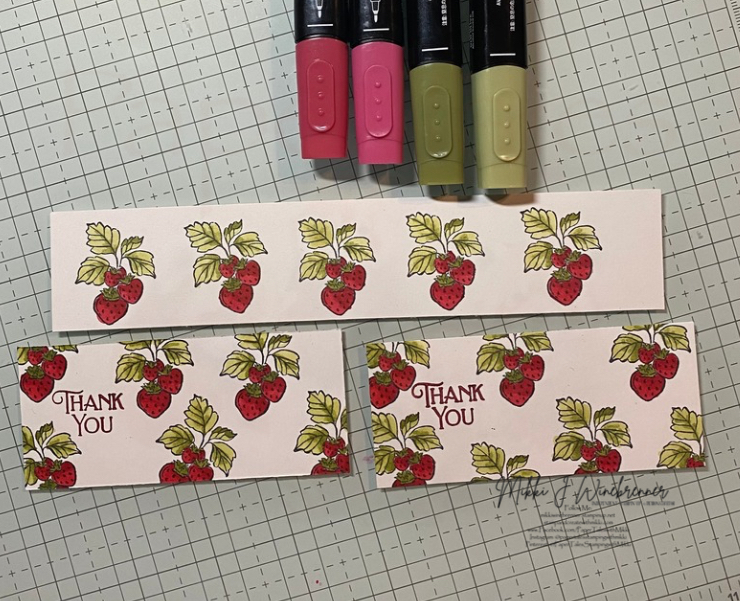
3. Stamp several strawberries on 2, 1-3/4” x 4” pieces, and 6-7 more on scratch paper. Use Memento Tuxedo Black with these. Stamp the sentiment on the 2 with strawberries in Cherry Cobbler, stamp the inside sentiment in Boho Blue (so sad this color is retiring soon).
4. Color in the strawberries with Cherry Cobbler and Old Olive Stampin’ Blends.
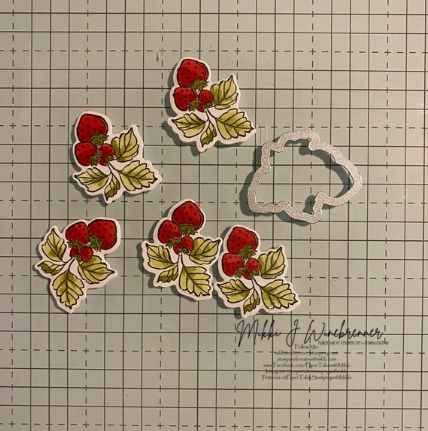
5. Cut the strawberries out on the scrap piece with the coordinating die.
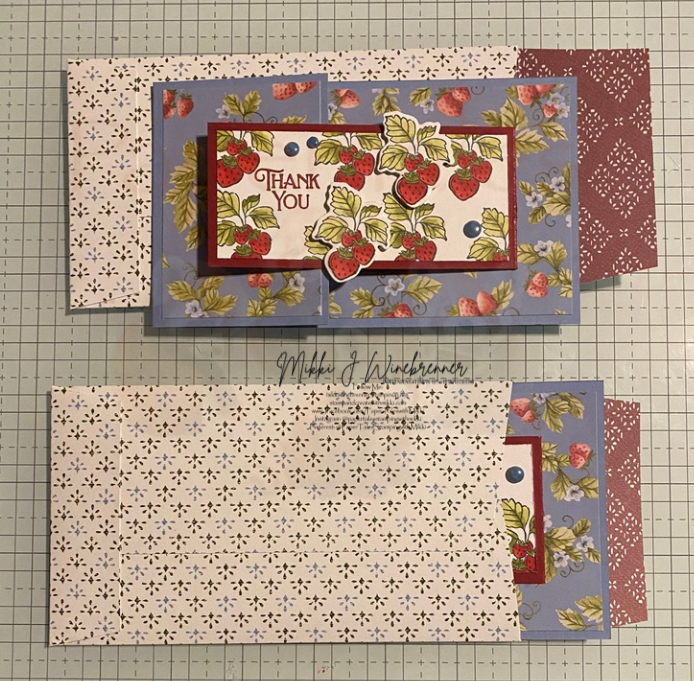
6. Attach the strawberries to the 1-3/4” pieces with dimensionals.
7. Attach the basic white pieces to the Cherry Cobbler base (note this base folds backwards!). Attach the base to the Boho Blue Base in the center, so it overlaps the 2-1/2” base flap.
8. Add in some Antique Pearls here and there and your all done.
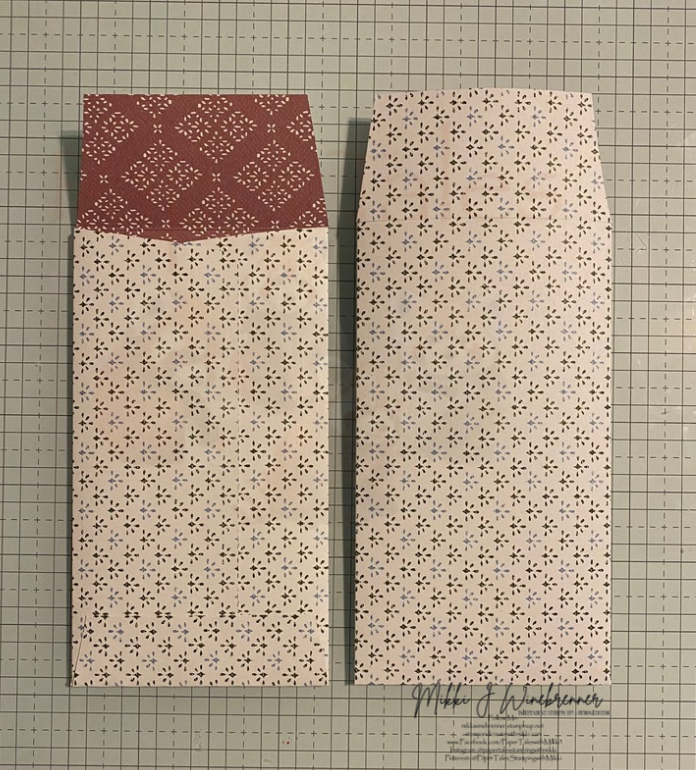
9. You will most likely need to make your own envelope. I used random DSP that I had in a stack for this.
The envelope template is below with scoring and cutting instructions.
10. Enjoy!
NOW YOU HAVE A COUPLE OF FUN CARD TO SEND OFF TO SOMEONE TO SAY HAPPY BIRTHDAY OR THANK YOU.
I have a full list of products used in both cards , as well as links to them in my store. If you have any questions please do not hesitate to reach out to me either in the comments below or privately!
Here are a couple of images of the envelope scoring. The photos in the gallery are kind of hard to see:
I WILL BE BACK WITH MORE STORYBOOK FUN!
Happy Stamping!!
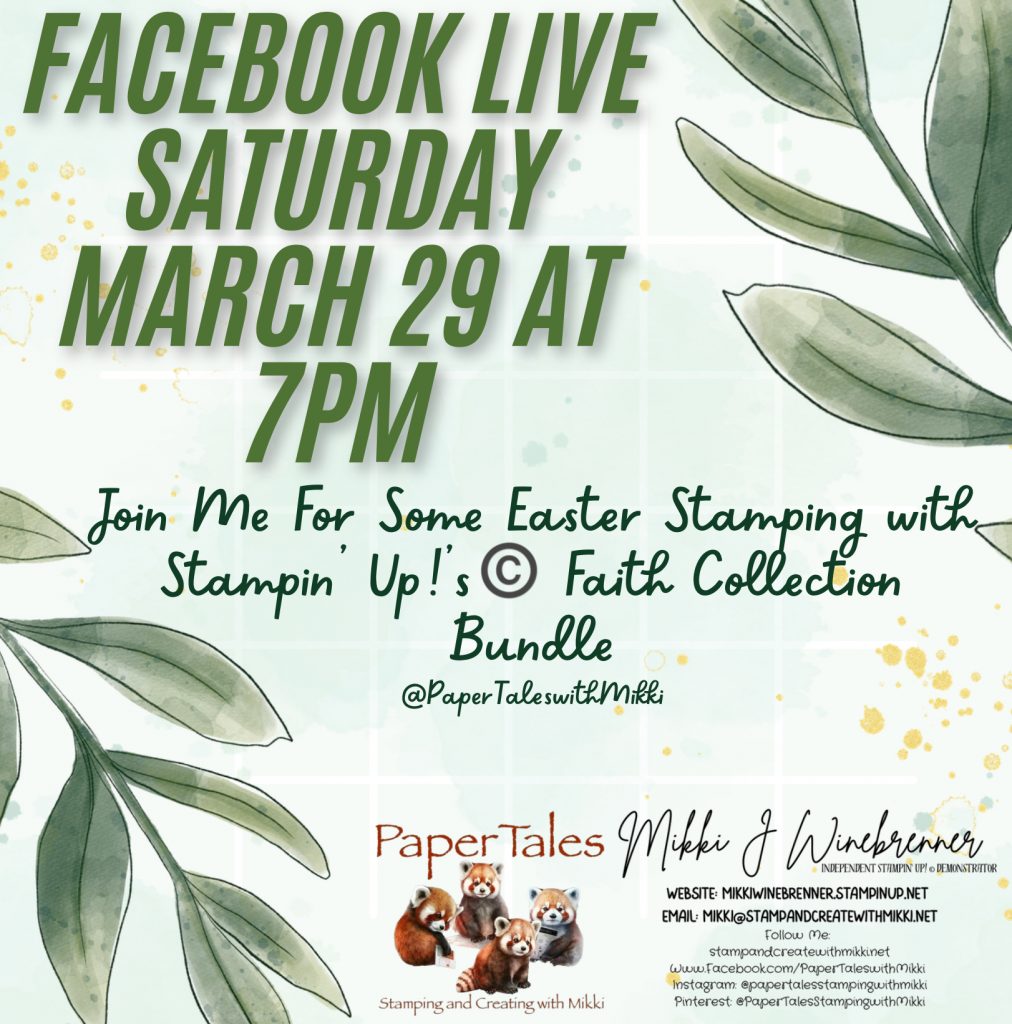
We are doing new and frighting things over on Facebook!
I’ve taken a leap into the Live Stream world with a monthly card class. I will have video recordings uploaded to YouTube and will have them linked in here as well.
Just a few little details about these classes. First and foremost, they are FREE!!
I will provide the measurements and products I use during the classes but the creativity is limitless and you can choose whatever products you would like. There is no right or wrong.
These classes are really just to bring us all together once a month and have some crafty time and relax. Going forward the classes will be the last Saturday of the Month at 7pm CST and last about an hour.
The March 29th class will be featuring Stampin’ Up! ©️ Online Exclusive Faith Collection Bundle with a focus on Easter.
I don’t have all details planned out yet but this will be an easier project but not a simple stamping card although I will have samples of how you can use just the stamp set. It will be fun!
I will post more details on the projects as we get close to the date. This will allow you to prep as much as you need.
If you have any questions please reach out to me.
Happy Stamping!!
Product List

")
")
 Specialty Designer Series Paper")


 Specialty Paper")
")


Ink Card Stock Tools & Adhesive Ribbon & Trim Accessory
My Favorite Stampin Tools
| 1.Take Your Pick | |
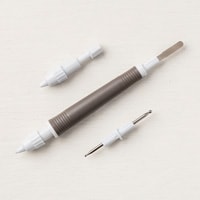 |
So many uses and attachments for this little tool that makes crafting so much easier! I have 3 currently in my tools drawer! |
| 2.Stampin’ Glass Mat Studio (Imperial) | |
 |
This glass mat is amazing! I love that you can write on it, stamp on it and use it to line up paper. Easy to use and super easy to clean up when you’re all done! |
| 3.Simply Scored | |
 |
The Simply Scored is in my top 5 because it make scoring easy when you’re doing a bunch of scoring at once or intricate score marks for a fold. Also saves you from cutting when wanting to score! The diagonal board is also super helpful when doing scores for envelopes and boxes. |
| 4.Blending Brushes | |
 |
Oh my blending brushes. These little fellows are a blessing when it comes to adding color and making scenes! I could write an entire book on why you should have these in your tool bag! |
| 5.Soft Pastels Assortment | |
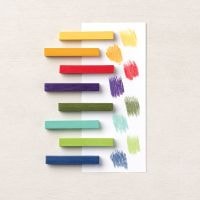 |
These are a sentimental favorite. I have been using soft pastels in art work since high school. They are a unique color tool that believe it or not has a lot of different uses and color techniques. If you want to explore coloring then grab a set of these! |
")
")
")
")


