

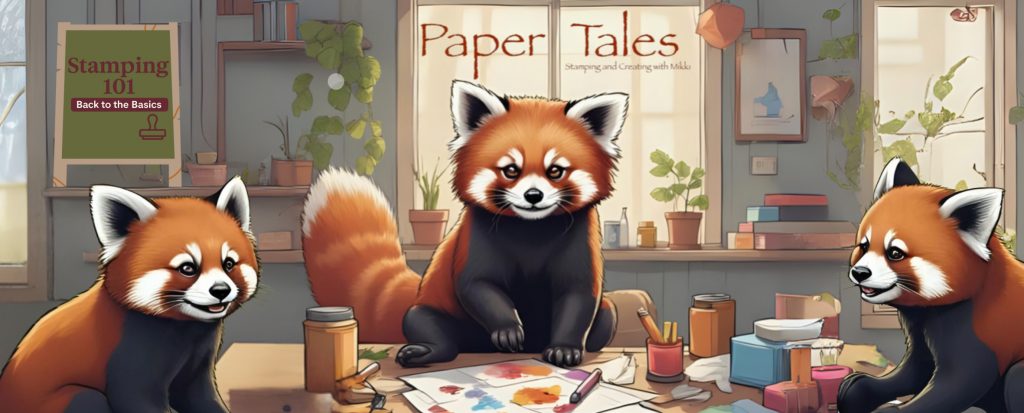
“What the embossing?!” 🤔 I’ve been getting this question a lot lately, and honestly—I love the curiosity! So we’re throwing it back to basics and diving into the magic of embossing—because every crafty queen deserves to know how to add that extra wow factor. ✨
With a couple of videos from the home office and samples from my desk, I will show you how you can use embossing to take your crafting to the next level!
There are a couple of different techniques used with embossing. I am going to walk you through 3 of them that are used most frequently.
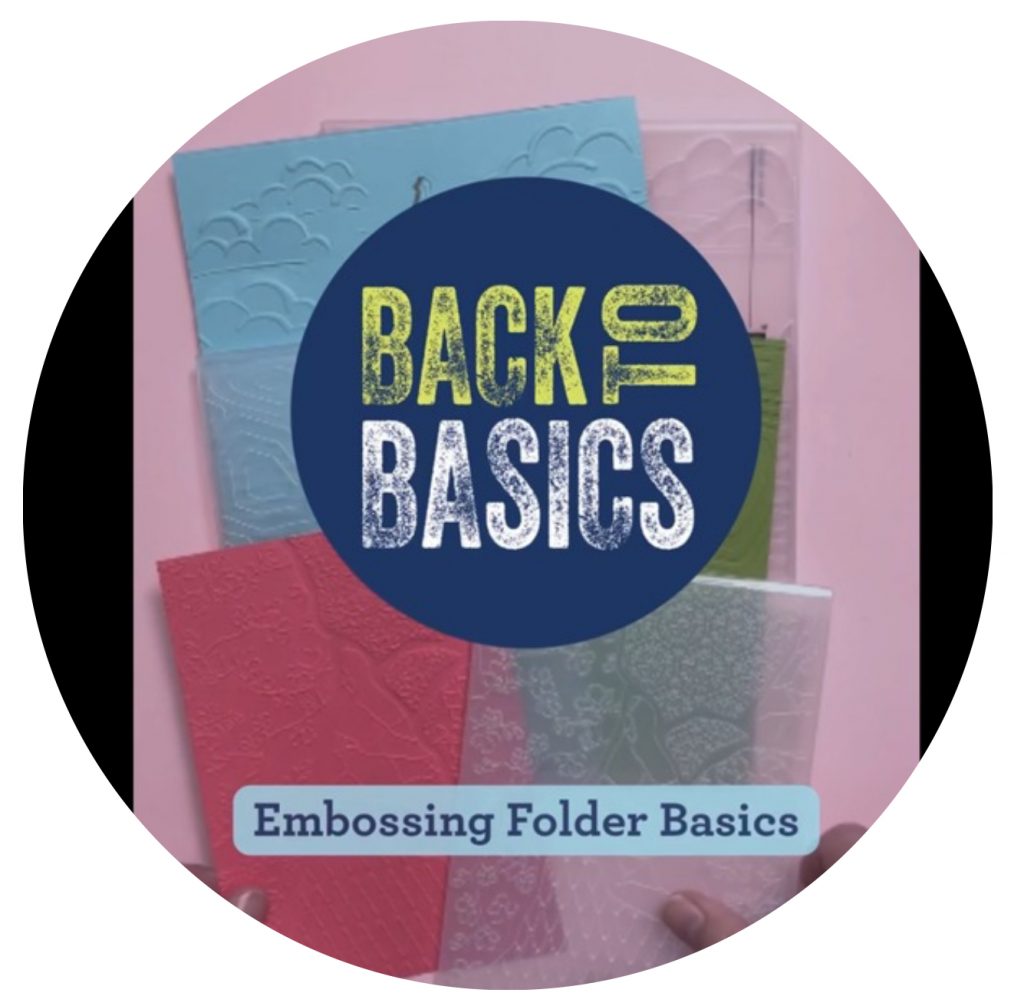
Starting off with the simplest method – Dry Emboss.
Dry Embossing: also known as relief or paper embossing, is a technique that involves creating raised or textured patterns on paper or cardstock without the use of ink or heat. Using an embossing folder, which is a plastic or metal template with a raised pattern, and an embossing machine to apply pressure. When the paper is placed inside the folder and run through the machine, the pattern on the folder impresses onto the paper creating a raised design. This technique adds depth and texture to the paper without the need for ink or heat tools. It is also an excellent and simple way to add elegance, texture and visually appealing look to any card.
Stampin’ Up currently offers 3 different types of Dry Embossing folders and 2 sizes of Stampin’ Cut and Embossing Machines. Let’s look at the Stampin’ Cut & Emboss machines first.
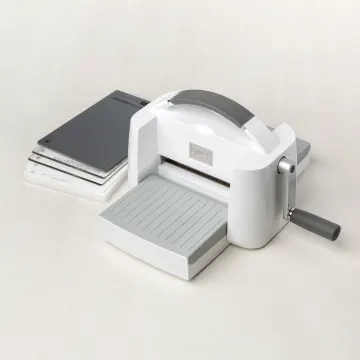
Spend your time crafting, not cutting! The Stampin’ Up! Stampin’ Cut & Emboss Machine makes precise cuts and detailed embossed images every time. The 6” platform works with all dies and embossing folders to easily create accents and elements for cards, scrapbook pages, party invitations, classroom projects, and more.
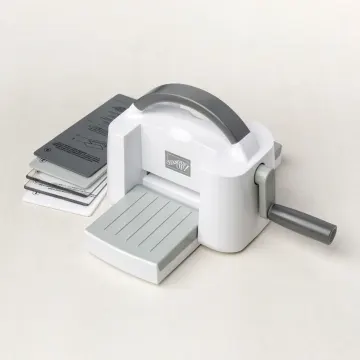
This cute Stampin’ Up! Mini Stampin’ Cut & Emboss machine has a compact footprint for easy storage and travel. Like its big brother, it makes precise cutes and detailed embossed images every time. The 3-1/2″ platform works with many of Stampin’ Up!’s smaller dies and embossing folders.
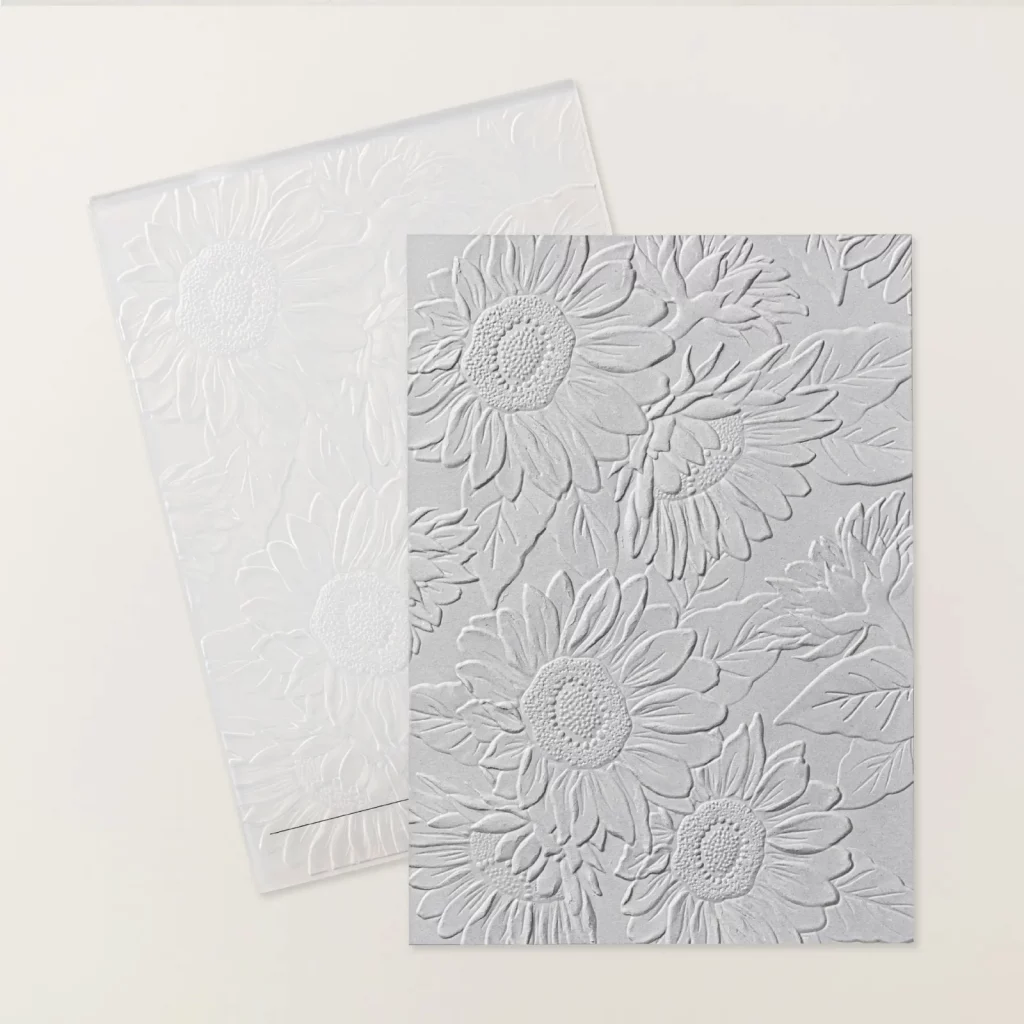
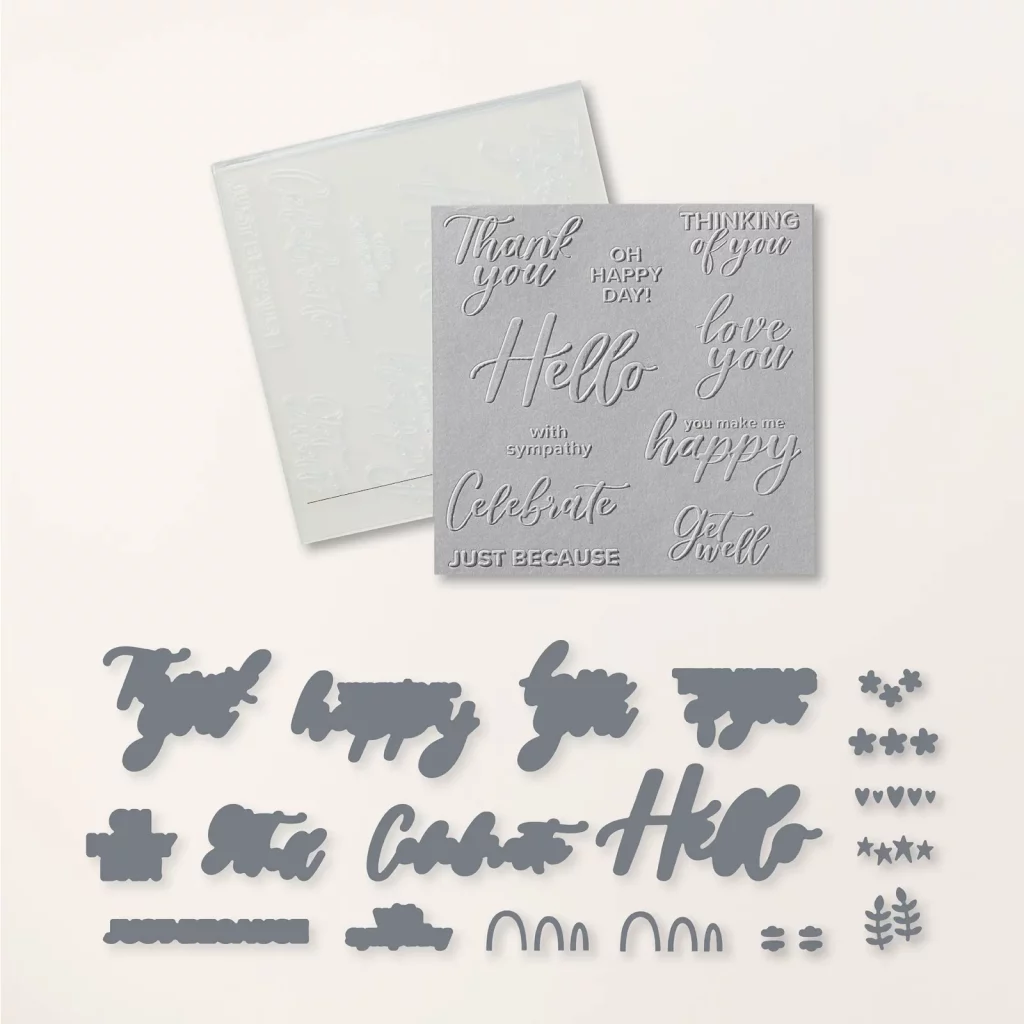
3D EMBOSSING FOLDERS
– Easily make great impressions!
– Take embossing to the next level with deeper, more detailed impressions.
– To use, place flat cardstock in the embossing folder and run it through a Stampin’ Cut & Emboss Machine. Out comes cardstock with a bold, textured design.
HYBRID EMBOSSING FOLDERS
– Easily make great impressions!
– Include dies that fit inside special ridges in the embossing folder for one-step cutouts with dimension.
– Can be used separately or together for a variety of looks and styles.
– To use, place flat cardstock in the embossing folder and run it through a Stampin’ Cut & Emboss Machine. Out comes cardstock with a bold, textured design.

EMBOSSING FOLDERS
– Easily make great impressions!
– To use, place flat cardstock in the embossing folder and run it through a Stampin’ Cut & Emboss Machine. Out comes cardstock with a bold, textured design.
You can find many more options for 3D Embossing, Hybrid Embossing and Embossing folders over at my store.
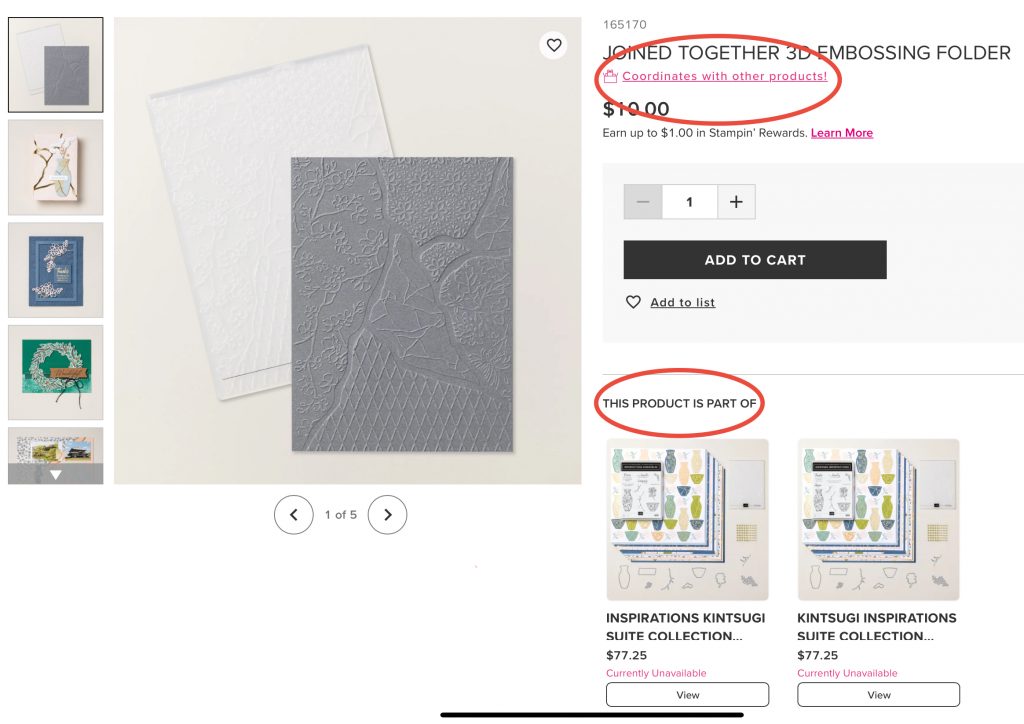
Most of them will have coordinating products mentioned making it easy to find things that go together!
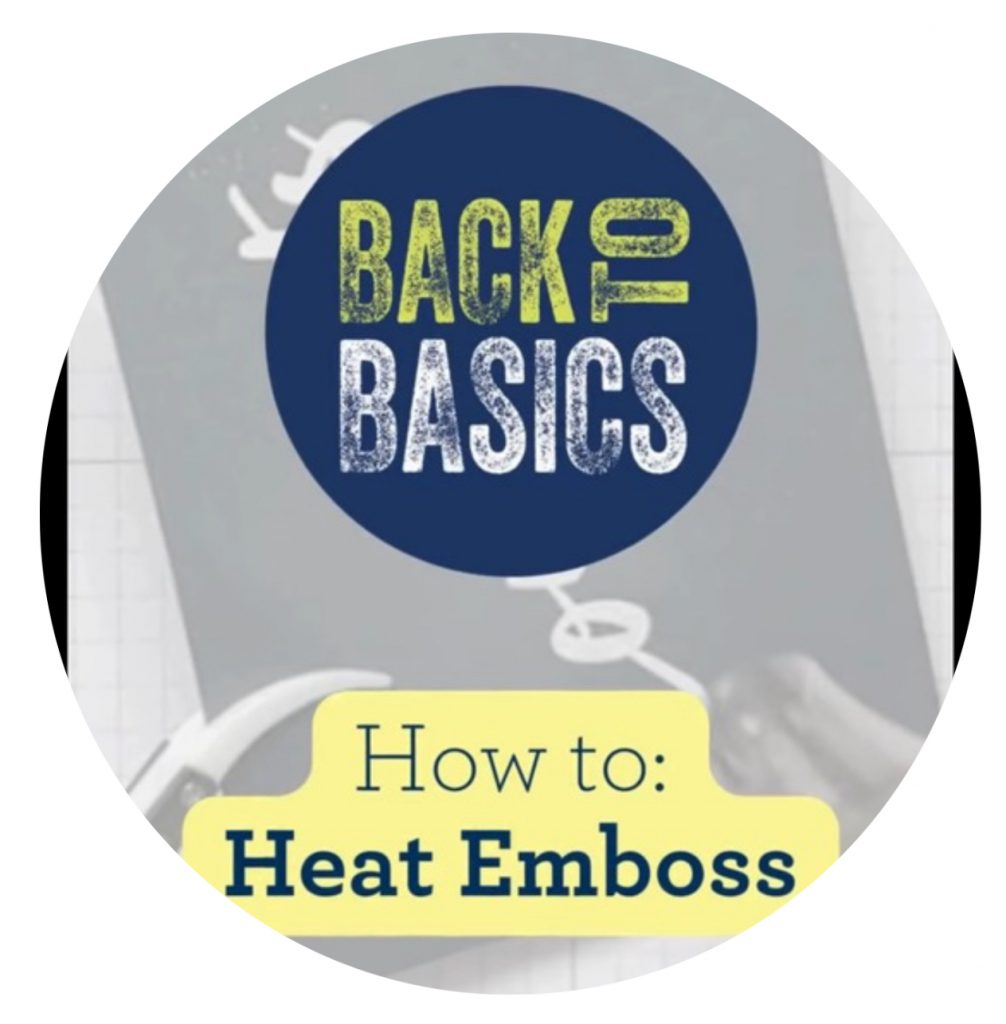
Next up is possibly the most common way to emboss – Heat Embossing.
Heat Embossing is a simple and highly effective technique used to creat a raised, glossy image or text by using heat to melt embossing powder onto a surface. This technique can be used to add a touch of elegance and sophistication while adding dimension and texture to any project.
WHAT DO YOU NEED FOR HEAT EMBOSSING?
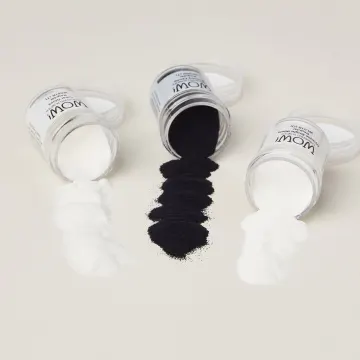
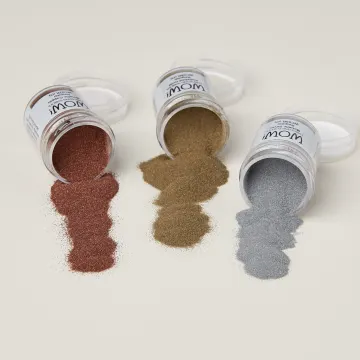
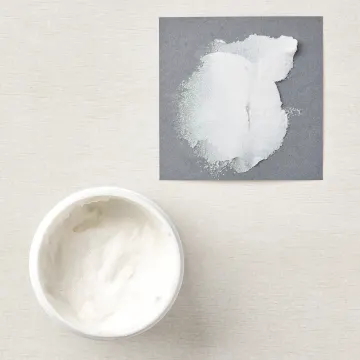
EMBOSSING POWDER
This is a special type of powder that is used to create the raised, glossy effect of heat embossing. Stampin’ Up! Offers two bundle options for embossing powder, Basic’s WOW! and Metallic’s WOW!.
INK PAD
You will need an ink pad to stamp your design onto the paper. It’s important to use a slow-drying ink like pigment ink, as it will give you more time to apply the embossing powder before it dries.

In the Stampin’ Up! World we use VersaMark which is perfect for heat embossing. Use it with embossing powder and a heat tool to heat emboss stamped images. VersaMark is also great because the ink appears a few shades darker than the cardstock it’s stamped on and makes a great tone-on-tone or watermark effect.
Another bonus with VersaMark is that you can stamp your image onto the pad and then again onto another color. Apply Clear WOW! Embossing Powder and you can have any of our colors come through with a shiny look!
HEAT TOOL
Heat Tool is a handheld tool that emits hot air and is used to melt the embossing powder. It’s important to use a heat tool specifically designed for embossing, regular hair dryers or other tools may not get hot enough or could cause the paper to warp and in some cases catch fire. This is a tool that needs caution and adult supervision, sometimes an adultier adult is recommended.
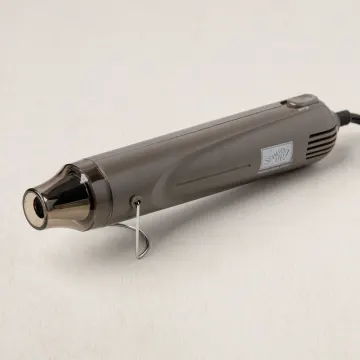
When you heat emboss you will need an embossing heat tool. Our Heat Tool is slim, sleek, quiet, and easy to hold. Features 2 heat settings: low for drying ink and high for embossing powders.
Another great tool that Stampin’ Up! Offers in the Heat Embossing collection is the Embossing Additions Tool Kit.
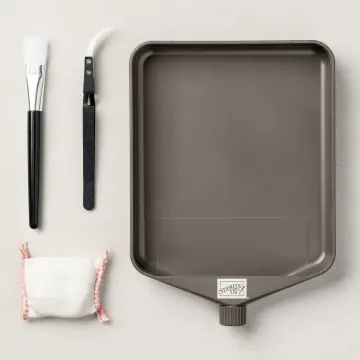
Embossing Additions Tool Kit makes embossing so much easier with it’s Embossing Buddy, Powder Pal, Crafting Tweezers, and Crafting Brush.
Embossing Buddy? This is a small bag of powder. Rub it over your paper before inking and embossing, this helps keep the embossing powder only where you want it.
Powder Pal? The tray of awesomeness catches all excess powder and allows you to funnel it right back into its container. Also catches all those opps spills – not that I’ve ever done that or anything 🤥😂
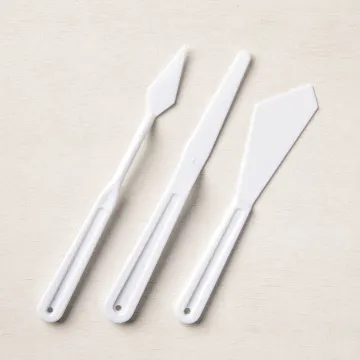
Crafting Tweezers? Curved tweezers that allow you to hold the paper and not burn those fingers! These are also great to apply small things to the cards!
Crafting Brush? A simple small brush for brushing powder off paper and out of the Powder Pal. It’s also great for keeping your paper and work area clean.
There are many different ways to use heat embossing in your projects. You can use it to add sentiments, messages and images to any project. The possibilities are endless, and you can experiment with different colors and designs to create unique and personalized projects.
While this is a simple yet stunning technique, you can add a touch of elegance to any paper crafting project. With just a few basic supplies and some creative magic, you can create beautiful embossed designs that will impress your friends and family. So why not give it a try and see what beautiful creations you can come up with?
The last embossing technique for this post is the forgotten child of the family – Embossing Paste
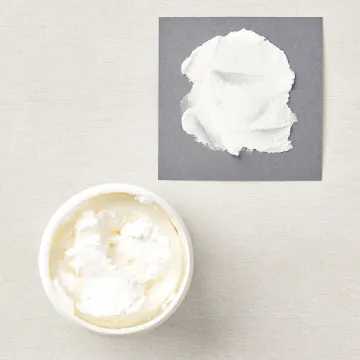
What is Embossing Paste?
Embossing Paste is a paper crafting technique using a thick, creamy medium that is actually called embossing paste.
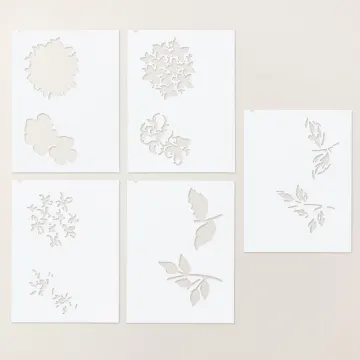
The embossing paste creates a raised texture on any surface. It’s a soft creamy material that allows for spreading and some molding to create a physical dimension as well as texture. You can use it with stencils or free hand it onto the surface. It can also be mixed with any of our Classic Stampin’ Ink Refills. 4 fl. oz, creating specific coloring.
Let’s take a look at the videos from the home office:
I will be adding to this post through the week with samples for each of these embossing methods.
I hope this helps get you inspired to use some different colors together! Don’t be afraid to try something different with colors together create a unique look. Remember to share those projects with us over on the Facebook page! We want to see your creations!
Let me know if there is anything in particular you would like to cover in our Back to the Basics Series!
See you next week!!
Happy Stamping!
Stamping 101: Back To The Basics ~Your guide to everything stamping ~ Table of Content
- Welcome to Stamping 101: Back To The Basics
- What Is Stampin’ Up!?
- Where Do I Start?
- What Products Are Available and How Do I Purchase Them?
- How to Order
- Choose your stamps
- Type of Stamps
- Choose your Ink Pads
- Types of Ink
- Picking Cardstock
- All about the different papers available
- Guide to Adhesives
- Examples of Basic Supplies
- Other tools and supplies
- How do I use my supplies?
- All About Color!
- What is Embossing?
Still have questions or need some help? I’m here for you! Drop me a message below and I’ll get back to you as soon as possible. Your inquires are important to me and I am eager to provide the support your needing! Fill out the form, and lets get your creative adventure started together!


We are doing new and fun things over on Facebook!
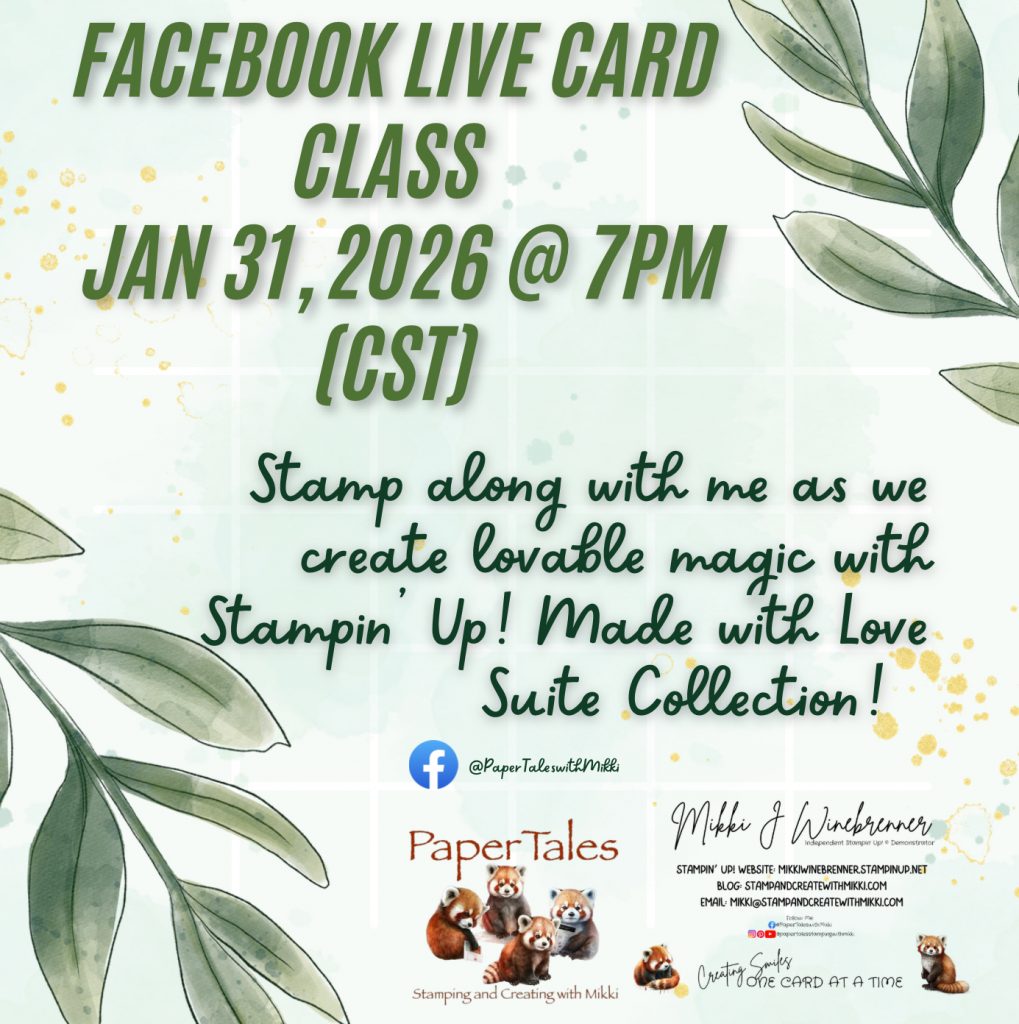
I’ve taken a leap into the Live Stream world with a monthly card class. I will have video recordings uploaded to YouTube and will have them linked in here as well.
Just a few little details about these classes.
- First and foremost, they are FREE!!
- I will provide the measurements and products I use during the classes but the creativity is limitless and you can choose whatever products you would like. There is no right or wrong.
- These classes are really just to bring us all together once a month and have some crafty time and relax. The class will be the last Saturday of the Month at 7pm CST and last about an hour.
With that said, I’m always open to suggestions and anything you all might be interested in or a theme you would like to see! Just give me a shout over on my social media pages and let me know!
If you have any questions please reach out to me!
Happy Stamping!
My Favorite Stampin Tools
| 1.Take Your Pick | |
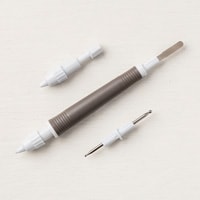 |
So many uses and attachments for this little tool that makes crafting so much easier! I have 3 currently in my tools drawer! |
| 2.Stampin’ Glass Mat Studio (Imperial) | |
 |
This glass mat is amazing! I love that you can write on it, stamp on it and use it to line up paper. Easy to use and super easy to clean up when you’re all done! |
| 3.Simply Scored | |
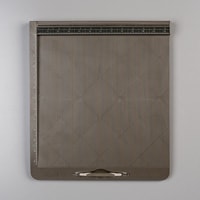 |
The Simply Scored is in my top 5 because it make scoring easy when you’re doing a bunch of scoring at once or intricate score marks for a fold. Also saves you from cutting when wanting to score! The diagonal board is also super helpful when doing scores for envelopes and boxes. |
| 4.Blending Brushes | |
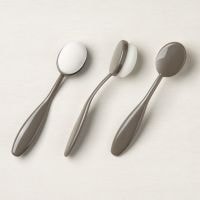 |
Oh my blending brushes. These little fellows are a blessing when it comes to adding color and making scenes! I could write an entire book on why you should have these in your tool bag! |
| 5.Soft Pastels Assortment | |
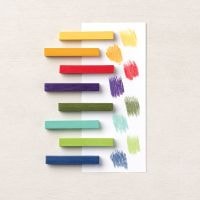 |
These are a sentimental favorite. I have been using soft pastels in art work since high school. They are a unique color tool that believe it or not has a lot of different uses and color techniques. If you want to explore coloring then grab a set of these! |
")
")
")
")


